Chevelle SS Resto-Mod Thread

100,697 Views | 491 Replies | Last: 6 yr ago by lb3
agwrangler2001
How long do you want to ignore this user?
AG
quote:
quote:
and everything checks out
This meaning you've got good oil pressure now?

Yessir. Here is video of oil pressure at startup! (sorry about the quality)
Oil pressure is top left in the gauge.....hovering around 60psi at cold idle with a 5w-30.
lb3
How long do you want to ignore this user?
AG
Leeman
How long do you want to ignore this user?
quote:
Lucky break on the bolt.
Good one !
CATAGBQ04
How long do you want to ignore this user?
p_bubel
How long do you want to ignore this user?
I was looking for a funny image to post but ran across this instead:


You know, they're absolutely 100% correct.


Congrats on the perseverance, I probably would have set fire to the entire garage long ago.
agwrangler2001
How long do you want to ignore this user?
AG
Ha! Thanks, you almost have to keep your sense of humor on this stuff. It's supposed to be fun, after all.

For example, I woke up first thing Saturday to take car to shop that has been recommenced for alignment.
I pull up and he says come back Monday, my alignment guy is out.

So I called another place, "yeah we can do it right now, come on."
I pull up and they tell me nope, can't do it. Our machine bolts to the rear wheels and won't clear your rear quarters.

Oh well. Maybe I'll try to get there before they close one day this week.
Silvy
How long do you want to ignore this user?
AG
Positive thoughts

agwrangler2001
How long do you want to ignore this user?
AG
Well I've got some progress. After trying a few places, I finally found a shop who could do the alignment.
Apparently my combination of low stance, modern wheels and the rear quarters that cover the top half or so of the rears make it near impossible to align. Or so it would seem.
I forgot to take pics of it, but the machine looks similar to this:


The lasers in the elevated head read off the sensors that mount to wheels. You can see in this pic how the sensors mount to rim lip, which my wheels don't have. The short version is it is done. Victory.

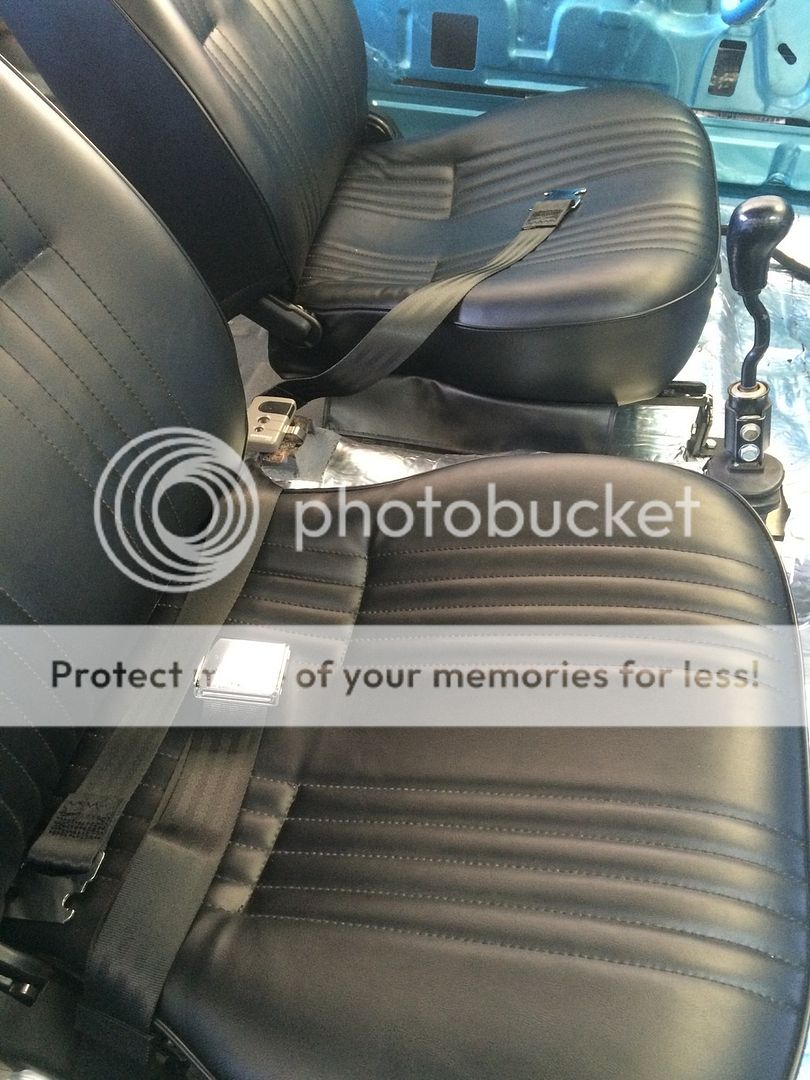
Besides this major accomplishment, I've been tackling little items, like seat belts.
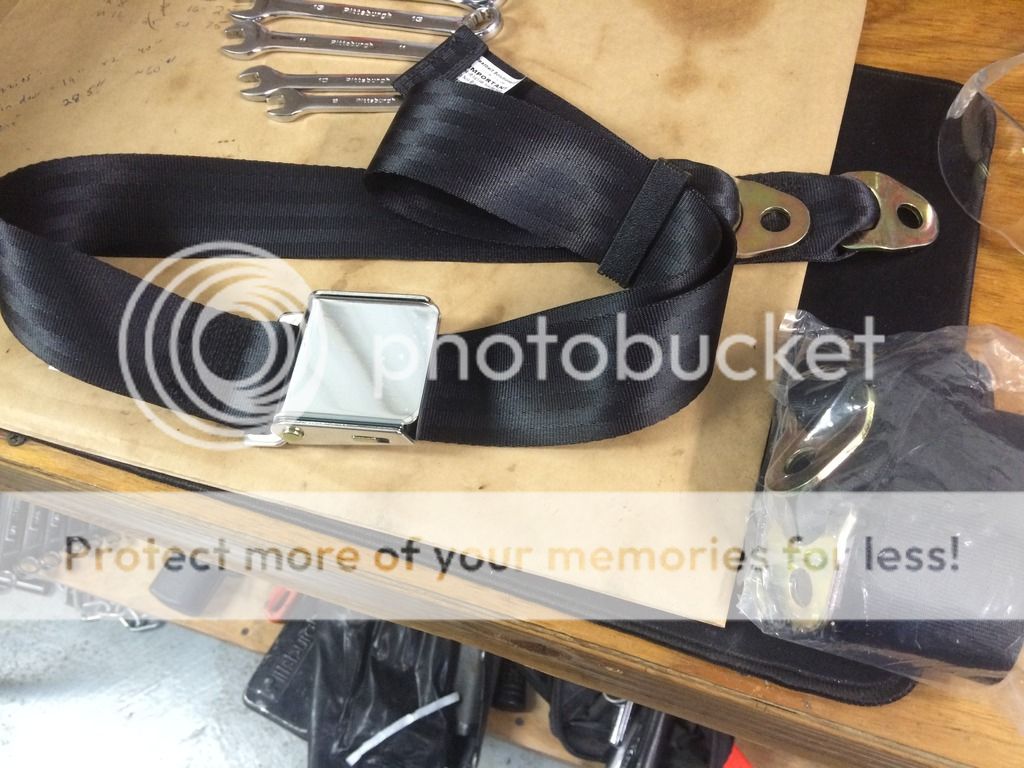


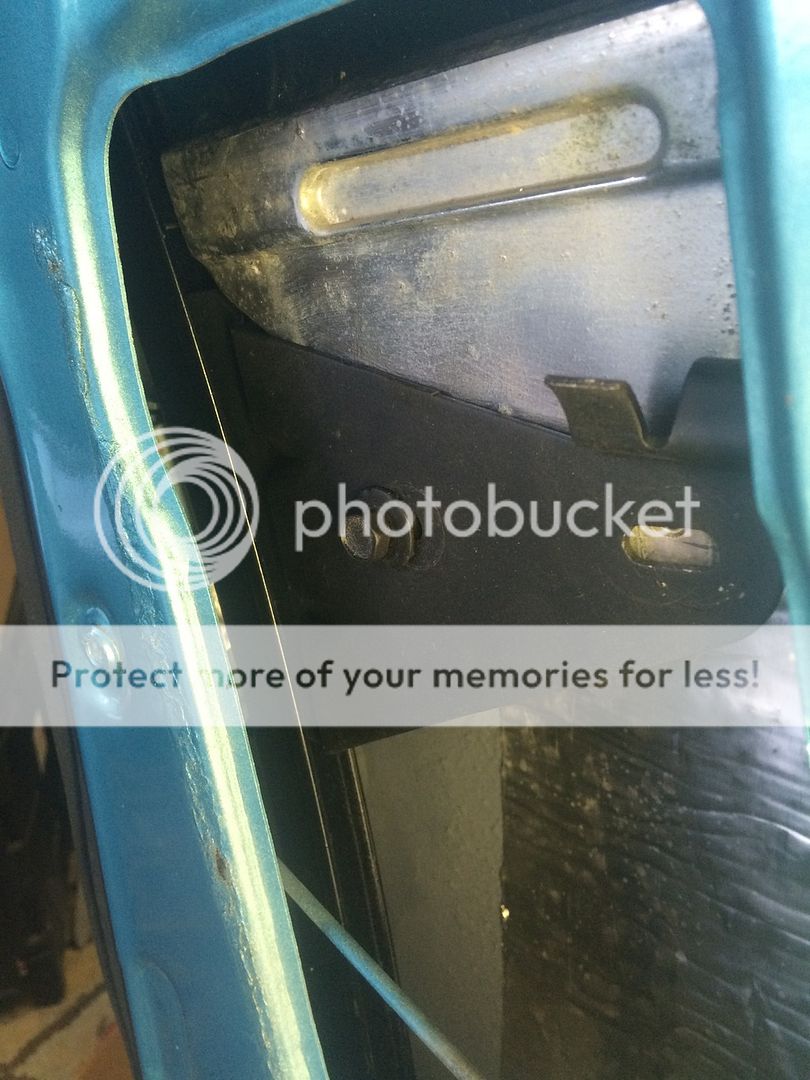
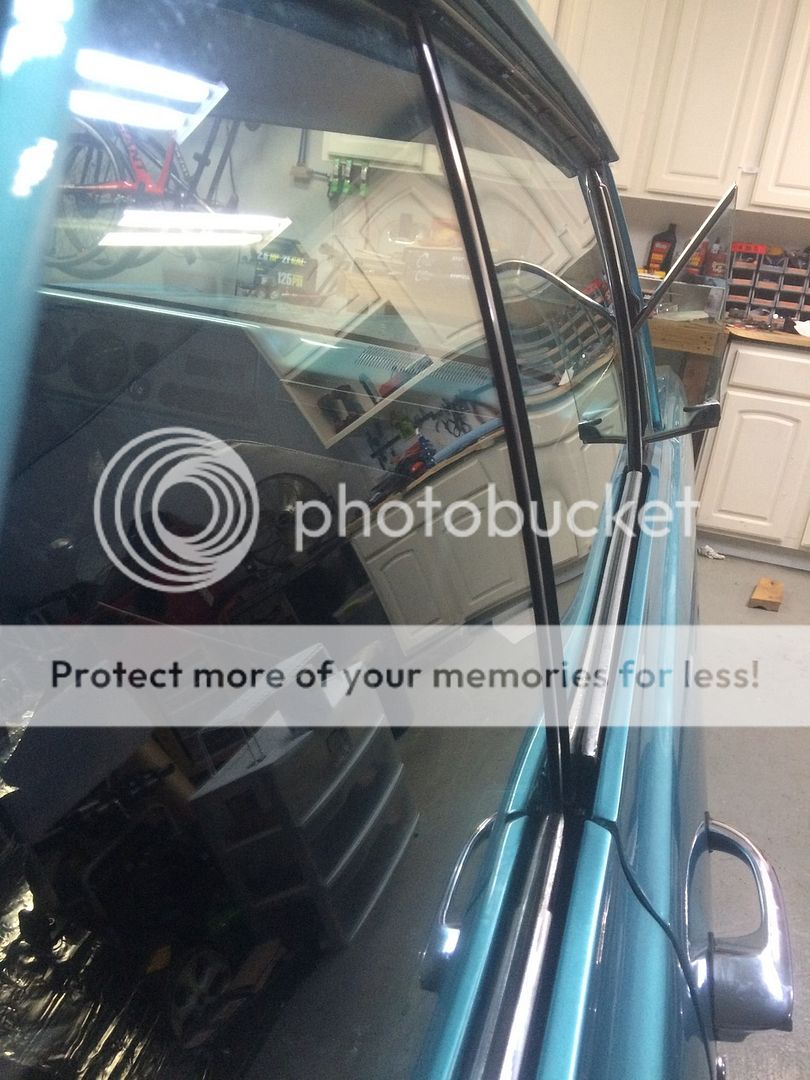
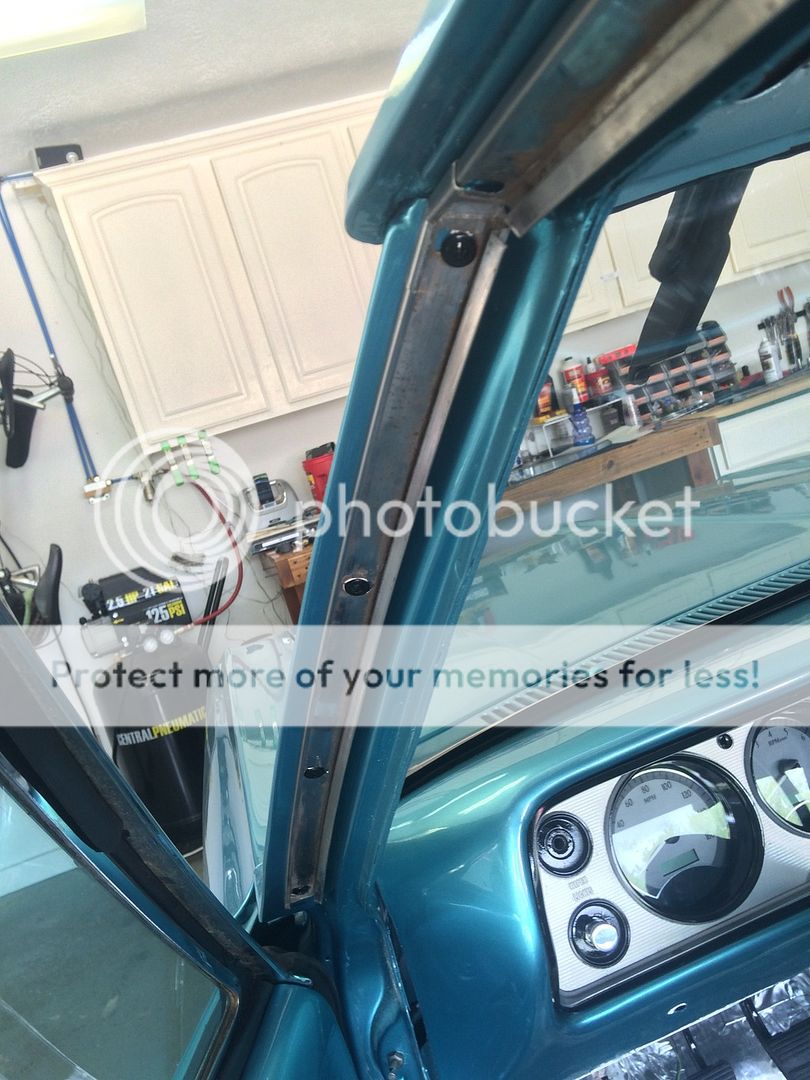
Next, some of my window track fuzzies came in, so I was able to finish the vent windows I started refurbishing way back when. So the front of the main door glass rides in this track:
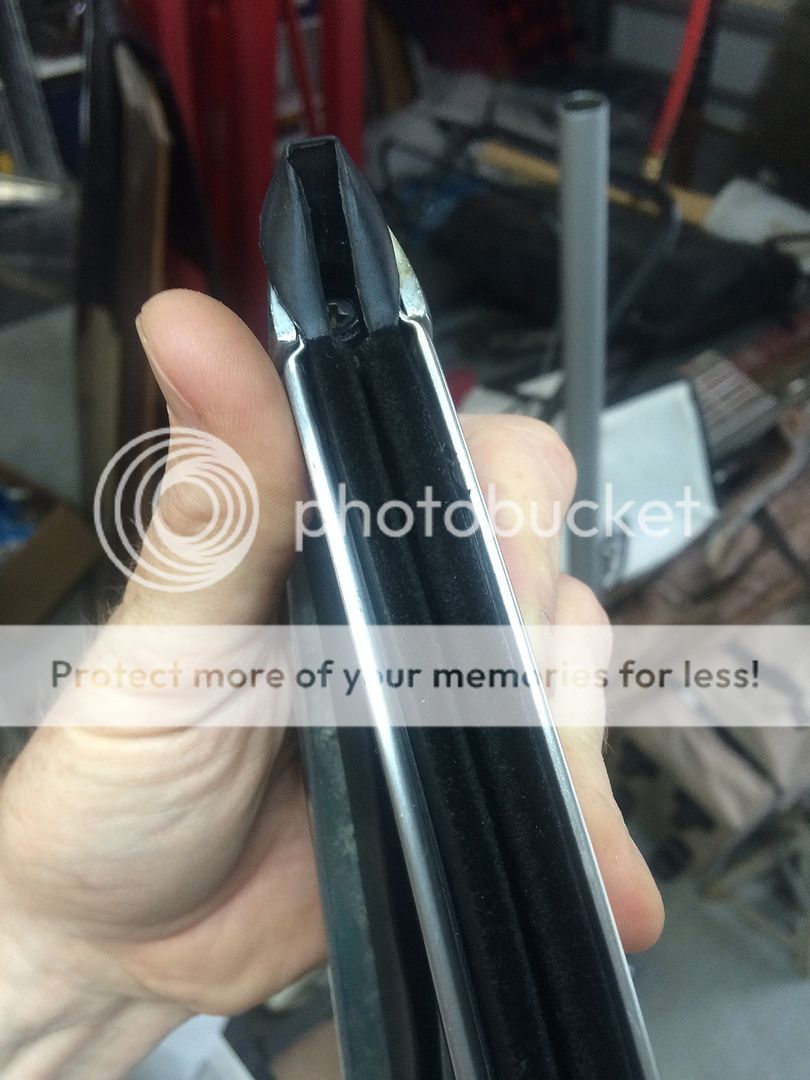
Vent glass lower mount stud (becomes important later.)
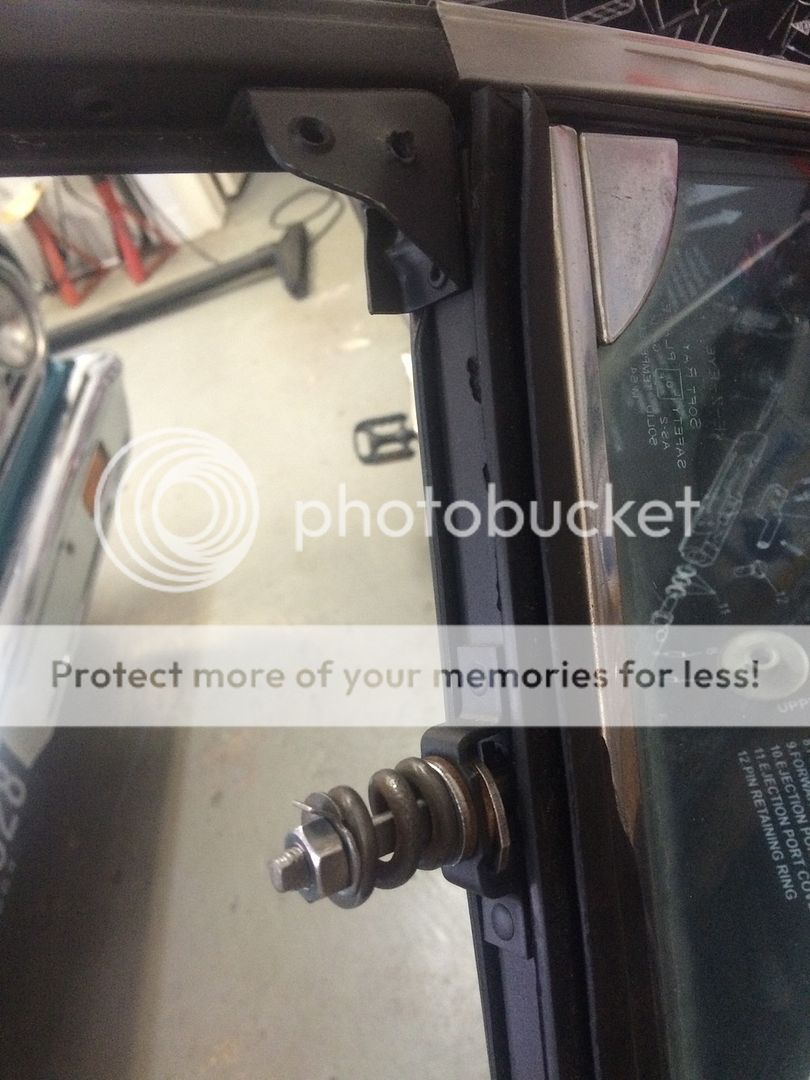
Finished passenger side!

My temporary air conditioning:
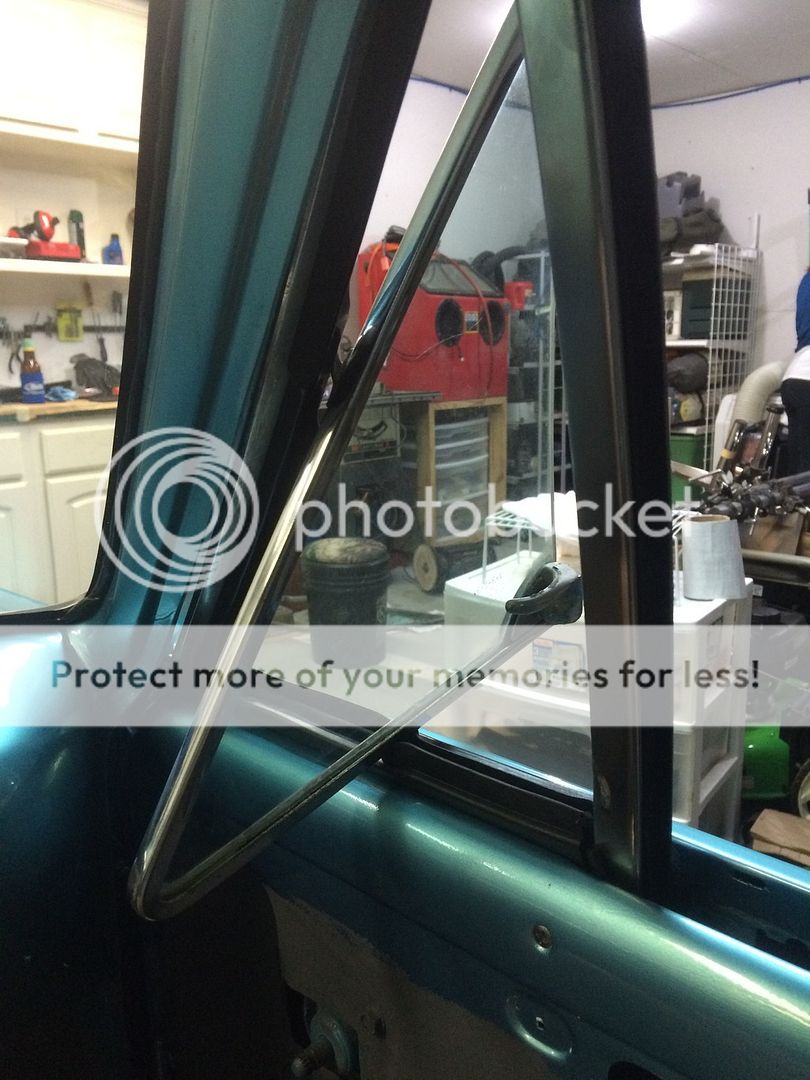


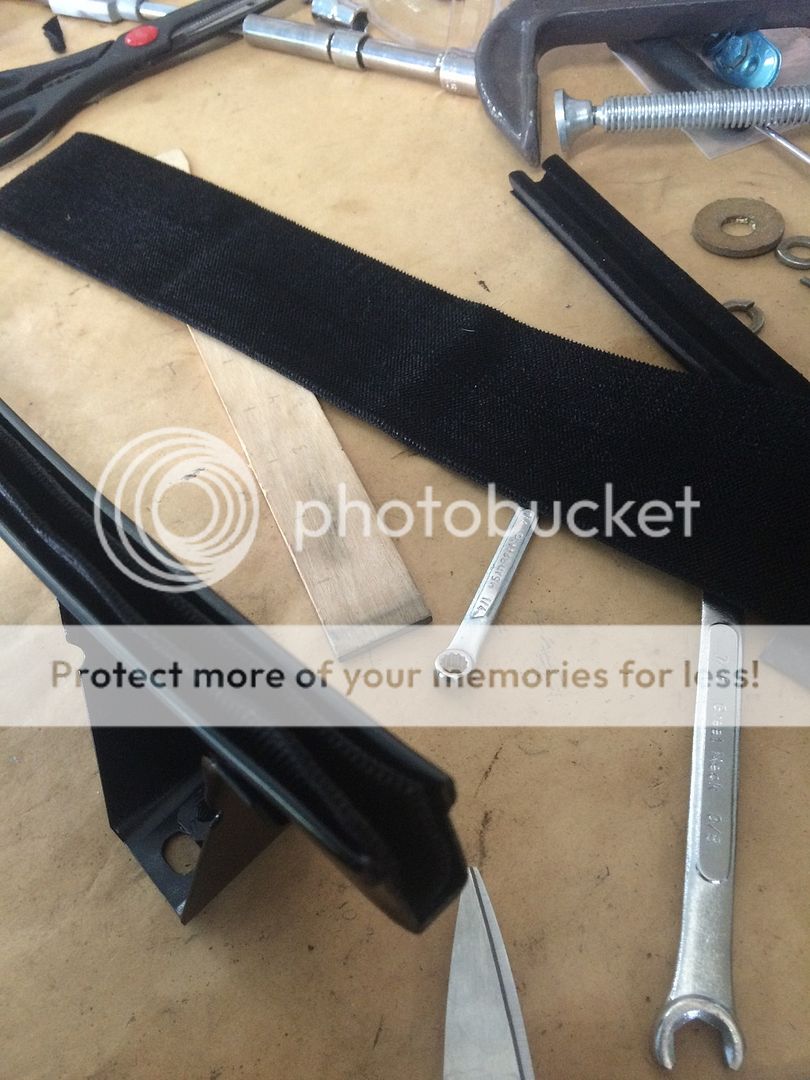
The rear of the main door glass rides in this track. No one sells the specific felts for this track, so I had to find some general "mohair" strips. (Currently on order.)
Old and crusty:
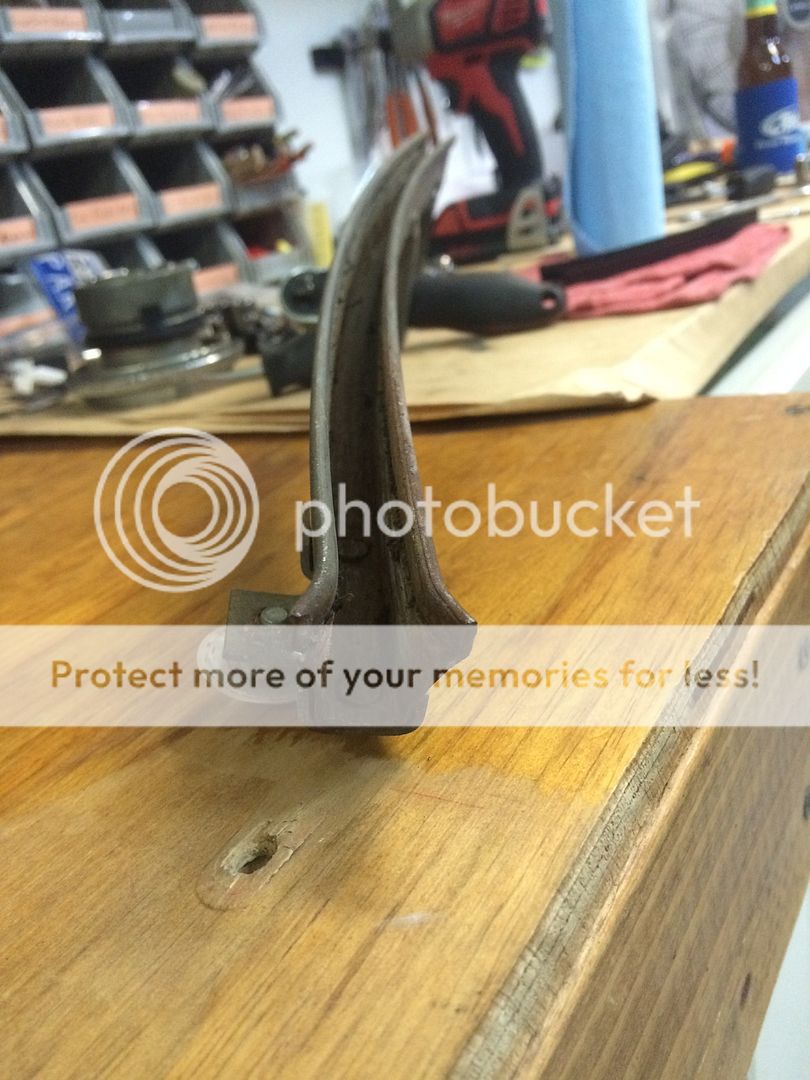

Quick was to clean these up!
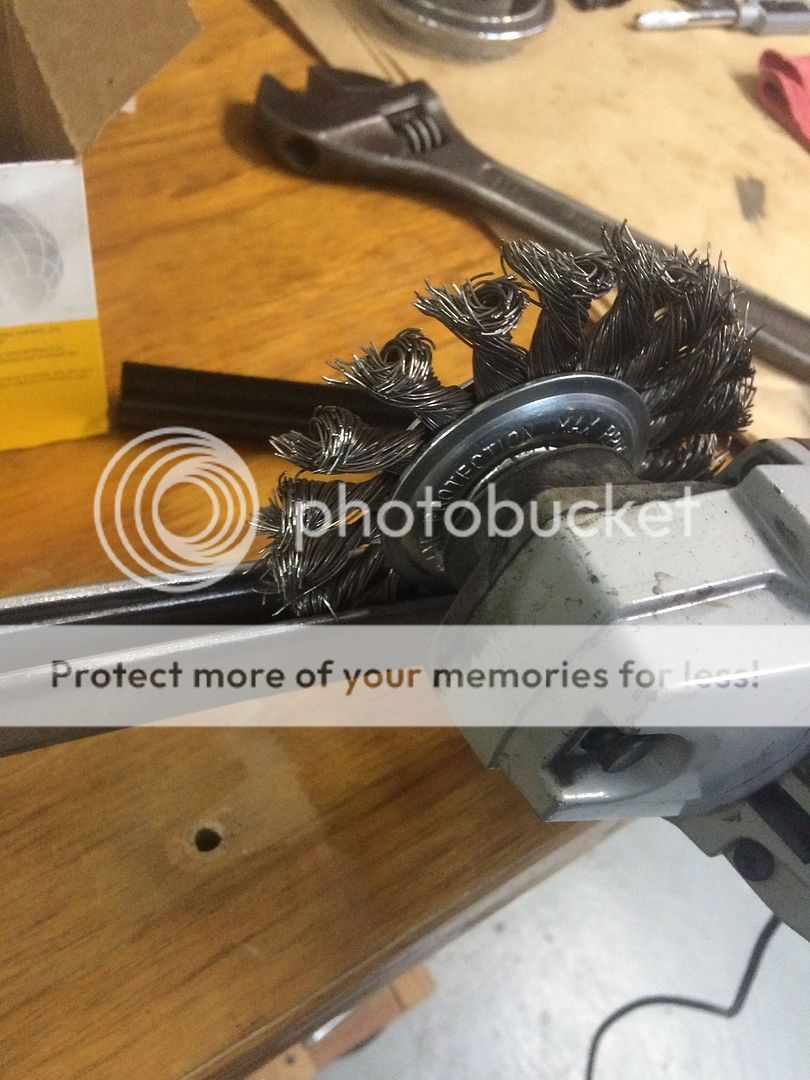

Metro Molding sales guy was convinced the "vertical run channel" inserts would fit, I just needed to order 2; one set for vent window side, one for rear channel side. I was skeptical.....and rightly so:
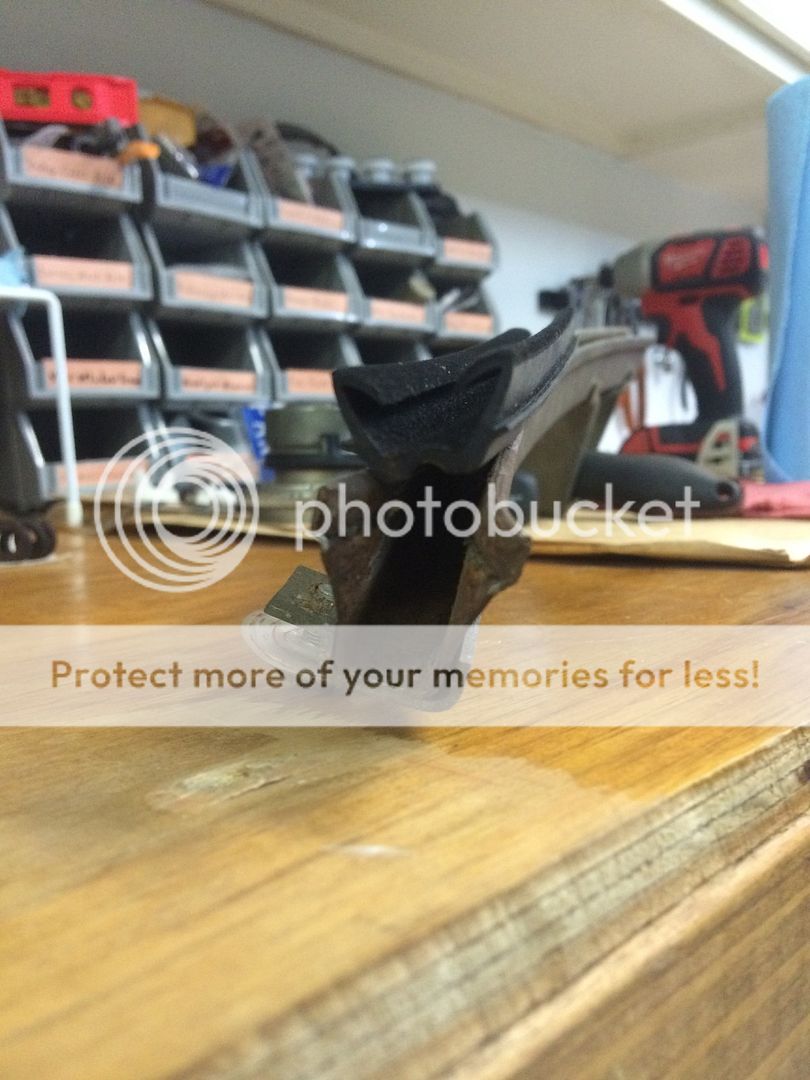

More on that when the correct fuzzies arrive.

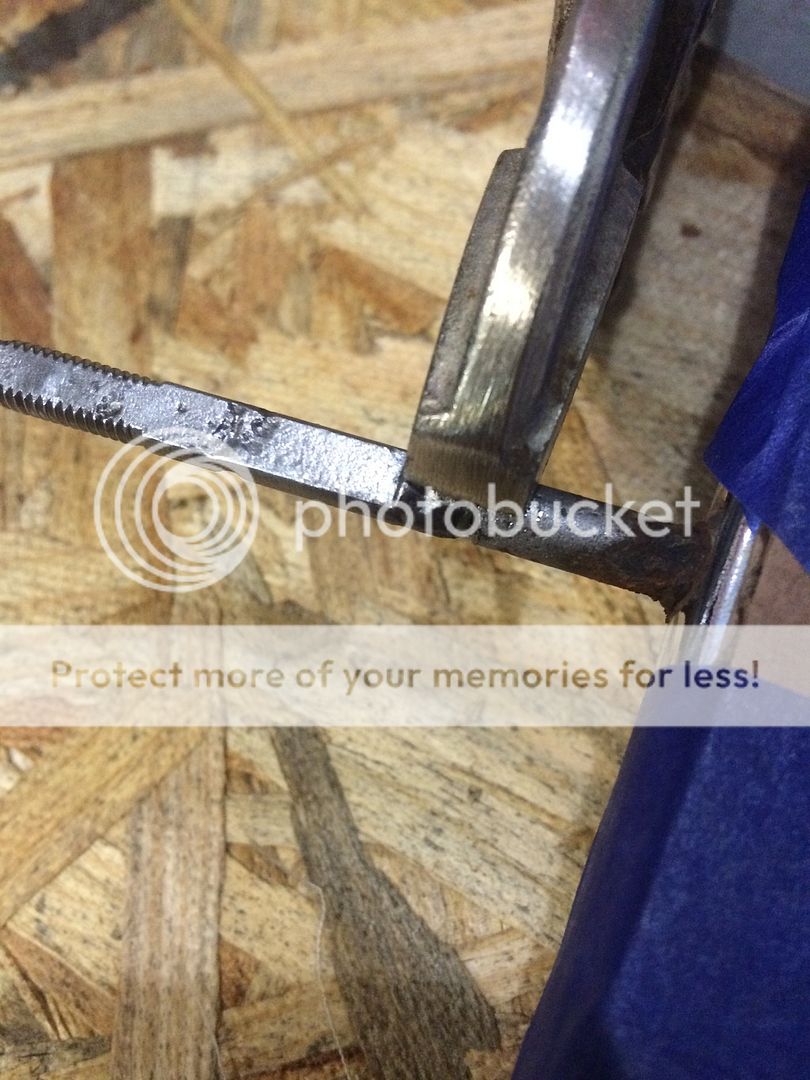
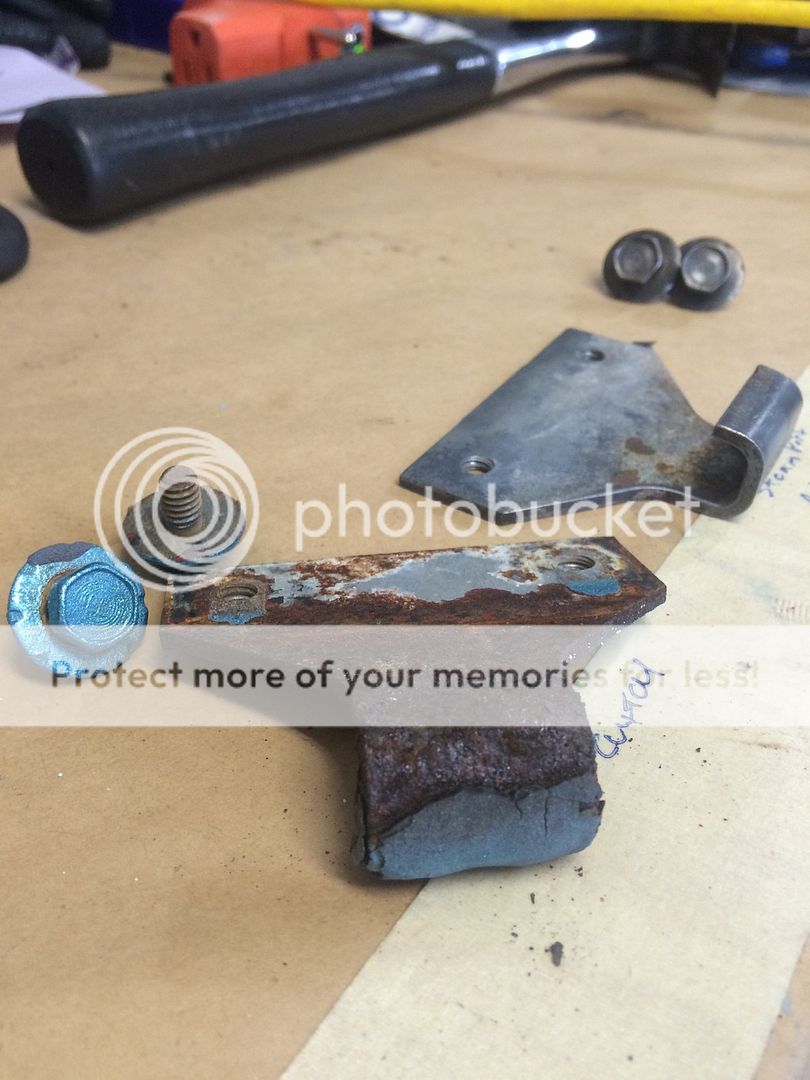
Onward to the next disaster. The driver side vent window didn't cooperate. The lower mounting stud broke off went I tried to disassemble it:

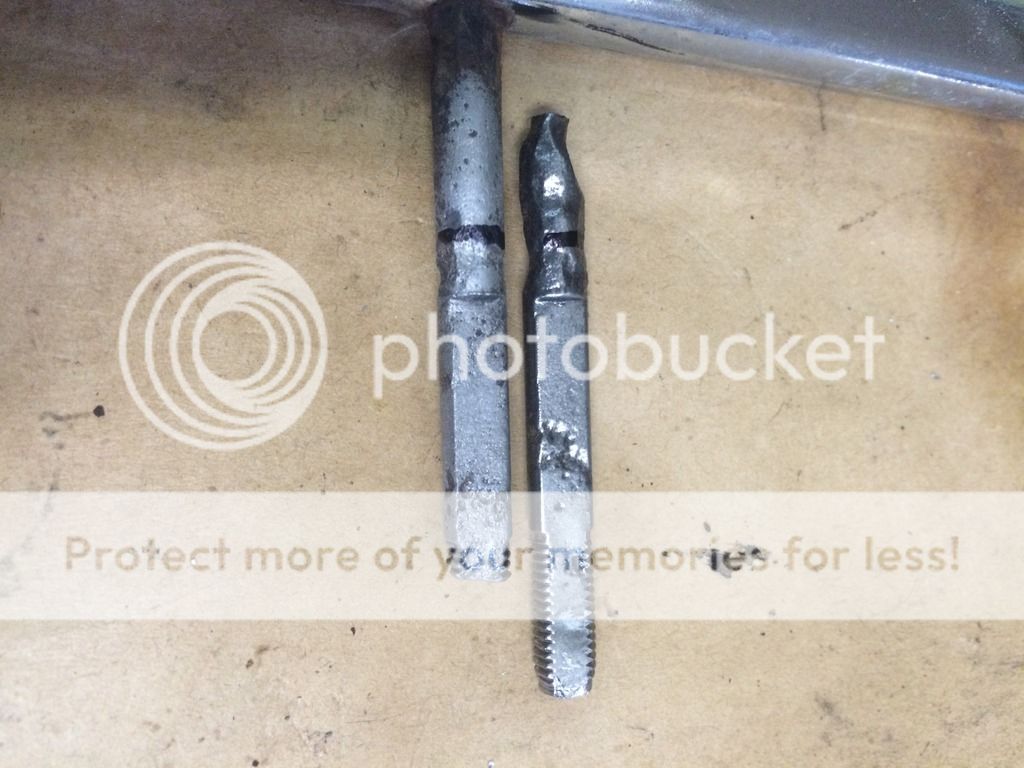
This is another part that is NOT available as a reproduction for this generation Chevelle. I would have to get creative. I had a spare vent window assembly from the passenger side. I decided to take it apart to see if I could use anything. This happened:


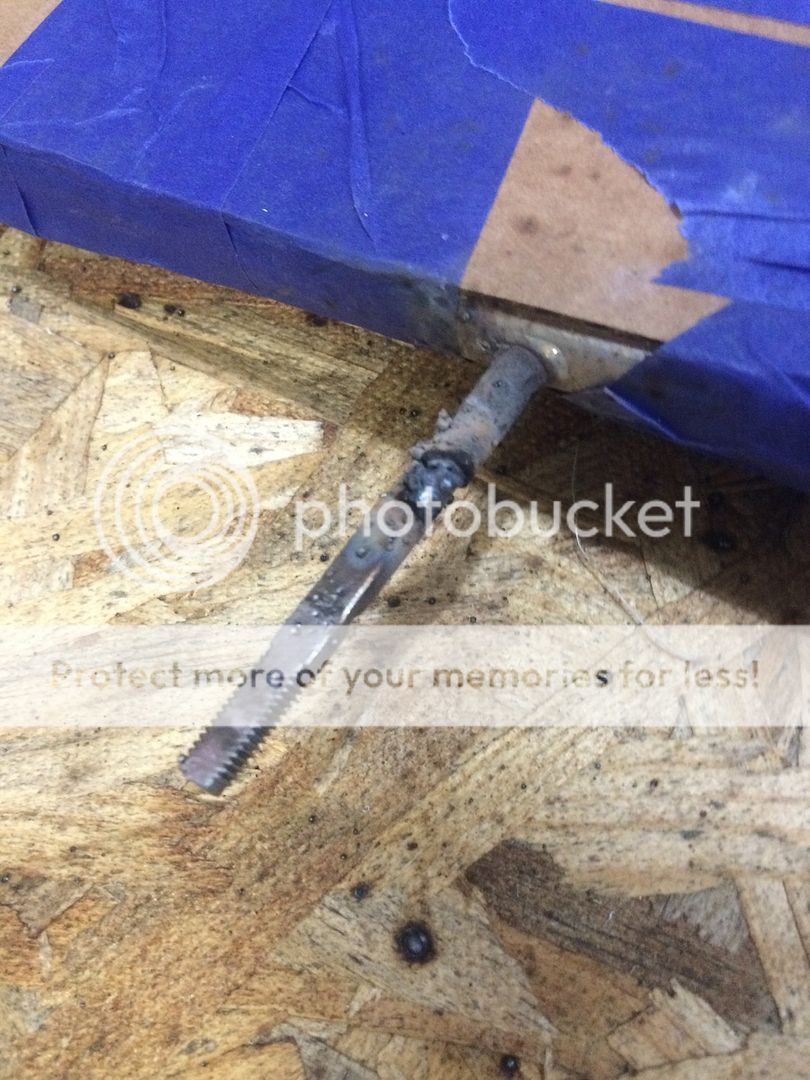
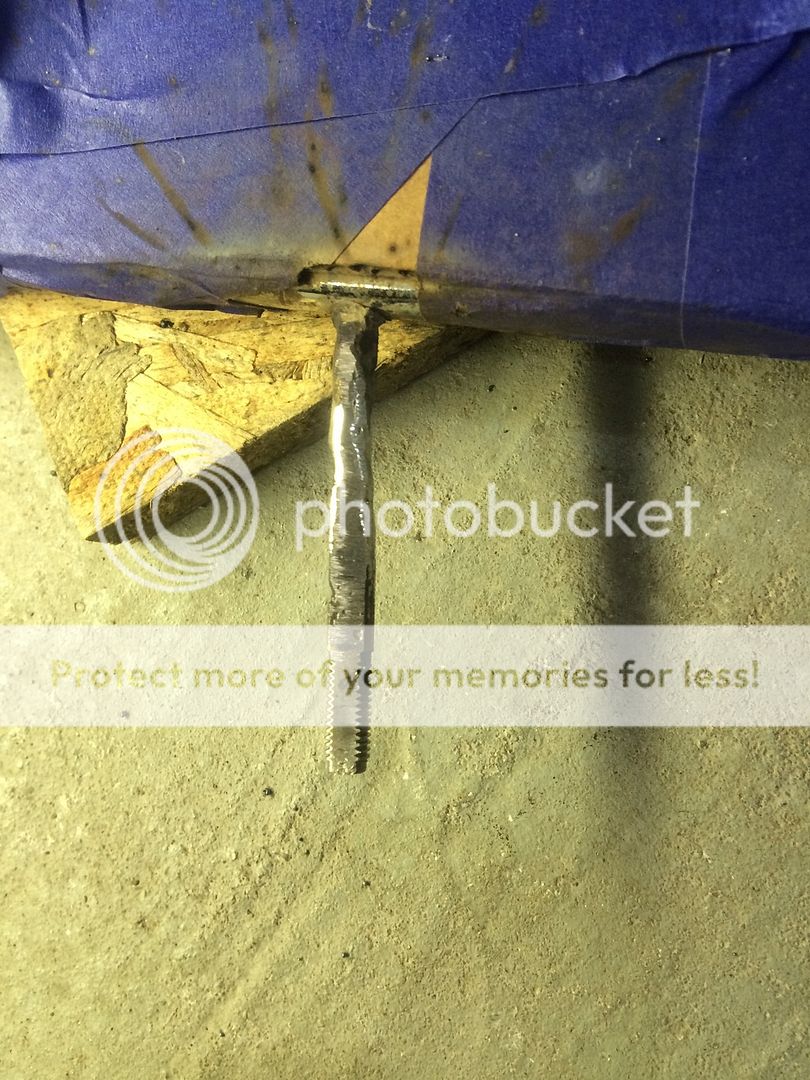
However, this is basically what I needed. The best solution became clear


It's not pretty, but it should hold.

Last night I finished the driver's vent window install (no pics), and moved on to the door weatherstripping.
It went relatively smooth.
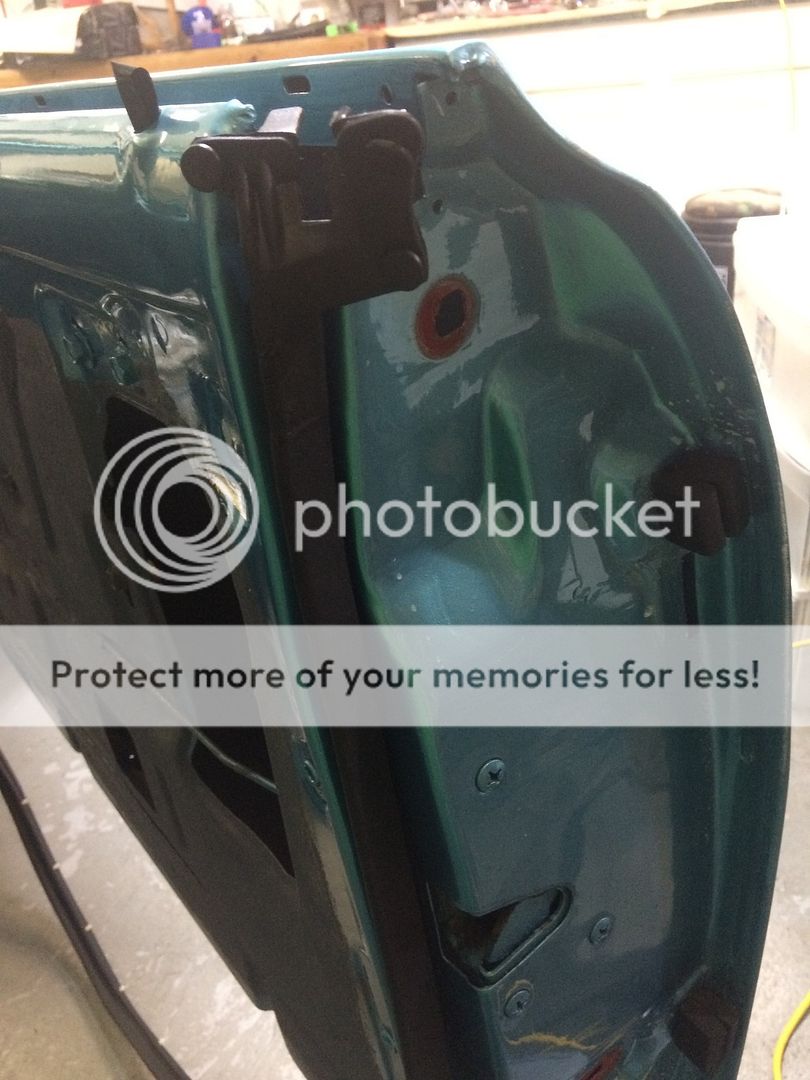

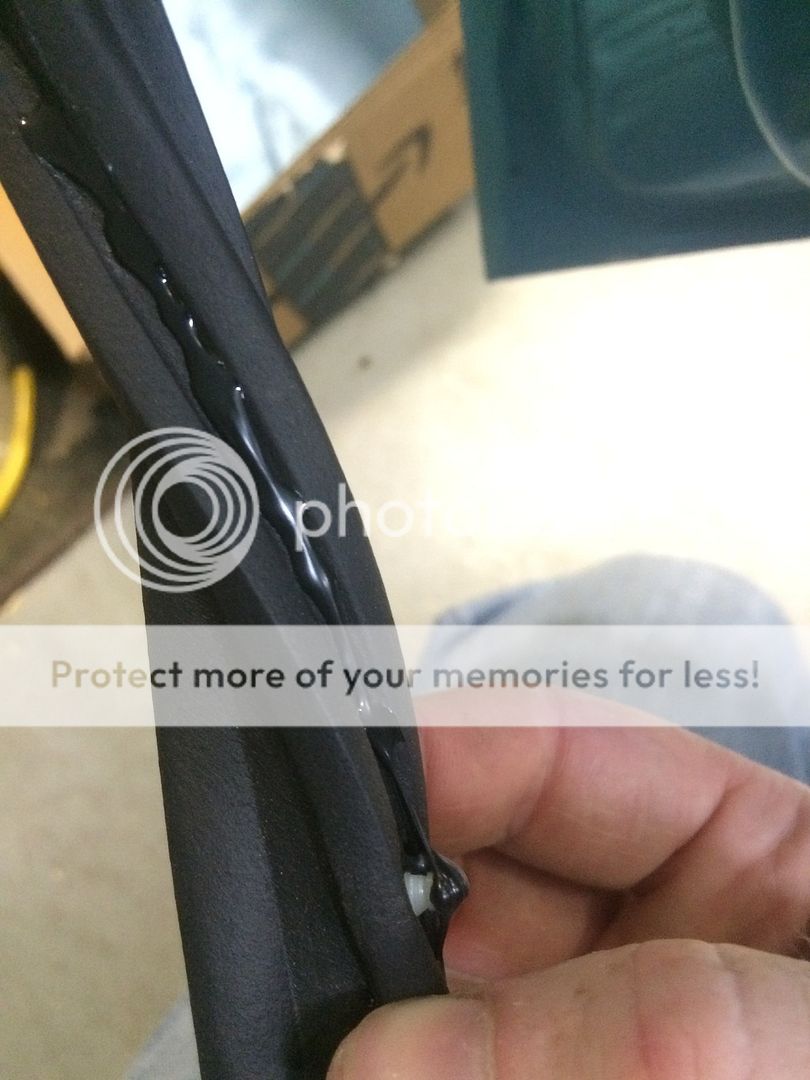
Using 3M Weatherstrip adhesive liberally but neatly.

On another note, my neighbor invited me to "cruise" up to the Lowe's cruise in last Friday with his buddies!


My neighbors are pretty cool. The line up includes a 55 & 56 Chevy, a 62 Impala 409, 66 Chevelle and a Hot Rod Coupe of some sort.


This was the first time I've driven the Chevelle up there, so it was kinda surreal. It's funny how many people recognized a new car among the usuals. I wasn't able to stay very long, so looking forward to next time. Maybe tonight! Hit me up if you see me.
lb3
How long do you want to ignore this user?
AG
agwrangler2001
How long do you want to ignore this user?
AG
More boring window and weatherstrip updates.

My generic mohair strips came in...cut and fit those to the side glass rear channel. Good as new.:


These are are the upper vertical stops for the main door glass.....cleaned them up and re-painted.


This lower bracket on the glass assembly is what bottoms out against the vertical stop. Also blasted and painted.


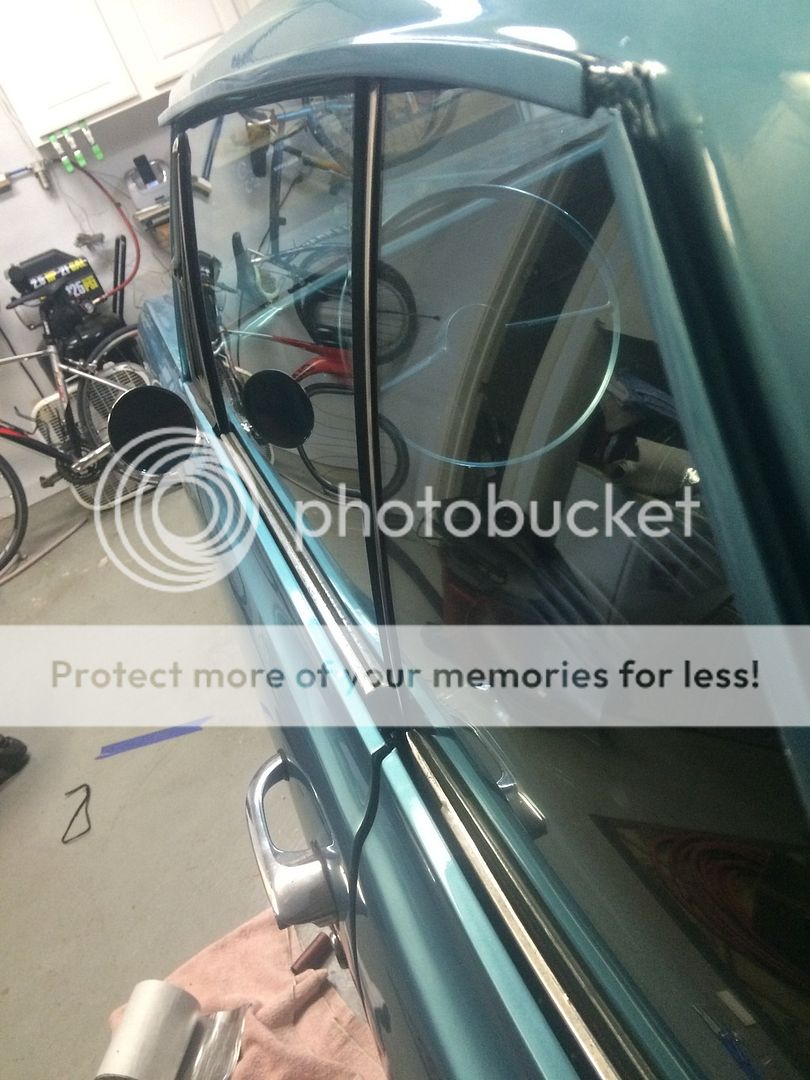
Here is the end result of the glass alignment on driver's side. For some reason it came together quick and easy. You can see the door to rear panel alignment isn't quite perfect...need to adjust in a little. Rear quarter glass to door glass isn't perfect either, but not bad.


On the passenger side, I ended up breaking 2 of the factory nylon rollers on the rear quarter glass. This sucker fought me every second of the way. Possibly the most frustrating thing on this build to date.
That's saying something.
Dorman makes a replacement that fits well.


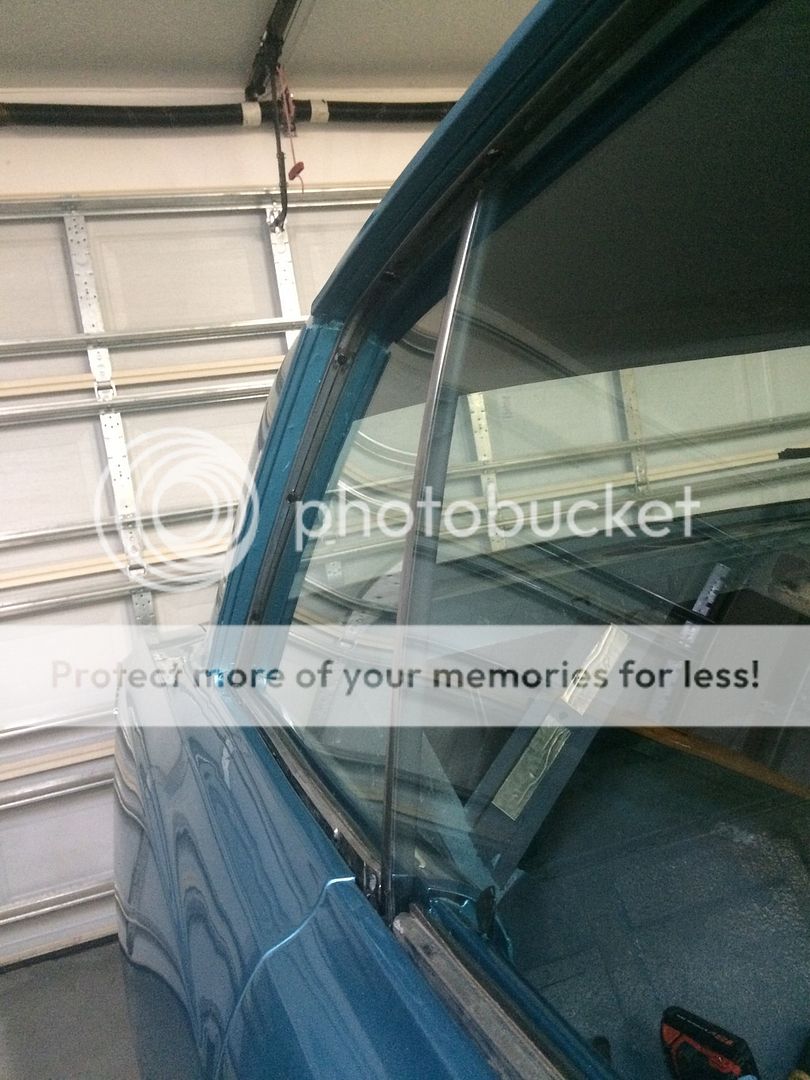
FINALLY got it decently aligned.


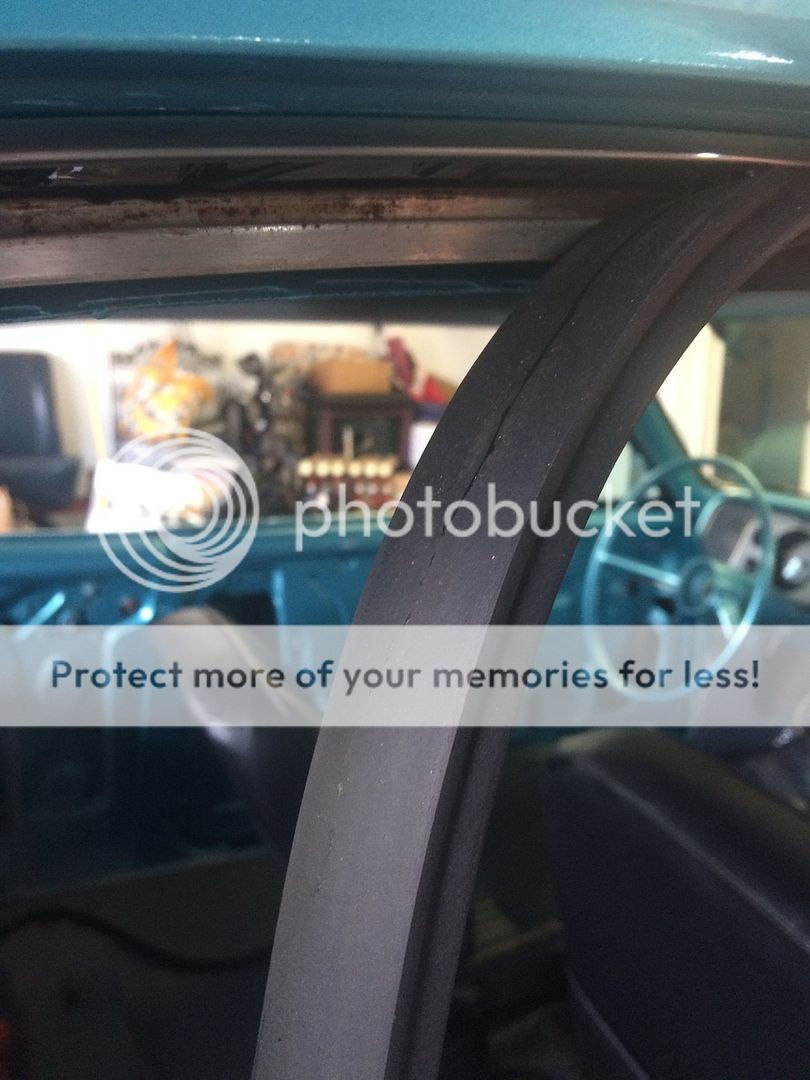
Next up was installing the roof rail sealing channel. Applied some seam sealer and screwed it in.


Then pressed in the weatherstripping using a paint stirrer stick and the 3M weatherstrip sealant.


Here is the glass to weatherstrip seal with door closed.

Pretty decent really.
I had trouble getting the quarters to roll up because the glass was binding against the weatherstrip. Had to make some small adjustments again.

After all the glass was in, I took a quick lap around the block....it is obviously quieter, and now I have lots of other noises that I I'm hearing. Those will get addressed sooner or later....
Leeman
How long do you want to ignore this user?
Nice work !
agwrangler2001
How long do you want to ignore this user?
AG
Long time no update.

Quite a few little items to mention for this build, with one or two cool milestones in the mix.

Mechanically speaking car has been running good....with a few issues here and there.
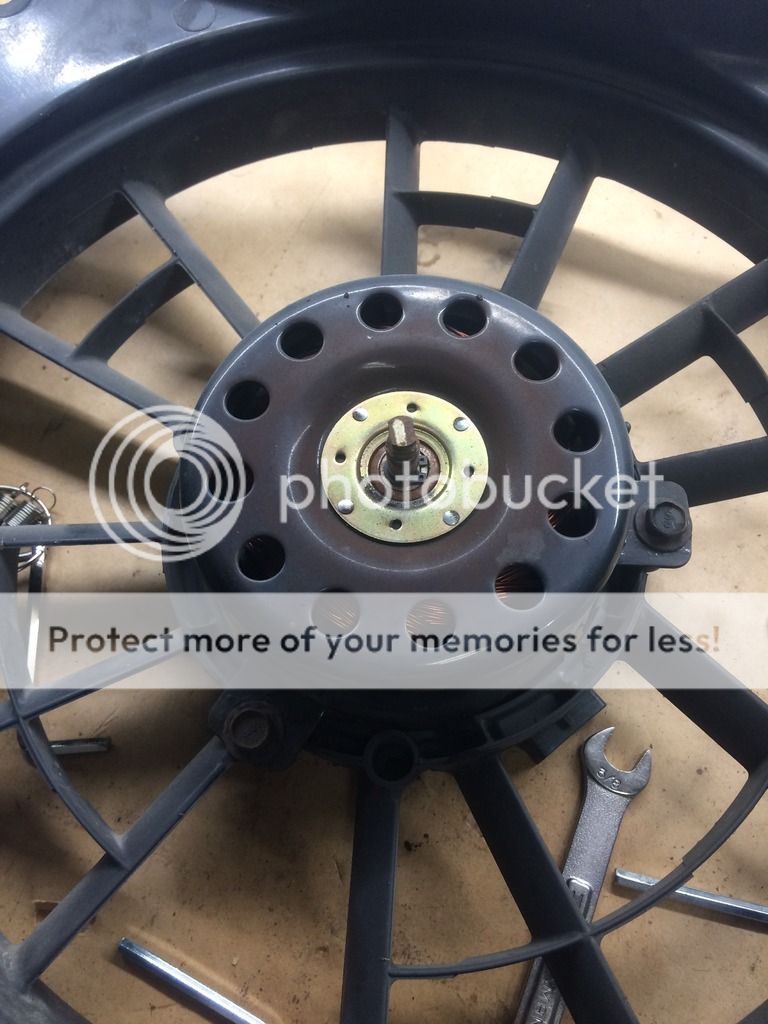
Had a cooling fan go out on me. Dropped in a new fan motor, easy enough.
The offender:


Biggest problem/annoyance is the driveline vibration I'm getting. It seemed isolated to deceleration/coasting, and also speed related, meaning it was more prominent at higher speeds.

Some internet research shows this is probably driveline and/or pinion angle related.
So this happened:


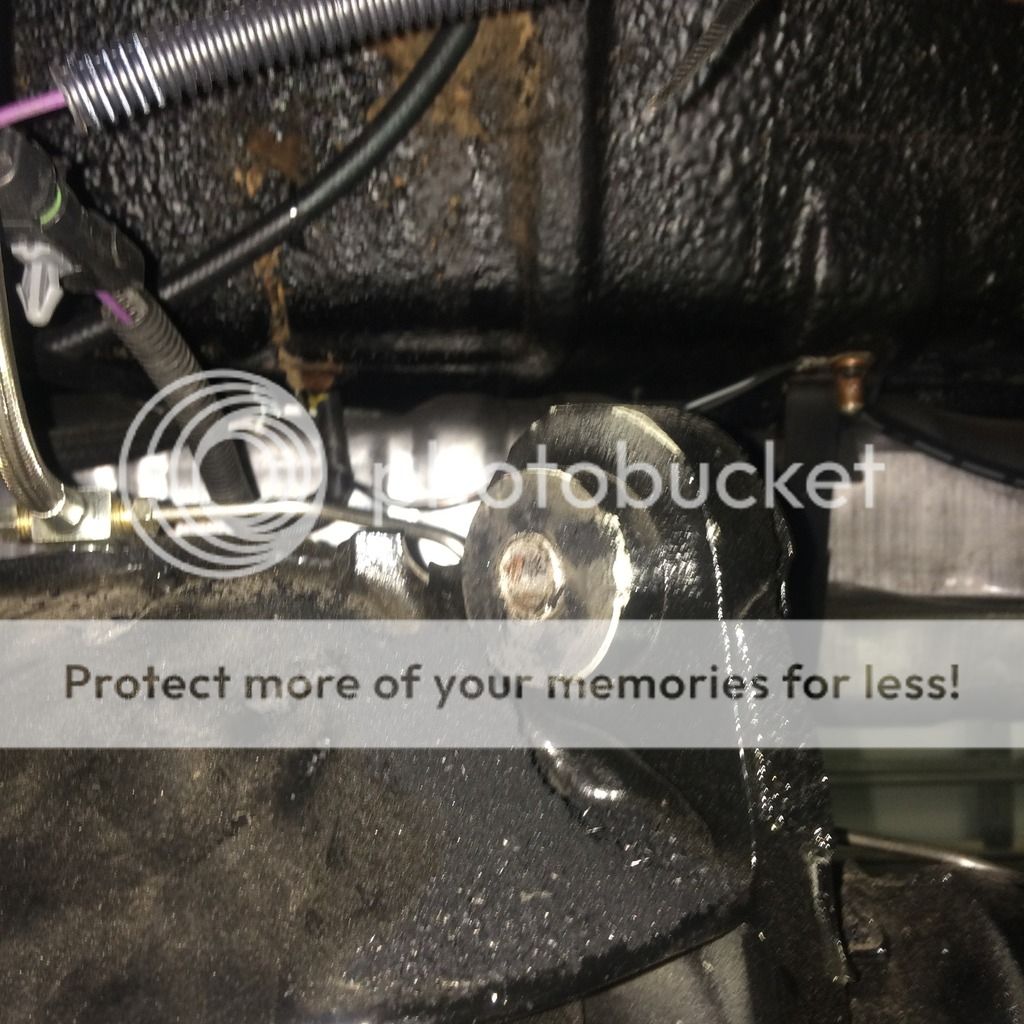
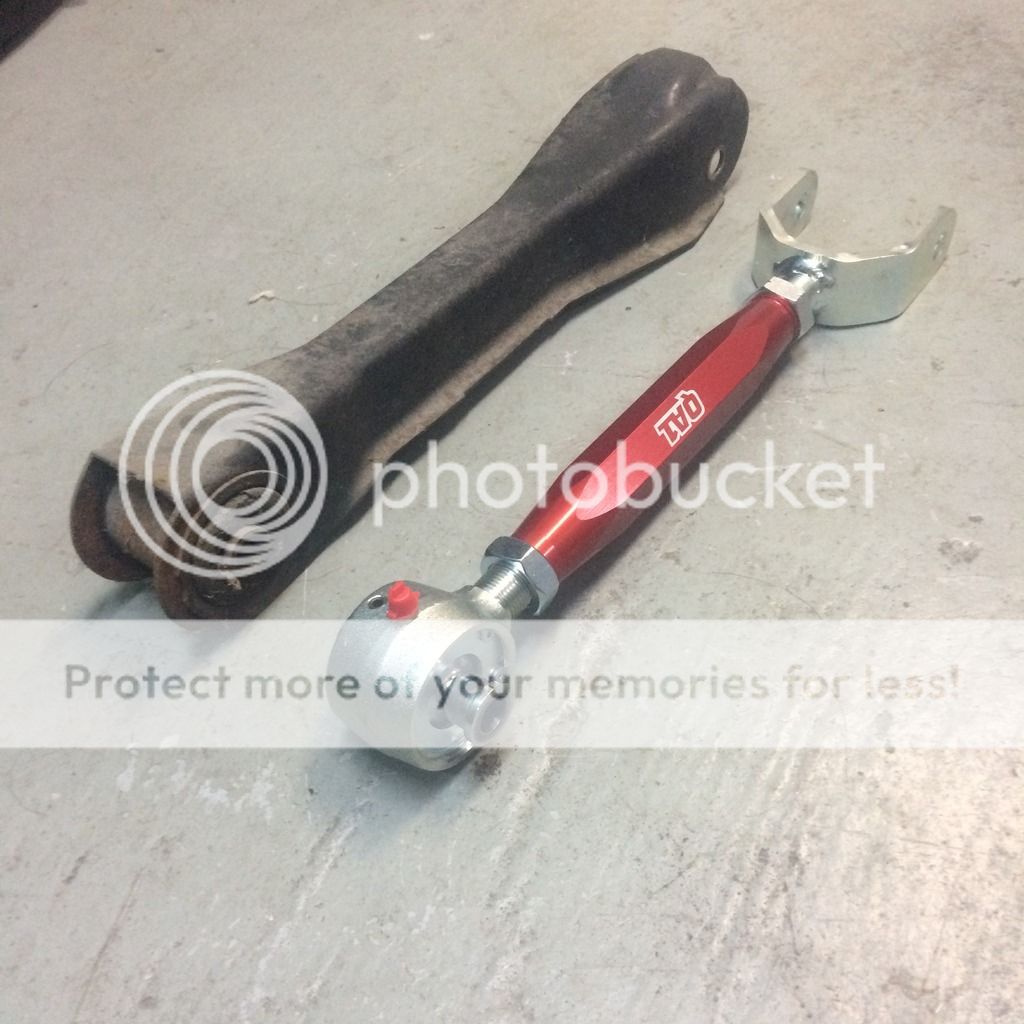
QA1 adjustable upper control arms. Pretty slick units.
Installation sucked and in hindsight should have been done when I had rear end out.
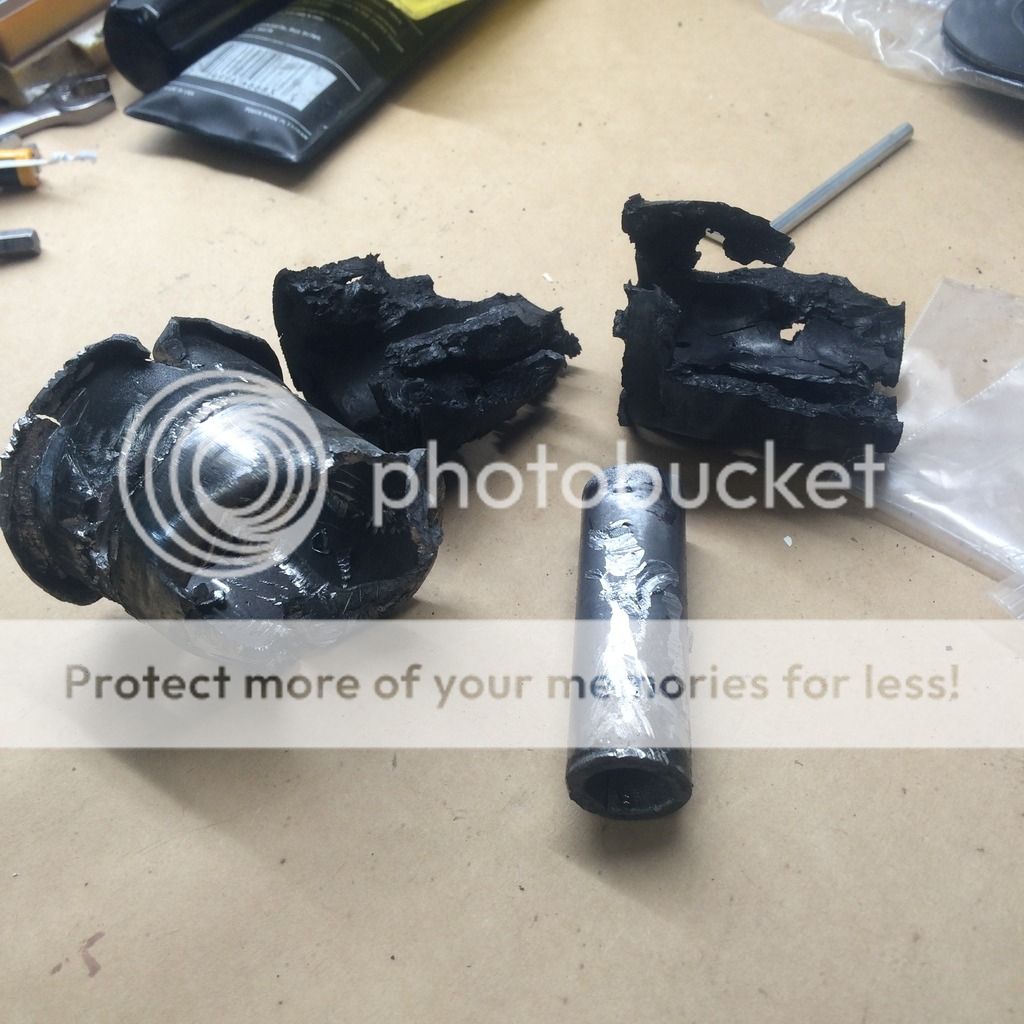
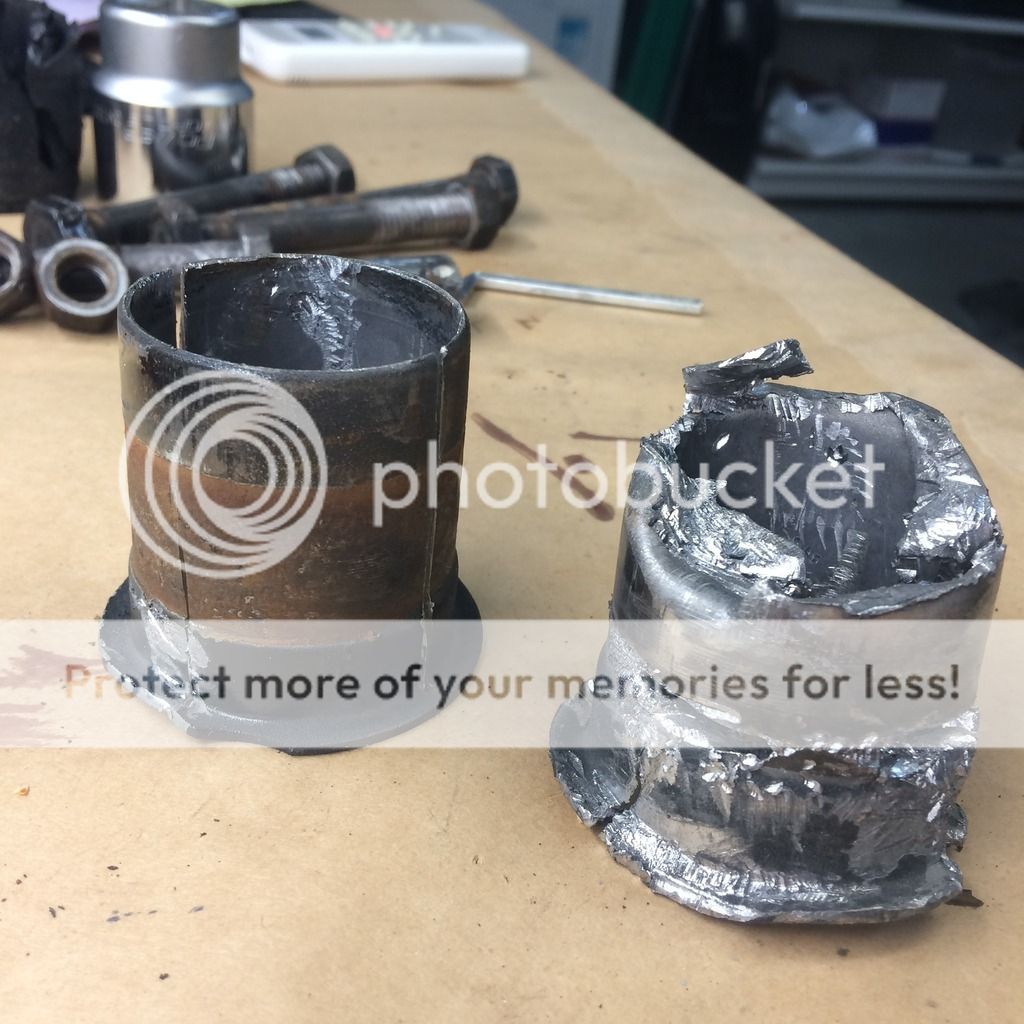
Evil bushings:


First attempt at exorcising the evil via air chisel:


Tried a different method on the second one, used a sawsall to cut the outer bushing body, so it could collapse on itself:

This is the preferred method by far.

Installed arm:


So after getting these arms in, I lowered the pinion angle downward some, and the vibration didn't really go away, but it did change some. I've also since shimmed the trans-mount some, bringing it up some (less of an angle).

My next attempt may be to reconfirm the balancing of the driveshaft, since that would be easy.
Any opinions are welcome.
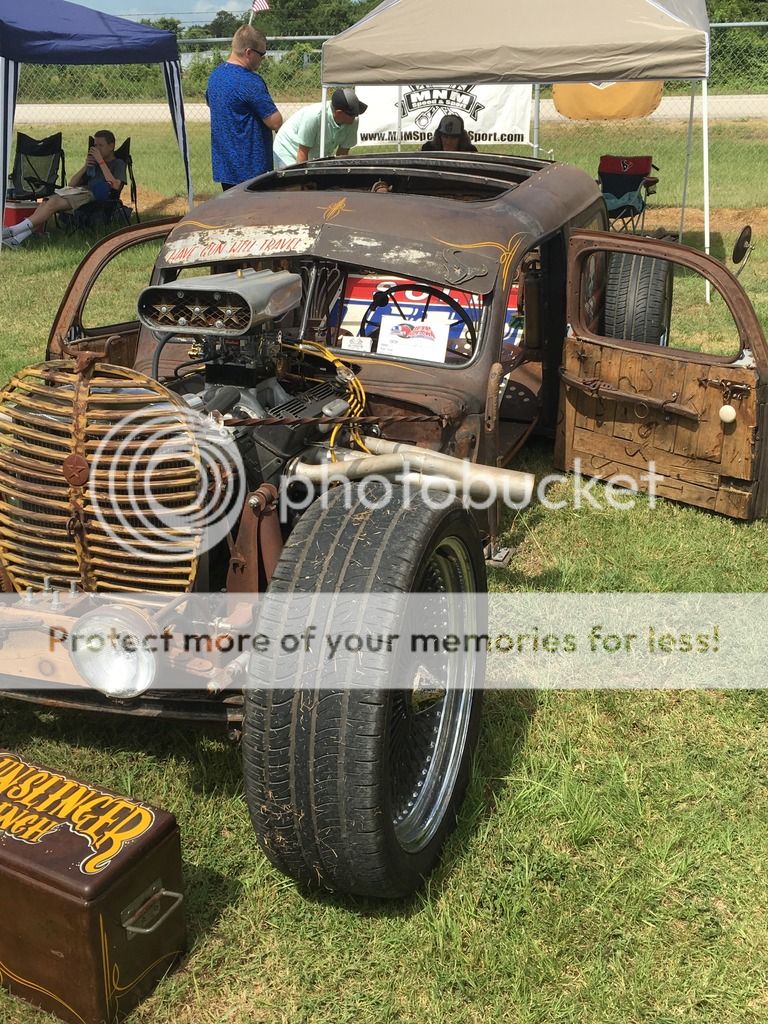
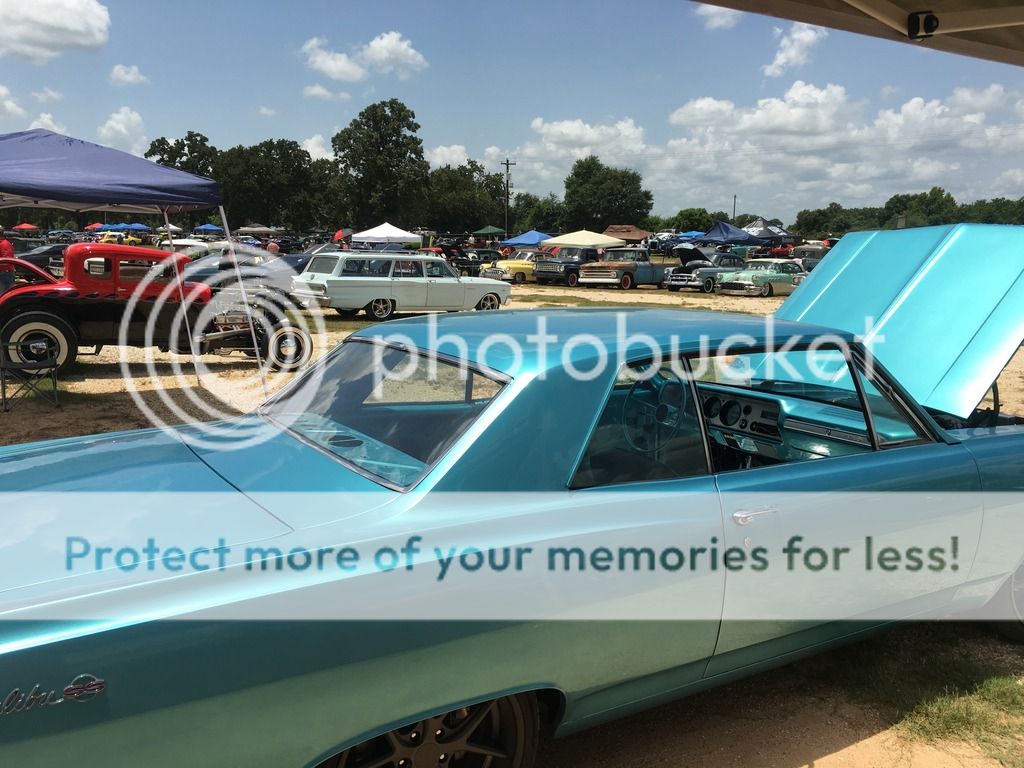
Now for the fun part. This Saturday was the rescheduled "Texas Hoedown" car show in Hempstead. It was originally scheduled back in May, but they got rained out.
I drove up to CS Friday evening, met up with friends and made the drive back down to Hempstead the next morning.
West-bound:


My buddy trailered his 2 Willys Jeeps there, they're neat:


Check in line, Rat Rod Hearse!?


Miscellaneous rides:


Whoa.


We had a good view:


There were some really nice cars there, but I was surprised in the amount of interest in my car.
I think people are drawn to the LS swap and curious about the "in-progress" look.
It's fun talking to people about it though.

Looking forward to cruising to some more shows, but maybe after it cools down.
The next project in process is Vintage Air. Hope to finish that by end of August.

(Edit: Forgot to add, I hand calculated my fuel mileage and got 21mpg for the weekend. That's mostly highway, but does include a burnout!)


lb3
How long do you want to ignore this user?
AG
agwrangler2001
How long do you want to ignore this user?
AG
quote:
Thanks for the pics, they should help me get to the end of the offseason.

Do you notice any changes in rpm just before or at the start of the vibration? Might be the torque converter unlocking.

But my money is on the pinion gear since the back sides of the gears are only ever in contact with the ring gear when decelerating. Since you had Pyle Bros. do your diff, call and ask their opinion on wether your symptoms match their experience.

You could also download an app to log the accelerometers in your phone to help you figure out the frequency of the vibration to help you rule out parts of the drivetrain.
I'm running the T-56 so torque converter lockup isn't a variable.

I did call Pyle brothers and they feel pretty confident in their set up, and think it could either be a out of balance driveshaft or the overall driveline angles.

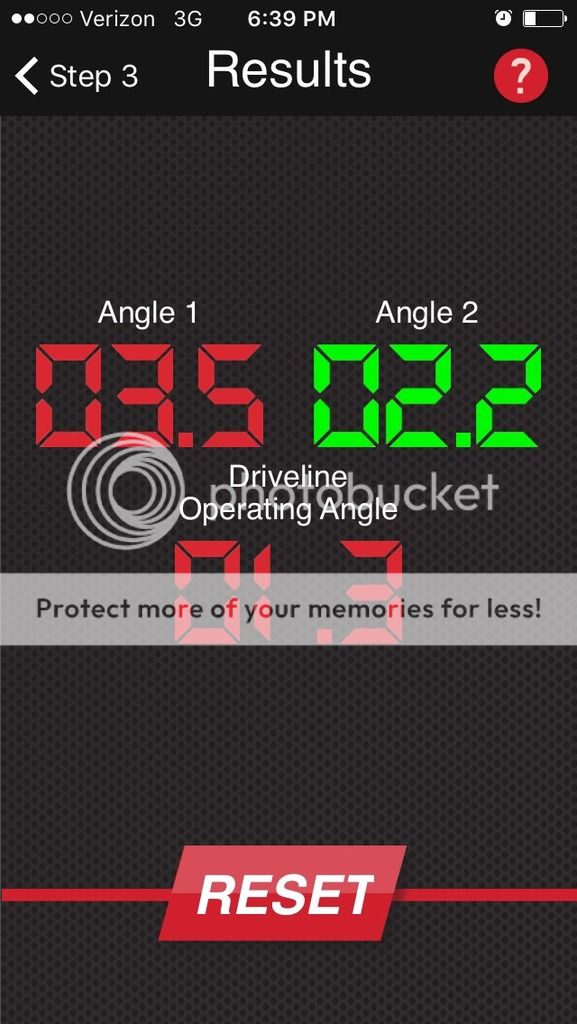
I also have been trying the Tremec app that will calculate driveline angles for you.
Here is a diagram from it.


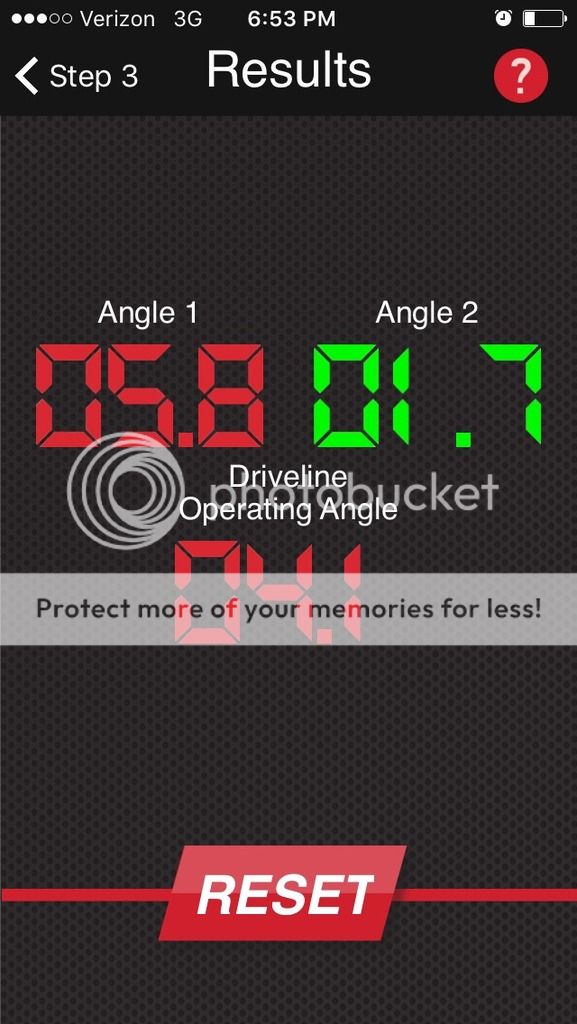
Results are a little inconsistent, but here is what I was getting before shimming the trans mount:


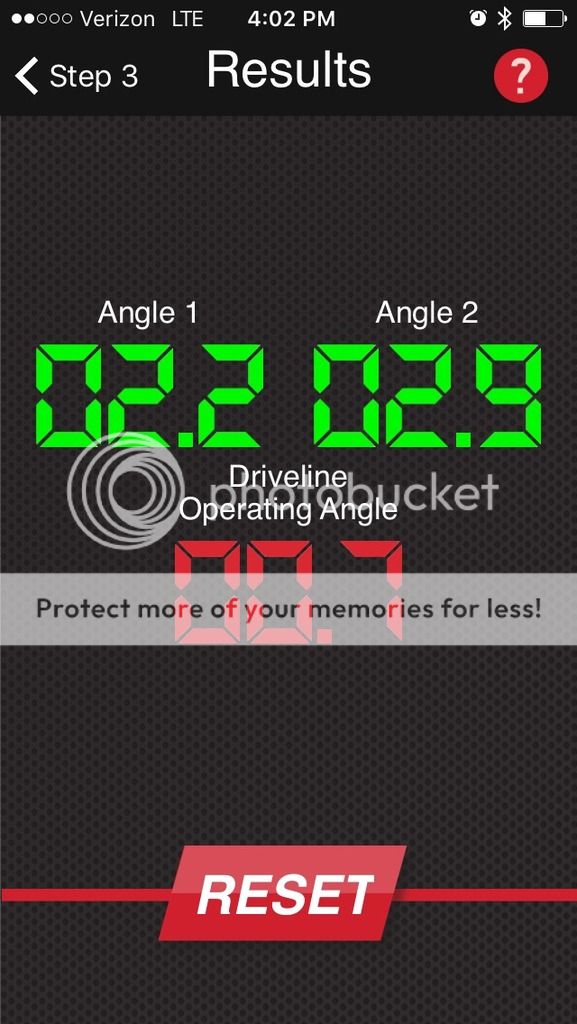
This is after shimming trans mount up a little.


I think this last reading is saying the angle 1 at trans and angle 2 at rear are acceptable, but that they are not "opposing angles" which is your preferred set up. So that would mean I need to get the rear end pointed down more I think.
lb3
How long do you want to ignore this user?
AG
agwrangler2001
How long do you want to ignore this user?
AG
Pretty excited about this latest little project. Vintage Air!
After this past weekend driving around in this Aqua colored oven, I'm moving this up on the priority list above interior.
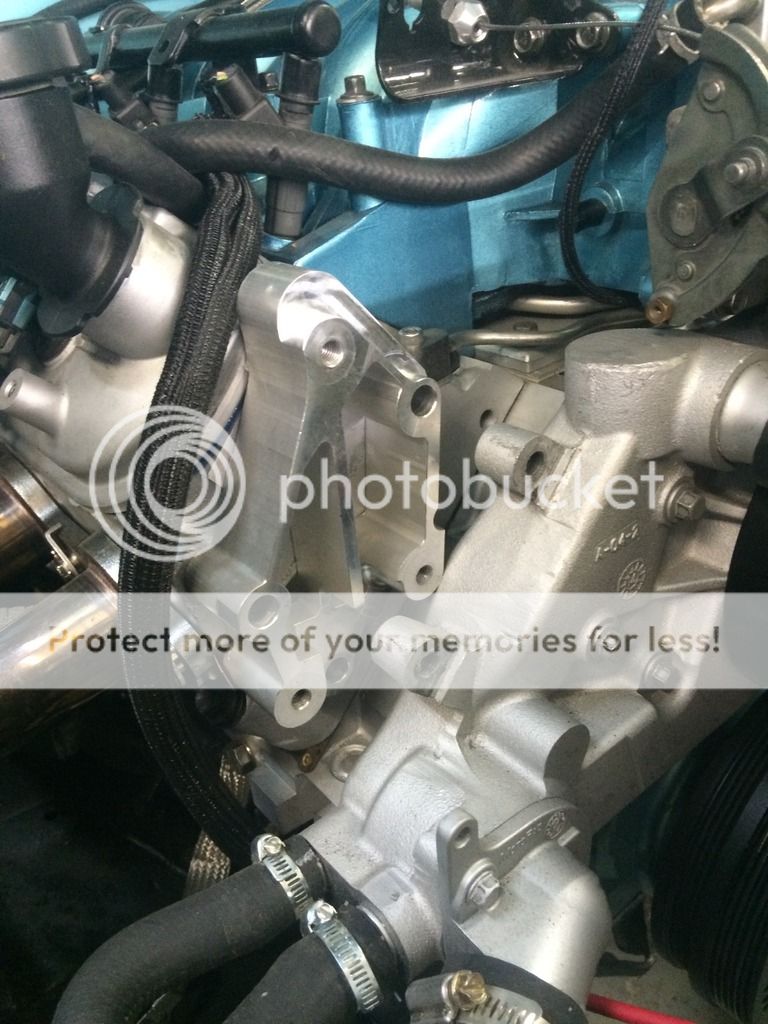
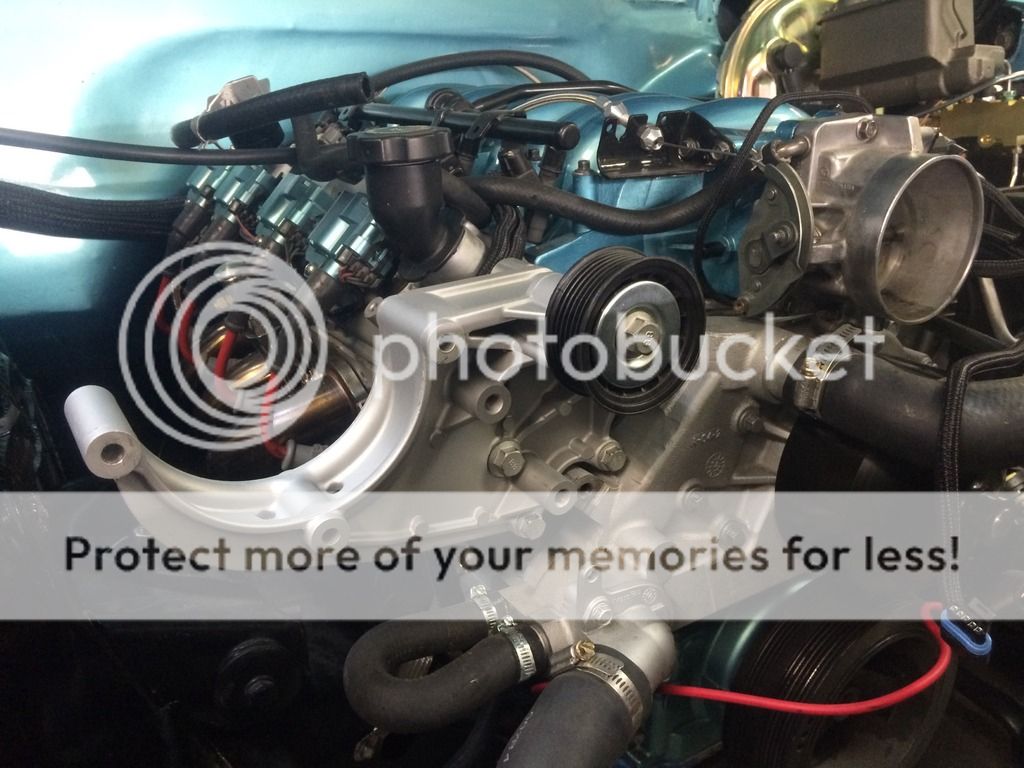
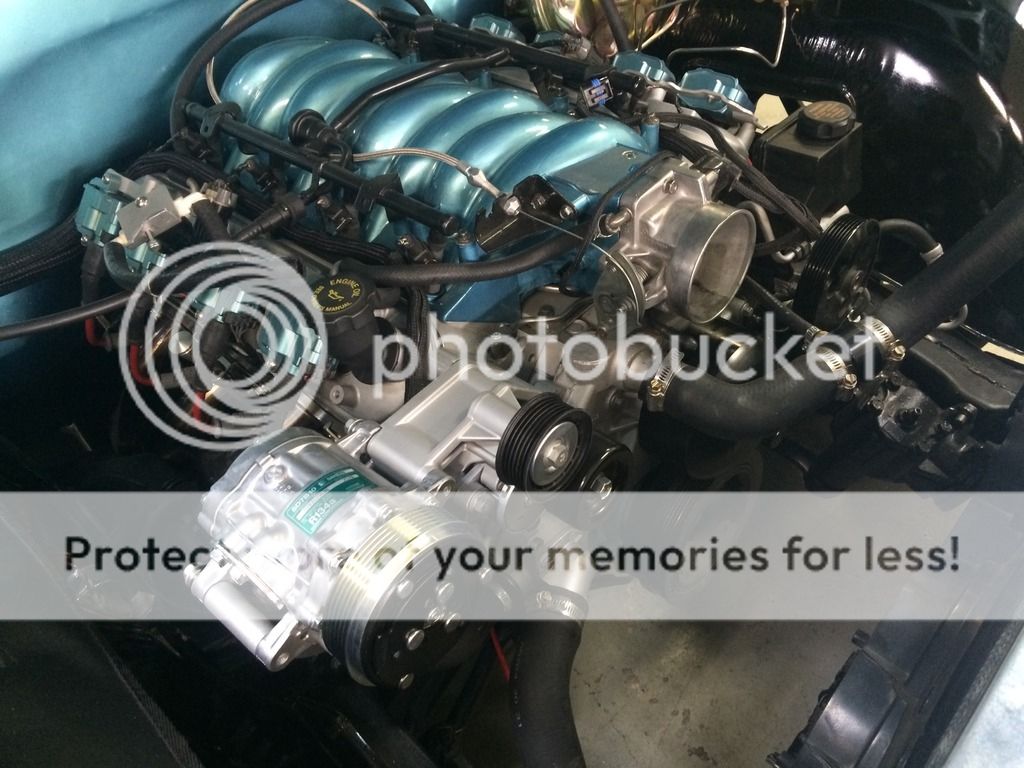
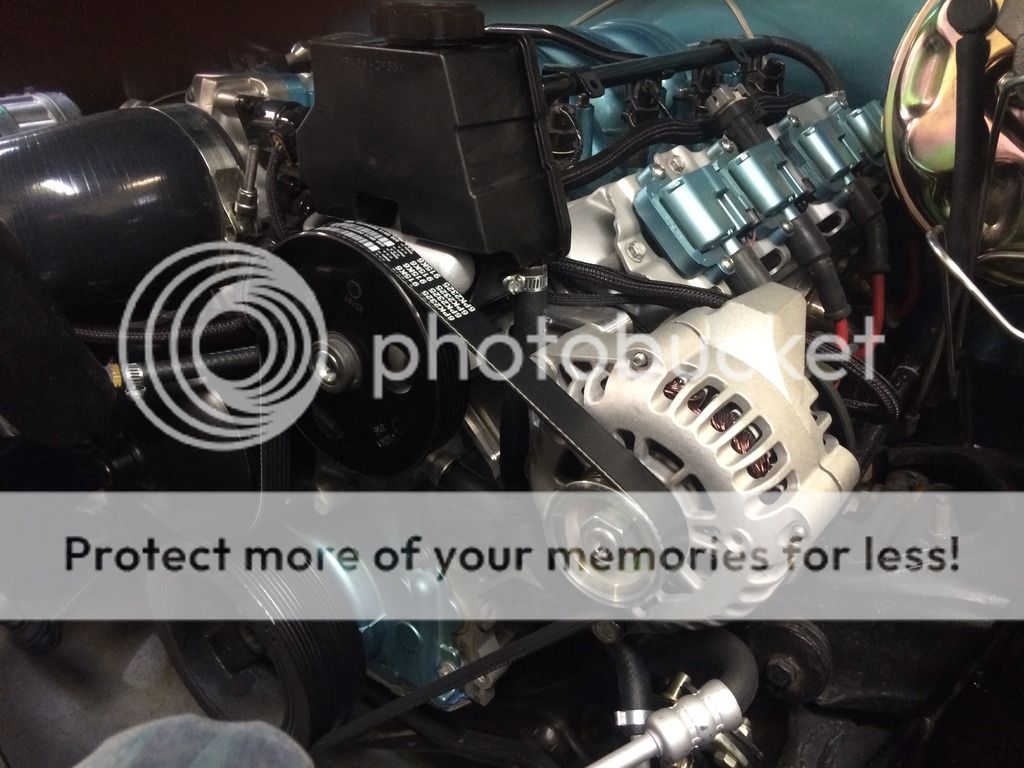
I still need to order the main kit, but I've collected all the bracketry I need to install compressor, which involves relocating alternator to driver's side. Started on that last night:

If you recall, this was the before. Alternator high on passenger side, power steering pump on driver's side


Also with Alternator is tensioner and oil catch can:


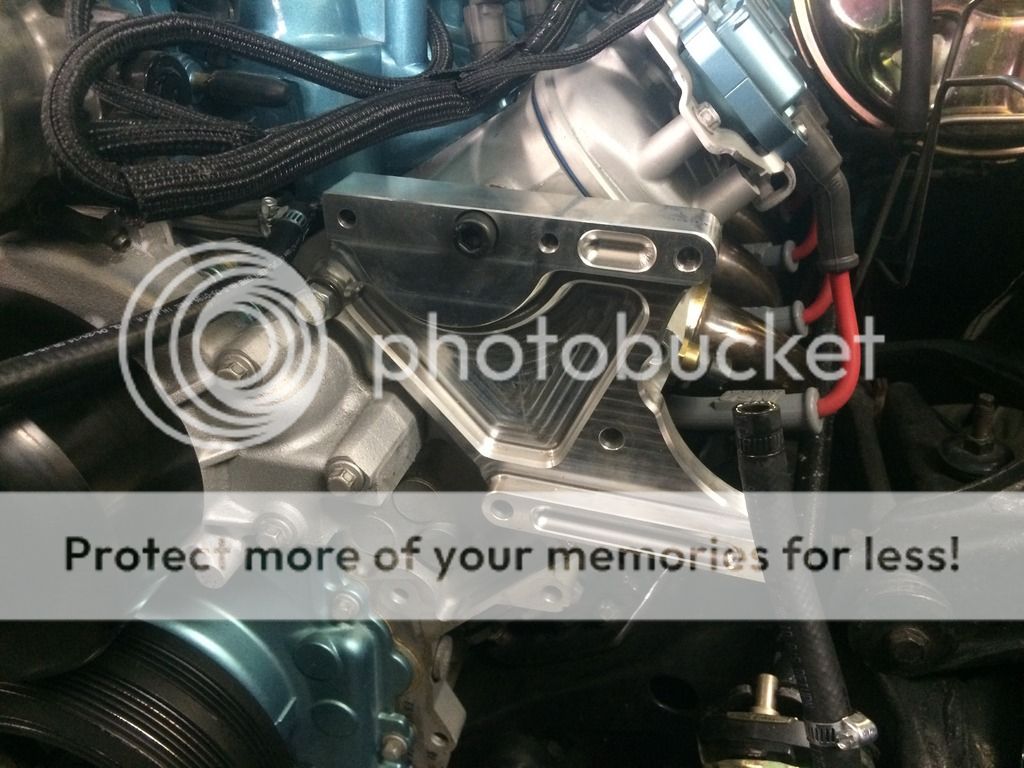
Holley Spacer piece:


Compressor bracket with idler pulley


Compressor and tensioner installed:

Still need to find a new home for the catch can....

Planning on picking up a new power steering pump this evening, as my existing is squealing and leaking a bit. That will get slightly relocated along with the alternator on another bracket.
To be continued!

agwrangler2001
How long do you want to ignore this user?
AG
So just a little update, hopefully to serve as a warning to others.

After talking to multiple people who confirmed that C&T Driveshaft does NOT dynamically balance their shafts, I decided to rule out that variable on my quest to end my drive train vibration.

Mine has no weights anywhere on the shaft. This makes no sense to me. It is common sense that when you build a shaft, the performance of it needs to be confirmed by spin balancing. Heavy metal objects spinning at thousands of RPMs, merely inches away from your body? Come on.

Here is what I found after taking it to Houston Drive Train.

(Keep in mind this driveshaft MIGHT have 600 miles on it.)

  • Both U-joints had damage to them, most likely when installed onto yoke.
  • Driveshaft itself was so far out of tolerance it had to be cut and rewelded.

I did contact C&T regarding the vibration issue, and they said to bring it in for them to look at. I've been told that sometimes C&T sends their shafts out to Houston Drivetrain for balancing.
At this point, as I've lost my confidence in C&T.

If I could do it over, knowing what I know now, I would definitely not spend my hard-earned money at C&T.
CDUB98
How long do you want to ignore this user?
AG
That's BS. Any drive shaft company that doesn't balance their shafts should never see another customer.
Aggietaco
How long do you want to ignore this user?
AG
Hopefully that solves your vibration issues. Having that checked was going to be my first suggestion while catching up with your posts. Hopefully C&T takes care of you as well, if not, head on over to Yelp and add to their single 5 star review.
lb3
How long do you want to ignore this user?
AG
Leeman
How long do you want to ignore this user?
BTW, you need to keep us up to speed on a more regular basis. ;-)
agwrangler2001
How long do you want to ignore this user?
AG
quote:
BTW, you need to keep us up to speed on a more regular basis. ;-)
I'll try harder! Some of the mini-projects aren't as numerous anymore, which I guess is a good thing.
I did finish the accessory drive modifications for the AC systems however. Here's the outcome:


Here's the bracket I bought from someone on LS1tech. They couldn't get it to work for their application.
Think they got it from Speedway motors.


With pump body and alternator installed.


Finished bracket install:


The brackets were pretty straight forward. It took longer to lengthen and re-route my main alternator wire and figure out where to put the catch can than anything else. As you can see, the power steering lines needed some re-routing also.

I'll take a pic of the finished set up this evening.


Ended up driving up to the Lowe's cruise in this past Friday for a bit.
2 separate LS-swapped cars showed up I hadn't seen before. One was an early 70's Nova with a HUGE turbo.
The other was this one, an 80's era Malibu. Pretty cool, also turbo'ed. Had to put a notch in his hood for clearance though!


By the way, driveshaft vibration is gone. Imagine that.
agwrangler2001
How long do you want to ignore this user?
AG
Got some "cool" updates today! Got my Vintage Air kit ordered and it arrived at the local retailer this morning!
It's the Gen IV kit that is designed specifically for First Gen Chevelles. Interior set up will look like this basically:


Interesting side note, Roger Lewis is the local Vintage Air dealer, he's consistently one of their top retailers. His shop is like 2 blocks from my house.
He told me he was averaging about 60 units installed per year! I also heard that he has done installs for the owner of Vintage Air, so that says something. At any rate, after talking to my neighbor and Roger, they both feel I should be able to handle doing the install myself, so that is the current plan. Once I get my lines mocked up, Roger can crimp them for me, and he will test the system and then charge.

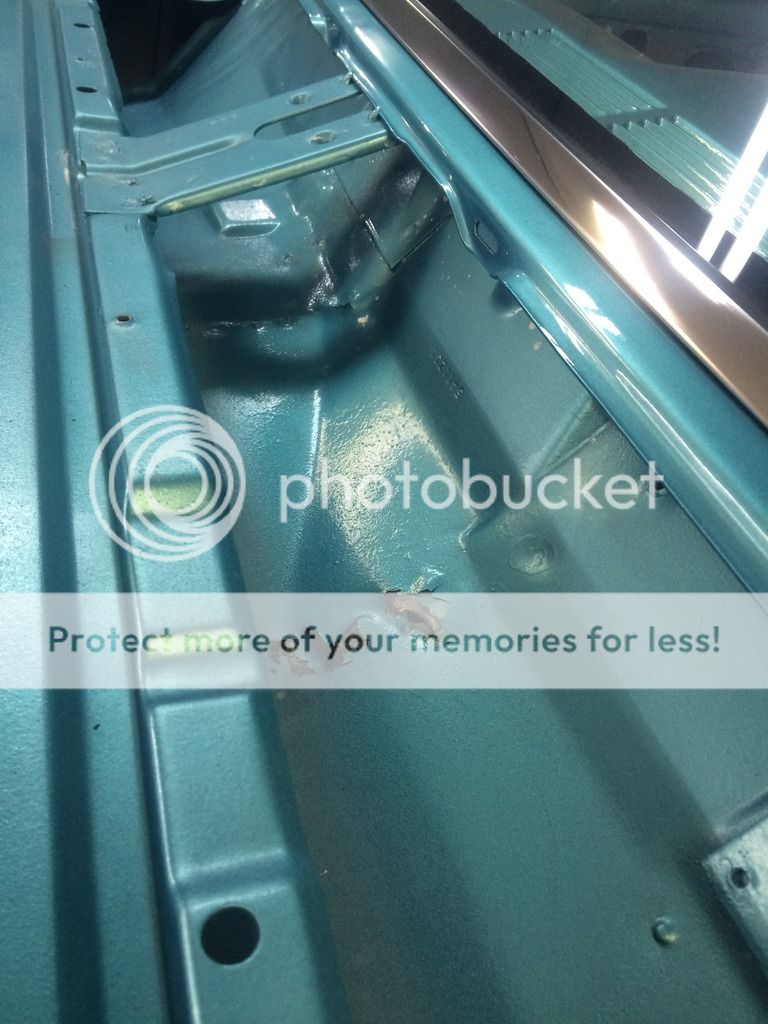
Anyway, I downloaded the instructions for the AC unit, and decided I'd try to tackle what I could in the meantime. The worst part of install may be that I need to, at least, pull the inner fender to access where lines will run through firewall.

First off was to remove the factory defrost metal ducting under the dash. That didn't go very smoothly:


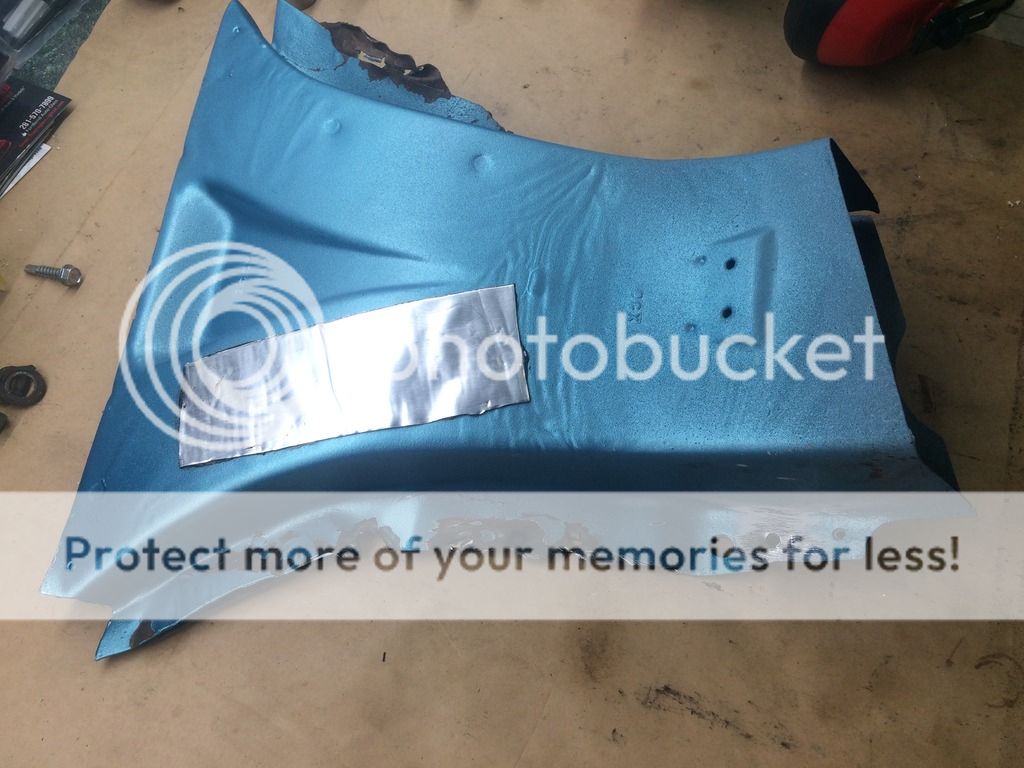
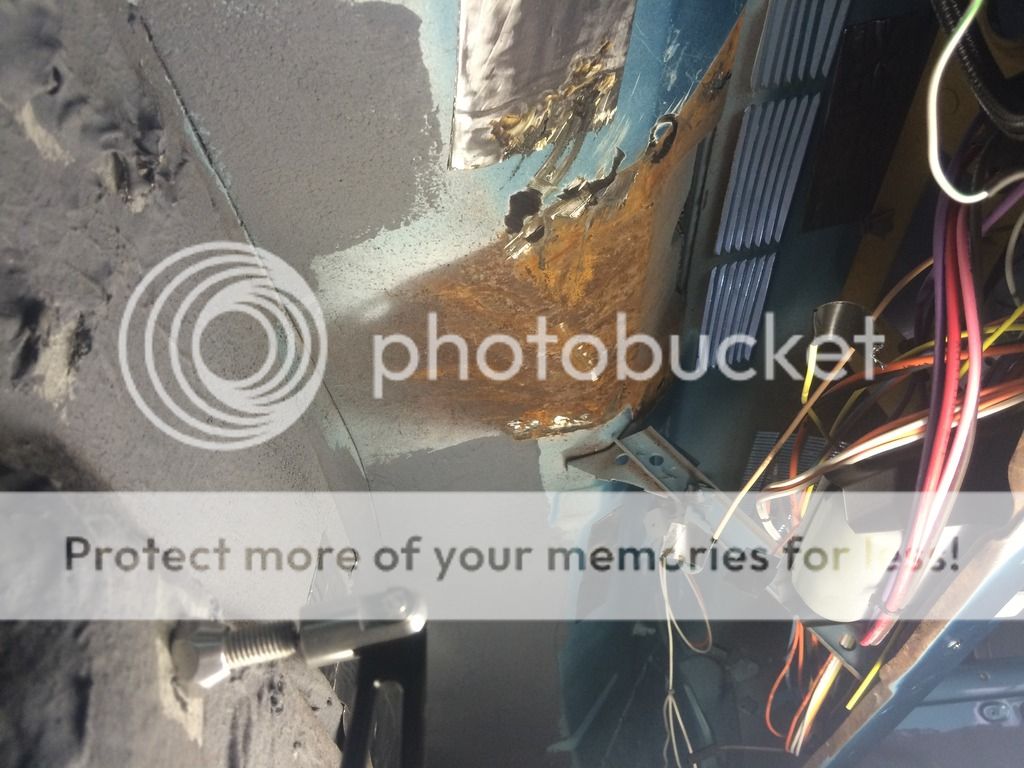
Ended up punching some holes in the cowl on accident. The cowl panel will hide it some, and eventually so will windshield wiper arm. I need some more paint mixed up to touch it up though.


After this, I removed most of the surface rust and coated it with my ceramic microbead paint, and then put some peel and seal over that.


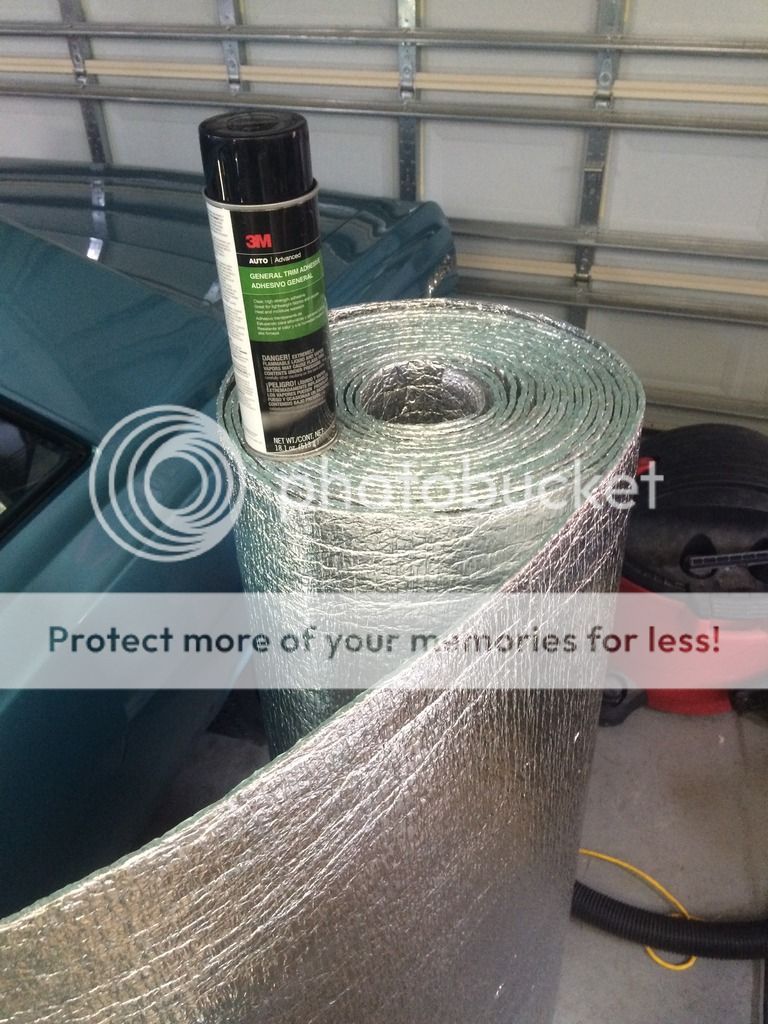
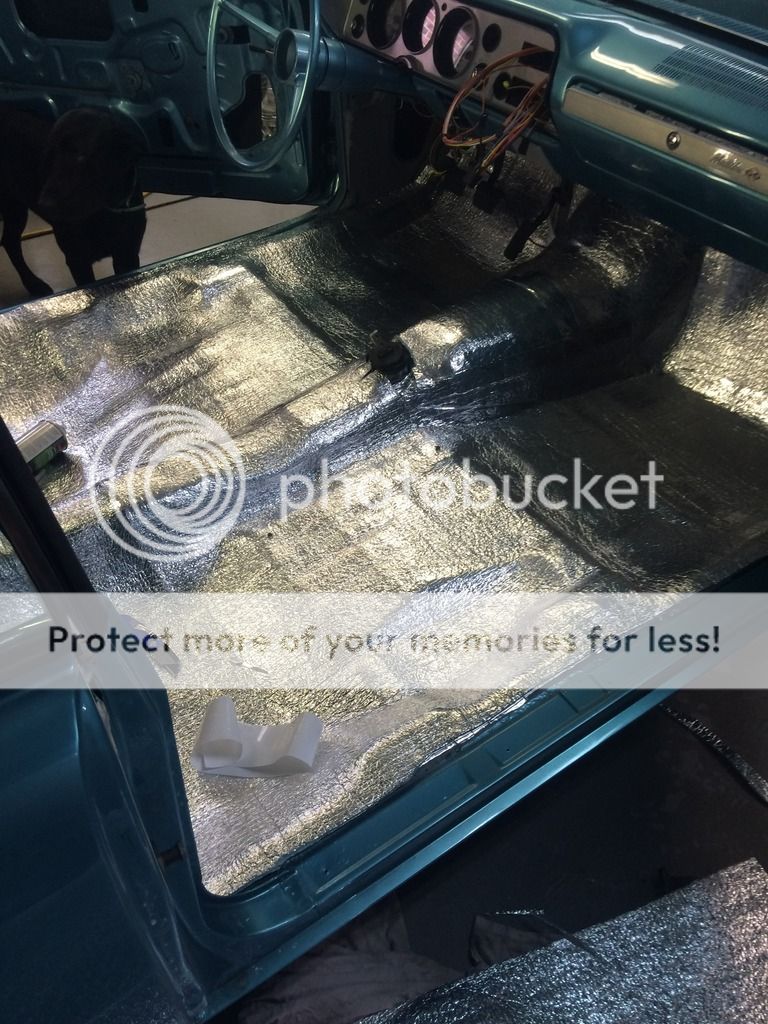
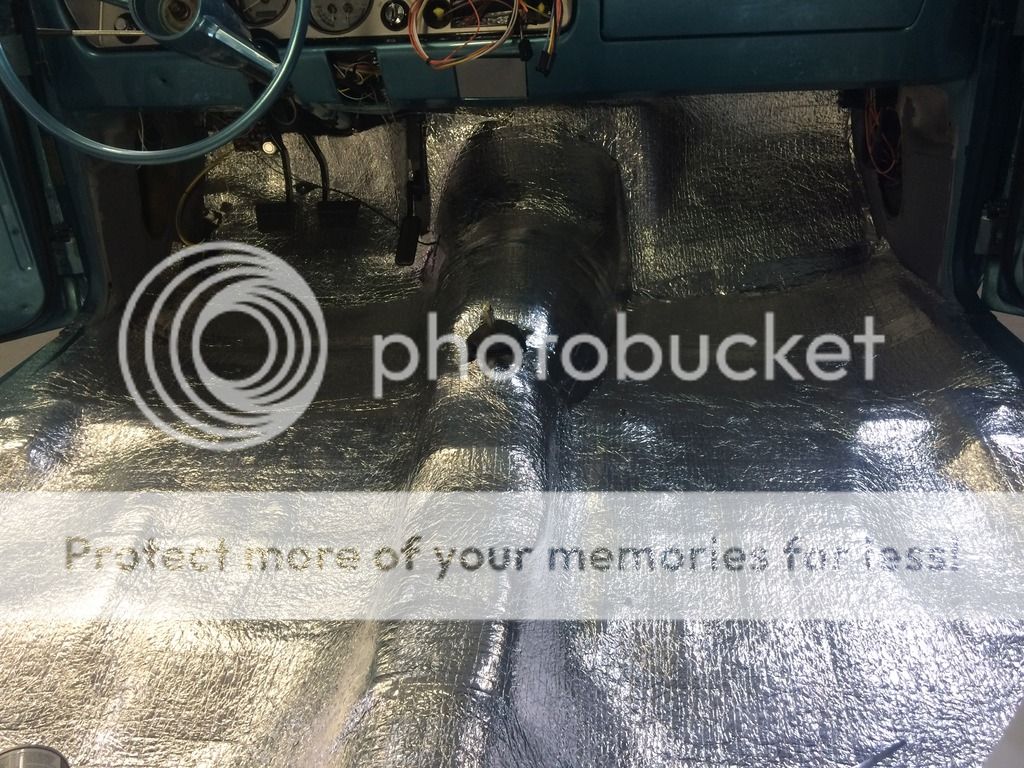
On another related item, I ordered a sample of EZ-Cool, which is a insulation product that seems to have consistently high reviews. It is a dual foil backed closed cell foam, and seems to work well:
Here is a highly scientific test I performed on my garage door with full sun hitting the outside of it.
I was consistently seeing at least a 10 temperature drop with just the EZ-Cool.


So I went ahead and ordered enough to do the whole interior, and that should show today as well.


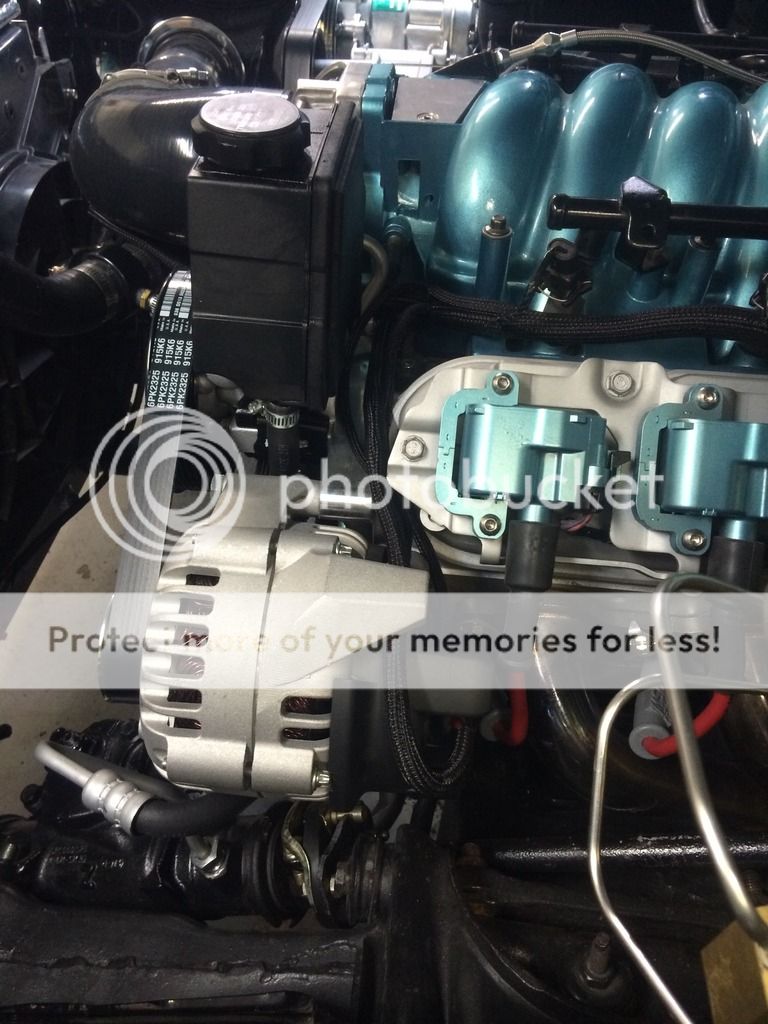
Lastly here is a shot of the completed driver's side alternator and PS pump setup:


Alternator a bit tight up against temp sender and spark plug, but everything fits and works so far.


I'll try to post some updates tomorrow once I get the Vintage Air stuff all unboxed! Very exciting!
KRamp90
How long do you want to ignore this user?
AG
Very nice!
lb3
How long do you want to ignore this user?
AG
agwrangler2001
How long do you want to ignore this user?
AG
quote:
Great job.

Will those holes in the cowl be a leak issue? If so will you we welding in a patch?
The short answer is yet, it will be now that there is a hole or two. Not real sure what my course of action should be right now, patch a piece of metal in, or??

I may take a closer look this weekend, as the Vintage Air defrost duct allegedly screw into the cowl area. I may see where that ends up before I make a plan.

lb3
How long do you want to ignore this user?
AG
agwrangler2001
How long do you want to ignore this user?
AG
quote:
Hope you don't have to remove the carpet or A/C to close those holes up.
No it's actually on the overhead area of the cowl, so neither should be an issue.

I put some good time in this weekend, here is what I accomplished:

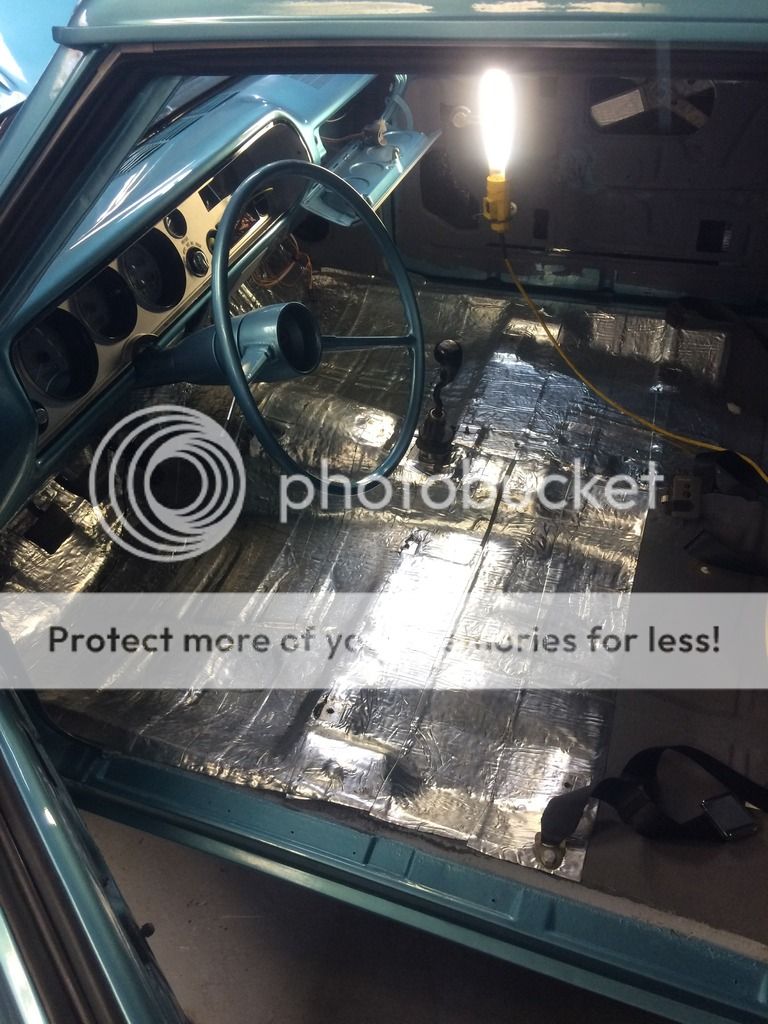
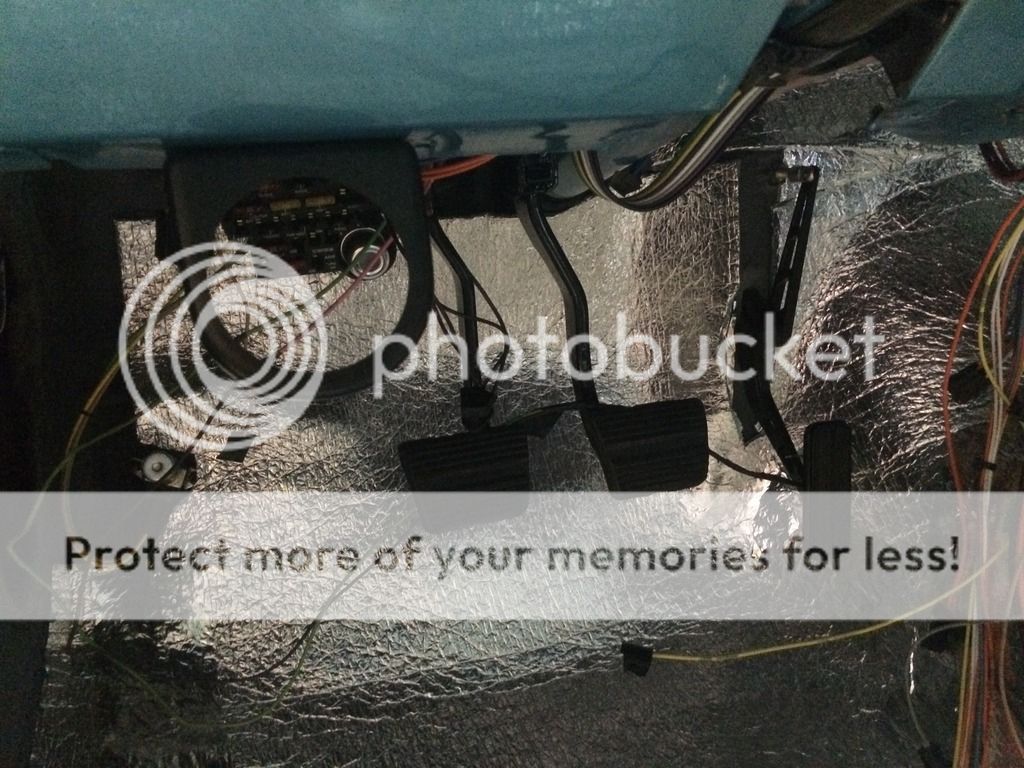
Pulled the seats out so I could install the EZ-cool insulation:


The goods:


Started on the firewall:


This stuff really lays down pretty good, overall I'd say it's pretty easy to work with.


All the seams taped:


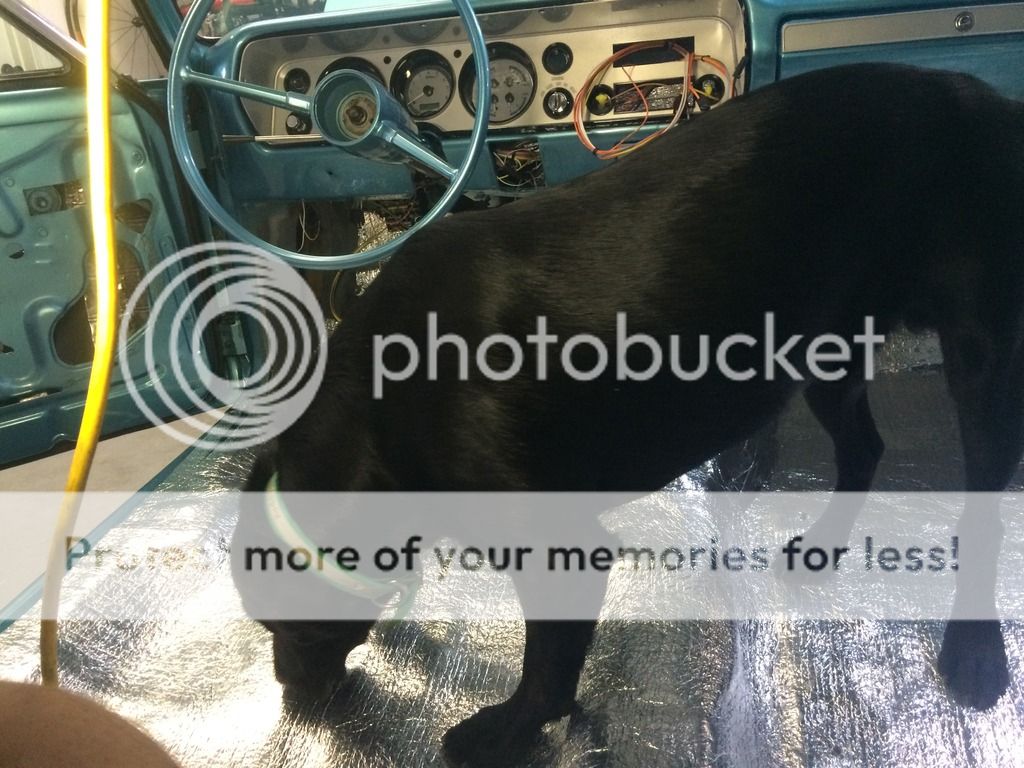
Inspection provided by my assistant:


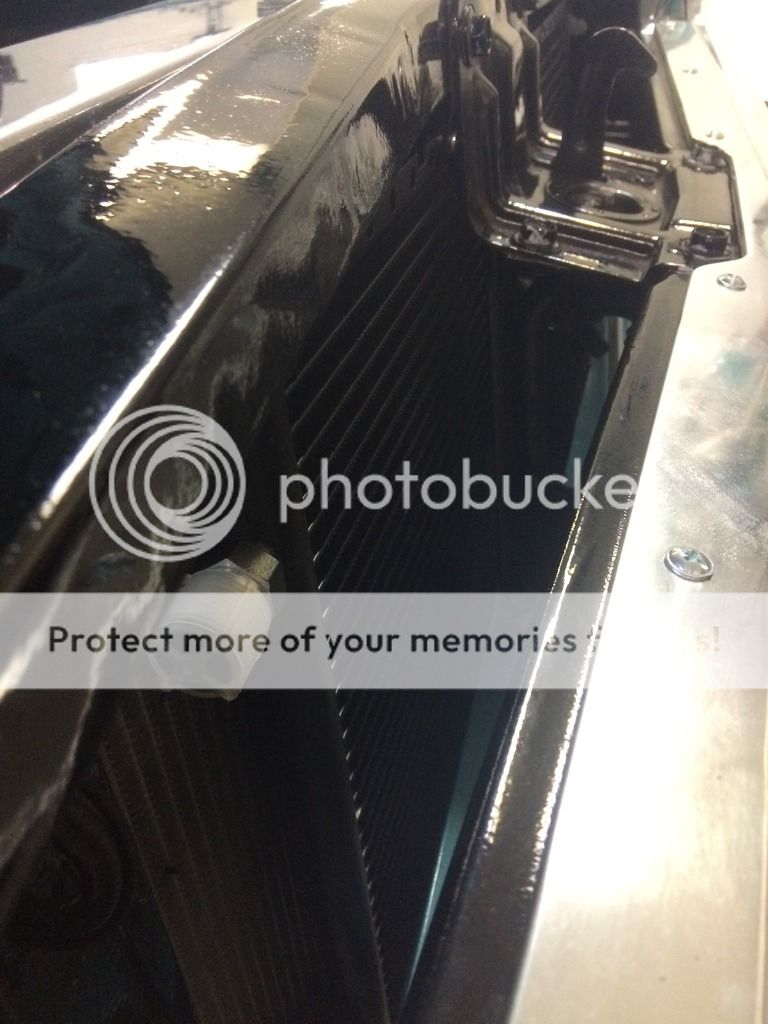
On to the good stuff, got the condenser installed without too much trouble. Good fit.


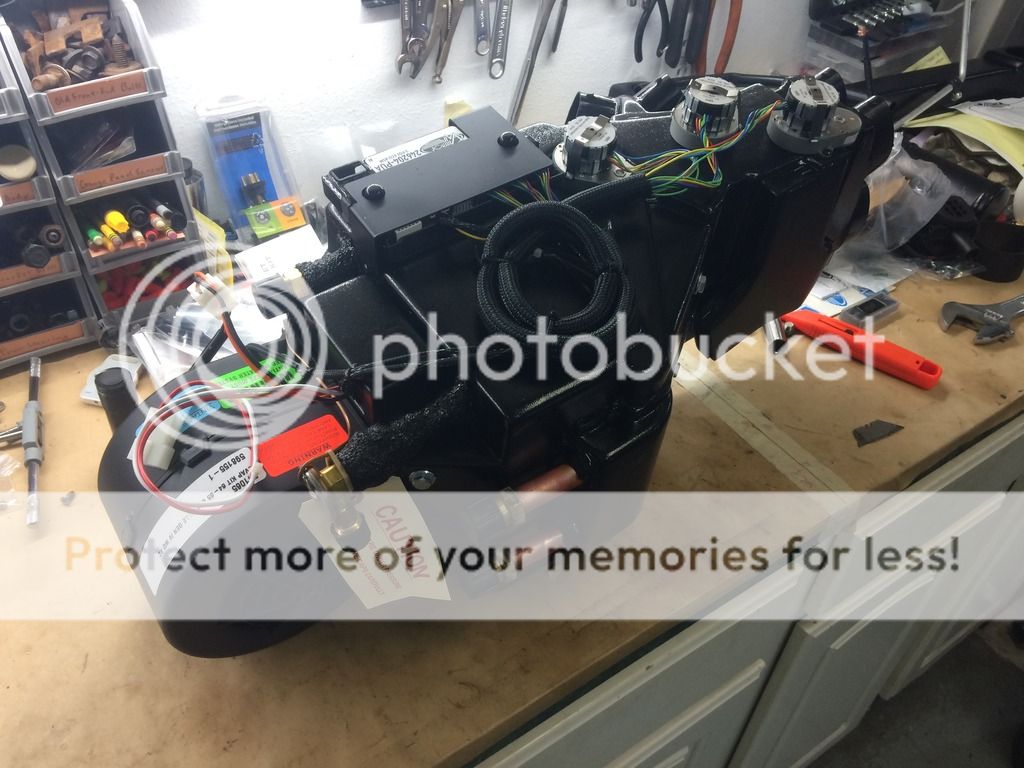
Here's the money shot. This thing is pretty impressive. Very compact and light.


I had to pull the passenger side fender liner again so I could access the firewall and route my hoses. It was a little easier than last time, but not much. Here is the bulkhead fitting that will going in.


I had a 5" hole saw, but it definitely is not made for cutting metal. This is after an hour or two using it, a death wheel, sawzall, and an air cutoff tool. I'm going to see if the AC dealer I bought unit from has a metal hole saw before I ruin anything.


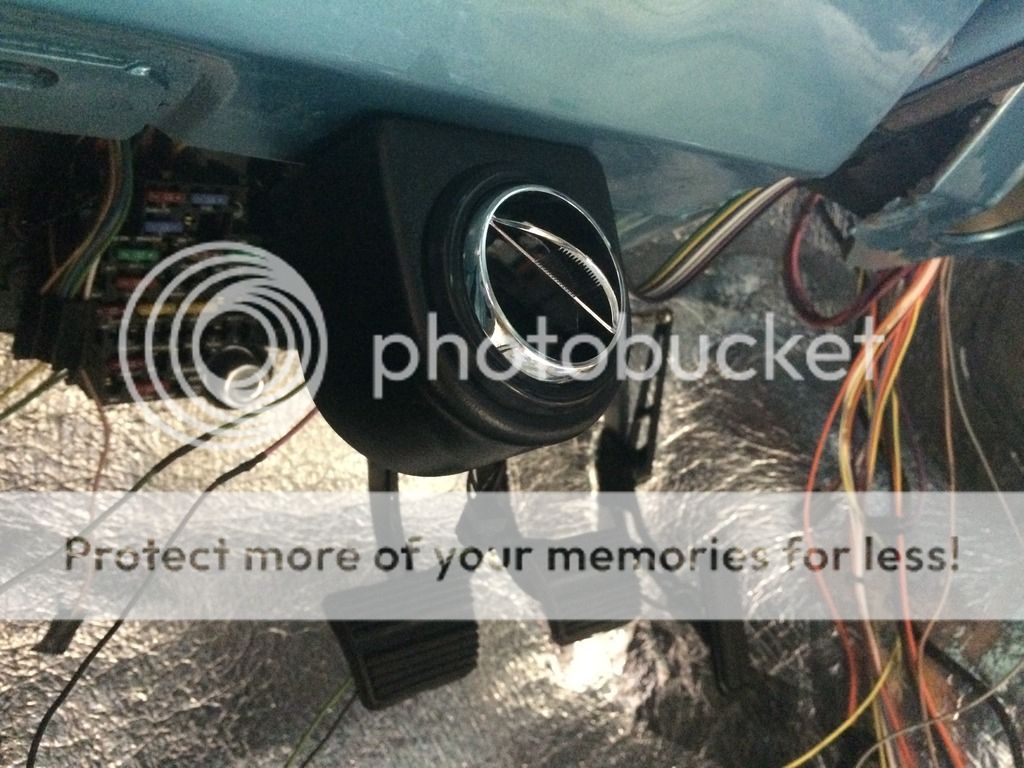
I moved on to other things, like mounting the driver's air vent. It mounts to factory holes in the lower dash, which I had previously mounted my Dakota VHX control buttons in, so I'll need to find a new home for those.


Cold air coming soon:


Hope to continue the good progress this week!

GrapevineAg
How long do you want to ignore this user?
AG
Nice!
lb3
How long do you want to ignore this user?
AG
agwrangler2001
How long do you want to ignore this user?
AG
quote:
No pressure, but you've got less than 3 weeks to button everything up before hunting season starts eating into your car time.
FIFY.
agwrangler2001
How long do you want to ignore this user?
AG
Well progress on AC install has been slow but steady. Here is what I've done since the last update.
I finished cutting the firewall bulkhead hole out. I ended up buying a crappy HF pneumatic metal saw.
It would only work about 1 out of every ten times I pulled the trigger on it. But eventually I finished cutting the hole.


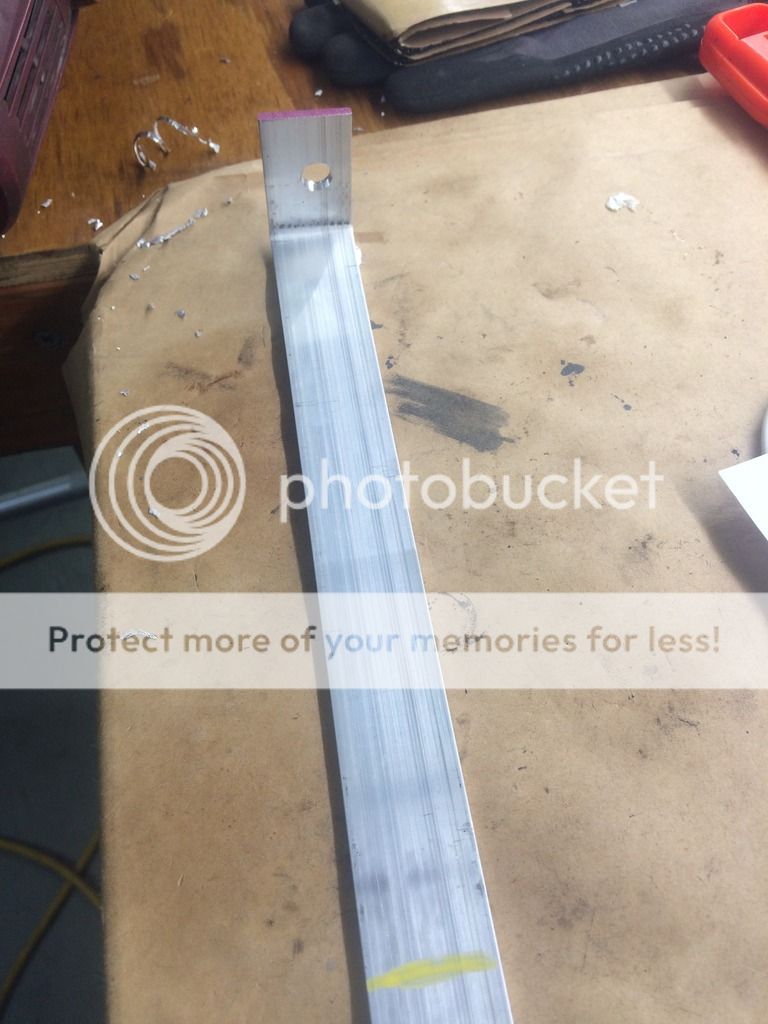
Decided to make some custom brackets to mount the condenser unit. Hand bent some aluminum stock and drilled my bolt holes.


Bent the tabs to match the contour of firewall cowl.


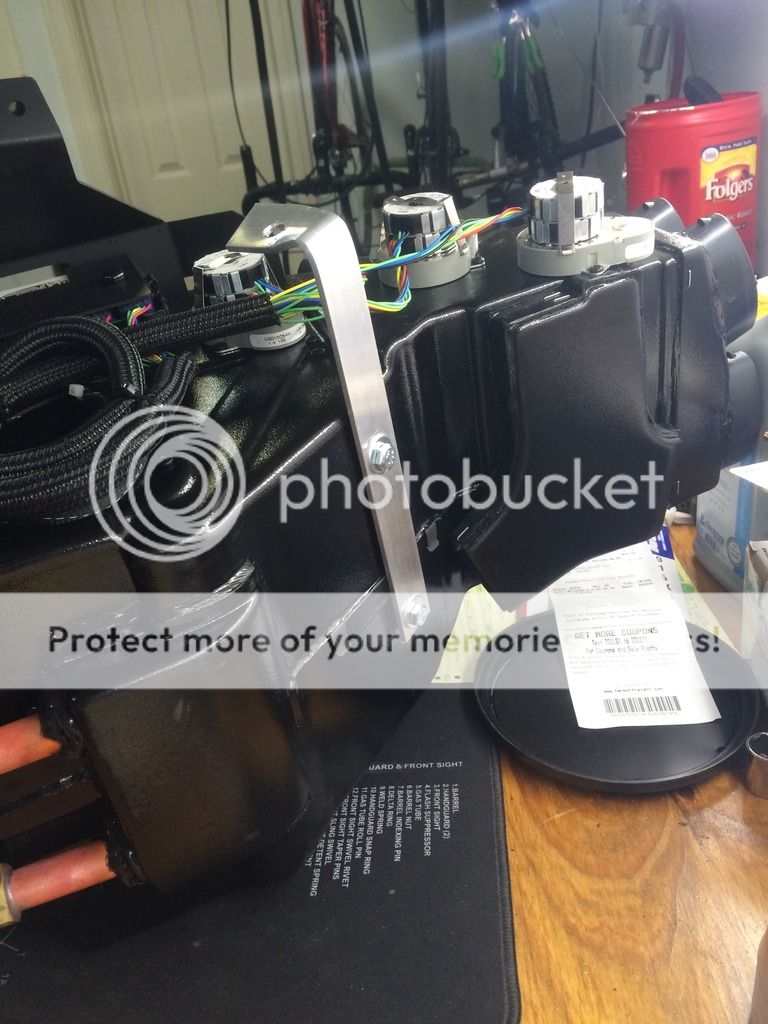
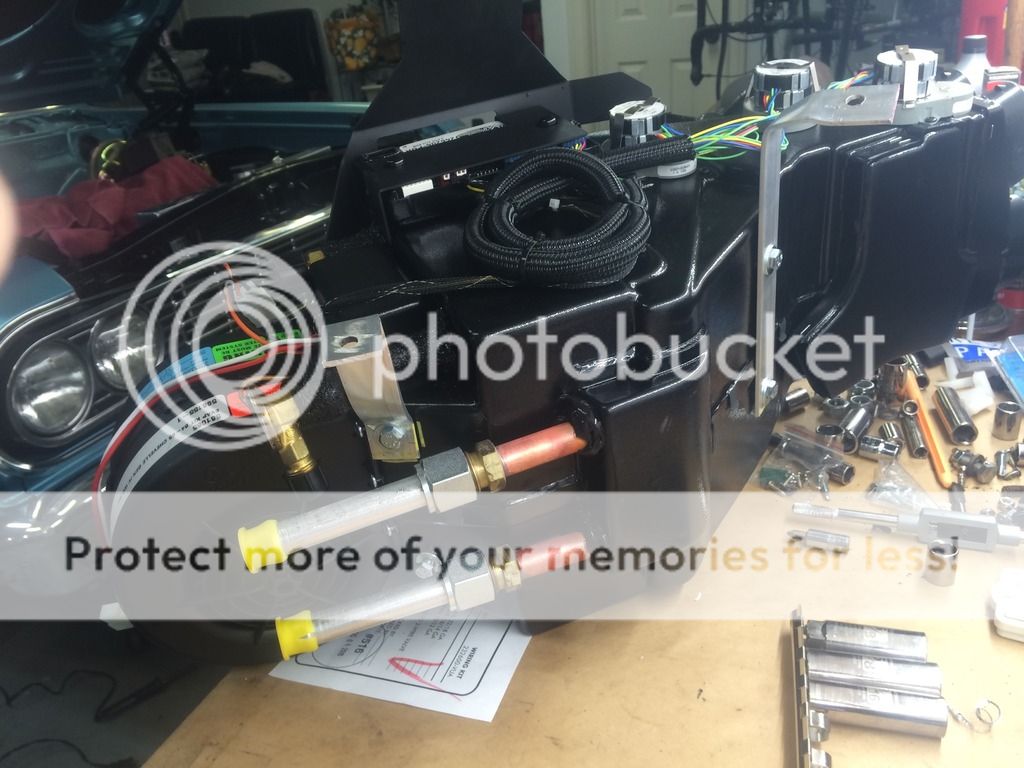
Both mount brackets installed, the two fittings seen here are the heater lines.


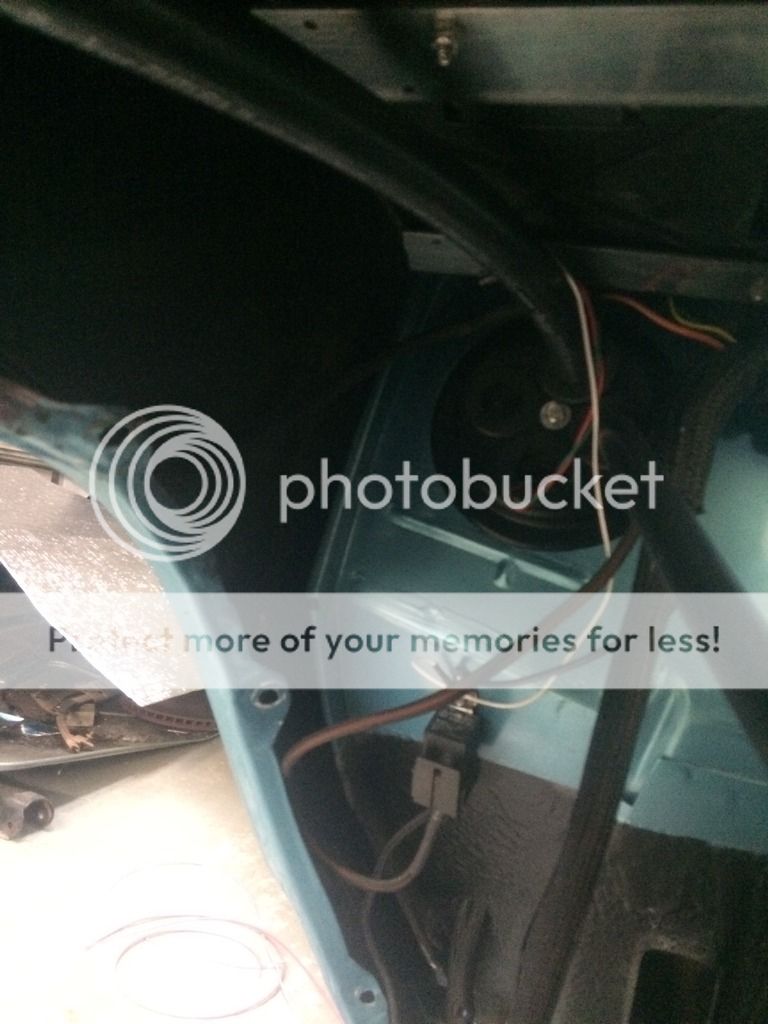
Here is the unit bolted up under dash. Fits pretty good considering my altered firewall.


The custom brackets fit flush against the top cowl area. I decided this would be the best option as it keeps hole out of my firewall, and the mounting bolts are almost completely hidden.


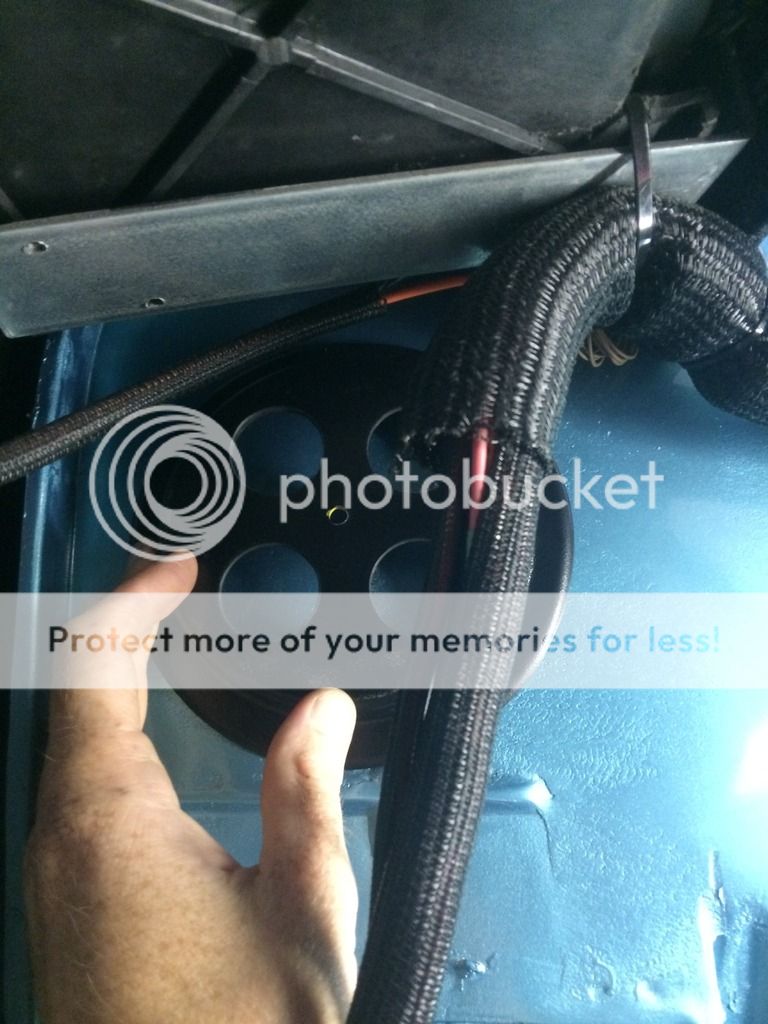
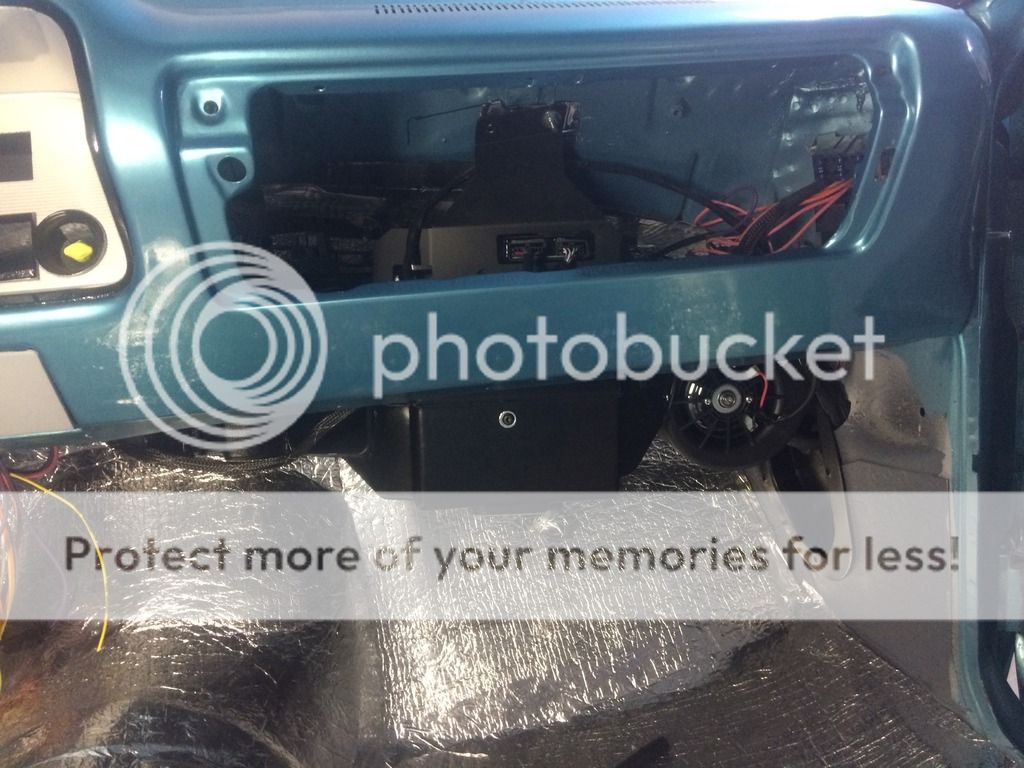
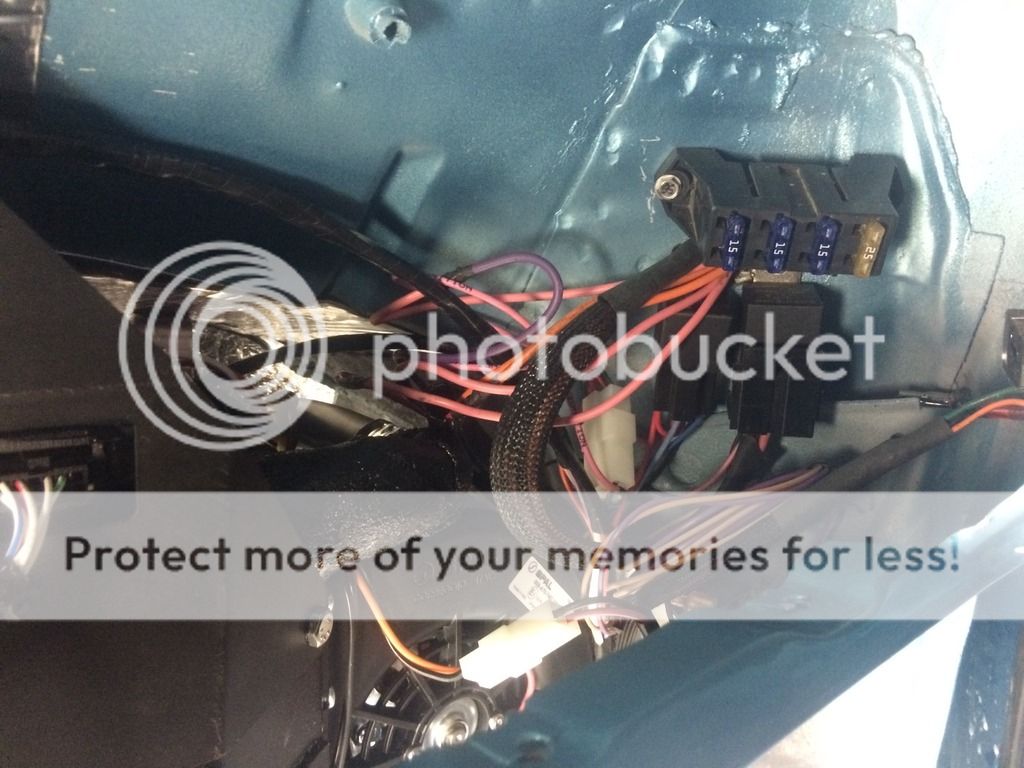
Here is the area behind glove box door I picked to mount the assorted relays and fuse block from the PCM. One relay goes to the Vintage Air harness. It's kind of a birds nest, but wont be visible once its all buttoned up.


The vintage air system has a condensation drain, which requires a hole in the floor pan. Here it is all plumbed up. I may go back from firewall side and put some seam sealer around the hole just for good measure.


Duct work in place. You can also see the potentiometers hooked up to the original AC controls. They remind me of glow sticks. I've cleaned up the wiring since this pic.


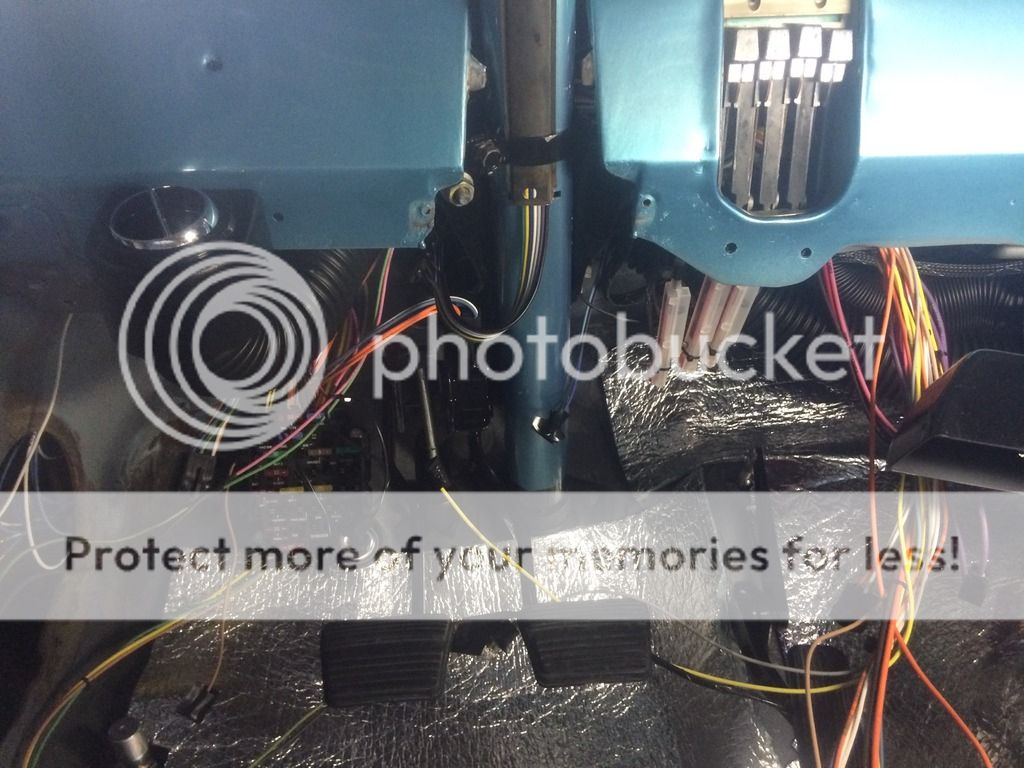
Speaking of wiring, that's the main thing left. I've been planning out the layout for the engine bay.
The main issue I've had is thinking through the cooling fans. Basically you want a cooling fan to come on when the AC is on (possible exception is at highway speeds when evaporator has enough airflow over it).

So, I'm using a trinary switch, which will control the compressor clutch engagement, as well as send a signal to operate a relay for a cooling fan. For reference, here is the trinary switch wiring diagram.


Originally I thought I would just tandem the trinary signal to the high speed/temp fan relay, which is controlled by PCM. The trinary sends a ground signal just like the PCM, so that's perfect. Then I read on LS1tech that sometime the PCM will detect this "un-commanded ground signal", and throw a Check engine light.

I called up the Vintage Air tech support and queried them; the response: Easy. Wire in a diode after the Trinary switch wire taps into the PCM fan wire. Done.

So I bought some of these!

Should prevent any current "back flow" that the PCM might detect.
To be continued!

Corps_Ag12
How long do you want to ignore this user?
AG
Yea make sure you prevent any backflow of current.

Asked me how I learned that the hard way.
agwrangler2001
How long do you want to ignore this user?
AG
quote:
Yea make sure you prevent any backflow of current.

Asked me how I learned that the hard way.
OK now you must share...
Corps_Ag12
How long do you want to ignore this user?
AG
Not terribly exciting.

The way the previous owner of my jeep wired the fan pulled off the alternator for voltage I'm guessing for temp sensor to give a signal to turn on the fan. Well the previous owner also tried to wire in a switch on to that turn on wire that was unprotected. So it passed power back up to the alternator & into the voltage regulator in the PCM.

Well now the alternator won't charge the battery and I get a check engine light that reads vacuum pump failure as well as the check gauges light. All these signs point to a fried voltage regulator which is internal to the PCM. Luckily these go out frequently on Chrysler products as there's a kit to install an external regulator that mimics the internal one & provides a seperate unit for $75. This means you don't have to replace the $400 PCM.

Other than that, it'll run great with a fully charged battery. But that only lasts 20 minutes or so without the alternator working.
 
×
subscribe Verify your student status
See Subscription Benefits
Trial only available to users who have never subscribed or participated in a previous trial.