Home Improvement
Sponsored by

Help with cabinet construction

1,959 Views | 15 Replies | Last: 1 yr ago by 1988PA-Aggie
lurker76
How long do you want to ignore this user?
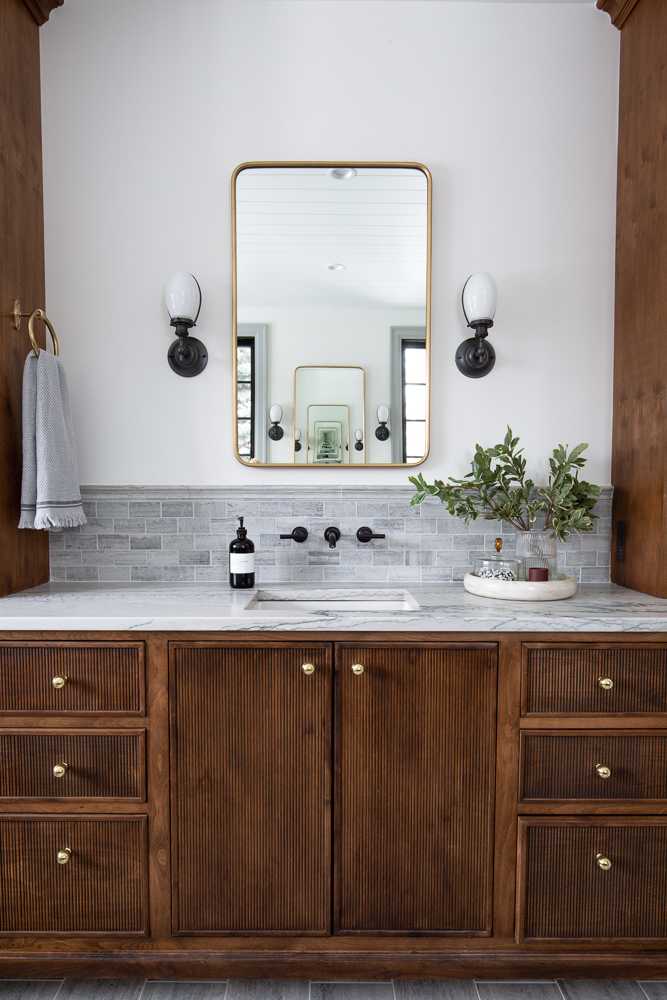
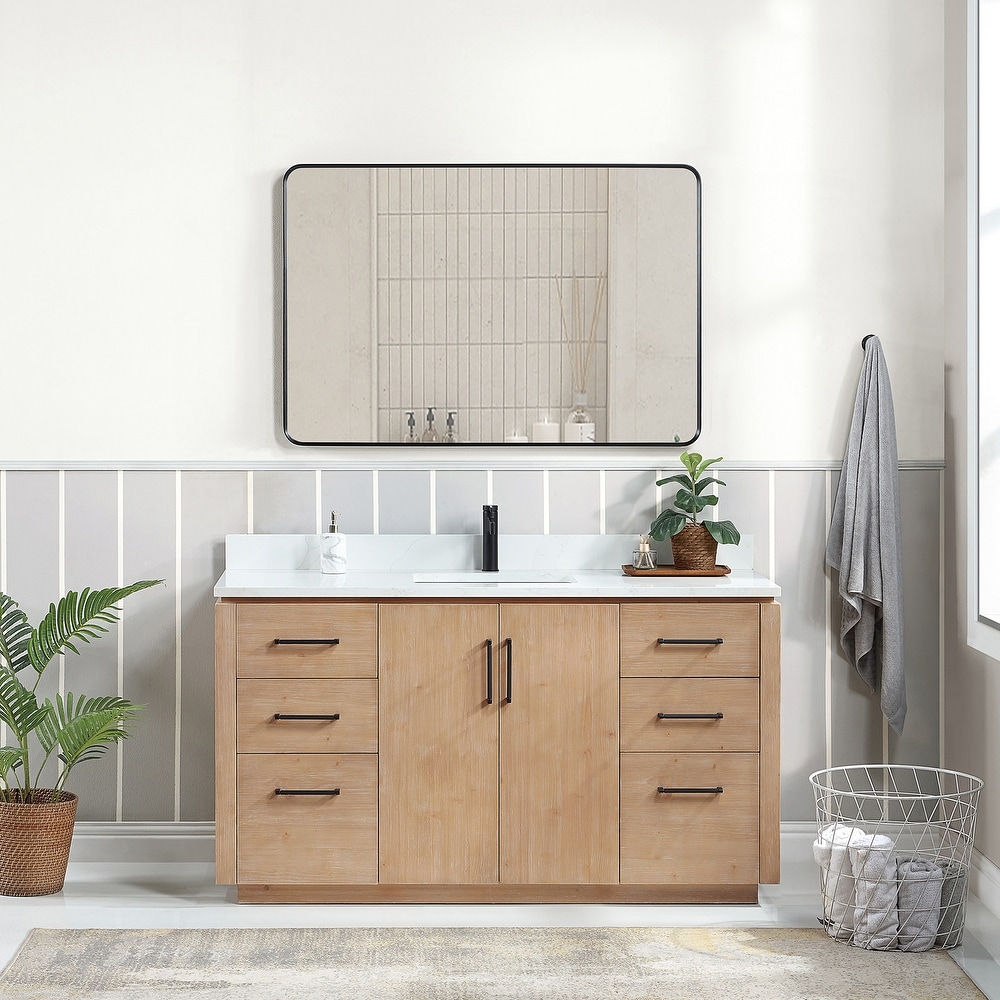
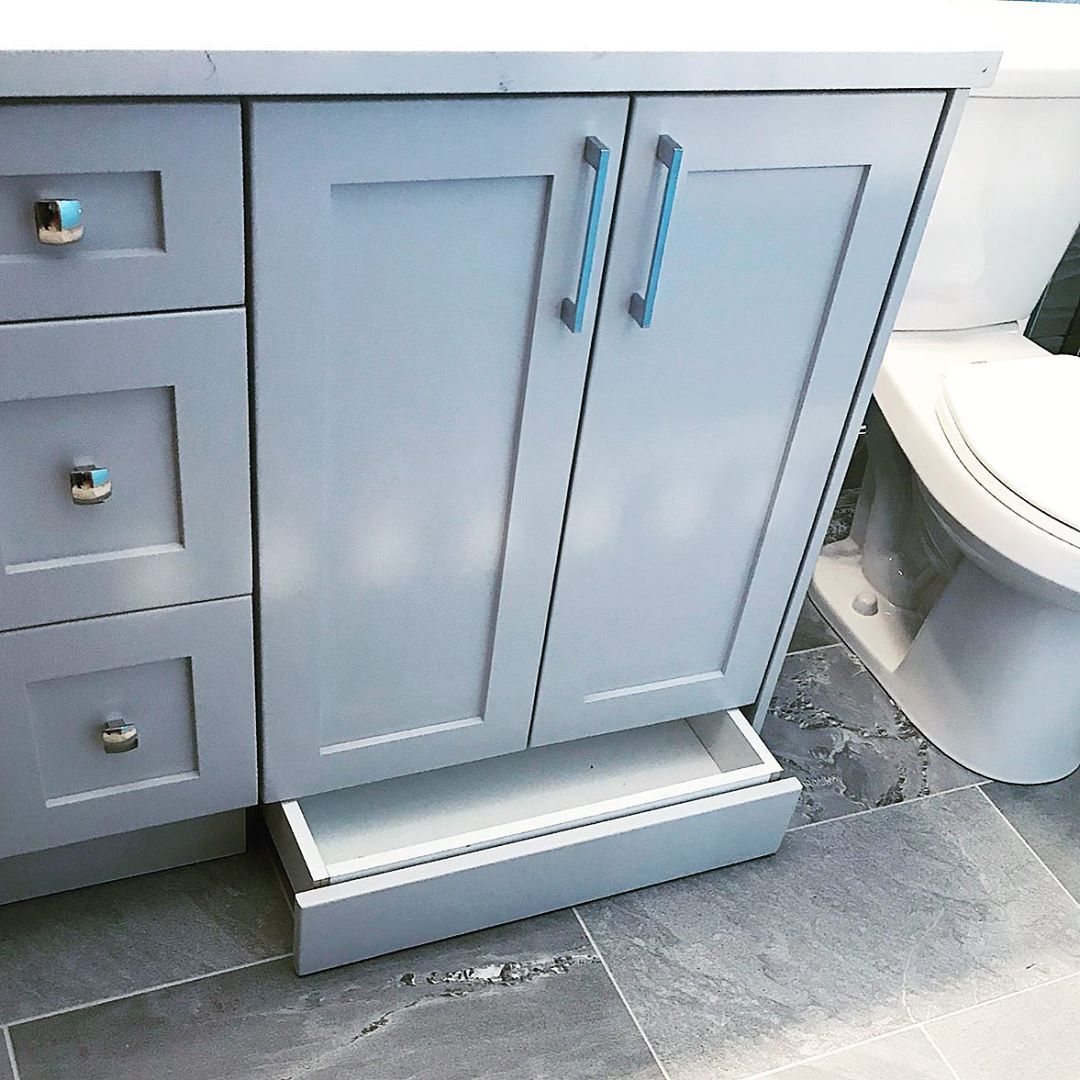
I'm planning on replacing a bathroom vanity cabinet soon and have a few questions for anyone with experience. The existing cabinet has a small drawer on each side of the sink with a blank false drawer centered between them, and two doors below. The new cabinet will match the same layout as the existing one, using maple plywood for the carcass.

For the face frame, do you recommend using maple dimensional lumber or is plywood with edge banding suitable? It will be assembled with pocket screws.

For the drawers, what material do you use for the sides and fronts, plywood, with edge banding, or dimensional lumber?

Any recommendation for drawer slides? Either side or bottom slides?

I've built free-standing bookcases, a couple of medicine chests, picture frames and a small sofa table, but this will be the biggest project I've taken on yet. Whatever lessons learned on this will be applied to all of the other cabinets in our house. The point of this assembly is to learn how to build cabinets to avoid buying something off the floor or a custom installation, or God forbid go to Ikea for them.

I'll cross post on the Outdoors Board as well for input there.

Thanks in advance
txag2008
How long do you want to ignore this user?
AG
Here's a pretty good 3 part series.

lurker76
How long do you want to ignore this user?
Thanks. I'll watch it later tonight.
Mr. Dubi
How long do you want to ignore this user?
Hardwood for the face frame.

As for the drawer fronts, you can use banded plywood, or get some trim to go frame the plywood, or you could just use the same kind of wood you used for the frame. I have done all three to make the fronts. You could also frame the hardwood.

All a cabinet is is box. The side mounted slides are easier to install, and they're cheaper. Bottom mount os nicer because you don't see hardware.
daniel00
How long do you want to ignore this user?
AG
A professional cabinet-maker helped me build a cabinet in my bathroom. I have built a few cabinets On my own since then, all with drawers involved. Just to give context/experience level.

I built a nice 8 foot kisland for our kitchen with multiple drawers in it for storage. I used plywood with edge banding for all visible pieces. It is stained black, so any flaws are hidden, but you cannot tell it wasn't solid wood. 8 years old and no separation or anything. 3/4 inch plywood for all structure of cabinets.

Used 1/2 inch plywood for drawers with a rabbit/dado cut to set in 1/4 inch plywood for the floor of the cabinets. Baltic birch is a common drawer plywood, but the most recent time, I used regular 1/2 inch plywood that was already UV-coated on both sides. No finishing needed except on the cut edges. You can of course also use real wood for a much more refined solution. I just couldn't justify the cost. Wood glue plus finish nails holds the sides together.

Under drawer mounts are of course the prettiest solution. But I've mostly used side mounts, for cost reasons. The mounts normally have some wiggle room so you can make the hole a little bigger than needed and adjust the slides to fit exactly.

Dakota Hardwood is a great supplier. Lots of wood options. Better quality hardware than the big box stores at equal or better prices. Also, expert knowledge.
rayneag
How long do you want to ignore this user?
AG
The first question when selecting wood for cabinet making is are you painting it ? If you are painting it you do not have to buy maple you could use a cheaper wood like Poplar for face frames and buy a paint grade plywood. If you plan to stain it and are going to use Maple plywood I would use Maple as the face frame and drawer front . If there is a Rockler close by you the sell a rerouted Draw box material which makes things simpler if you do not have a lot of wood working tools. There are tons of Cabinet videos on YouTube search based on what joinery (fasteners) you are going to use dowels, screws dove tails.
1988PA-Aggie
How long do you want to ignore this user?
If you are married to a face frame look, with partial overlay doors and drawer fronts, gap of your choice between doors and drawer fronts...I would go with a hardwood face frame. It gives you more sand-ability if your joints are just a hair off without worrying about breaking through the thin plywood veneer.

As far as species, all interiors (cabinet, shelves, and drawer boxes) are hard maple hardwood or plywood. Exterior is whatever look you are shooting for.

However, a construction method that could be efficient is what is called 'frameless' construction. You assemble your 3/4" thick plywood carcass as normal, maybe add a 1-1 1/2" scribe onto any side that butts up to a wall (You may need more to clear any window sill, molding, or other obstacles for doors or drawers to operate fully.) Then use the edgetape/veneer to apply to all the exposed edges. Side note, edgetape comes in many different species, widths, raw or pre-finished, and adhesion applications. You can get iron-on which is self explanatory, just make sure you heat/iron it well and press hard rubbing it on, peel-n-stick which is also obvious (adhesive is not too strong on these though), or no-glue which you can use contact cement or yellow glue. This is your strongest method. Trim with a plane blade and finish with a light file.

With this method you obviously can't have large gaps between your doors and drawer fronts. I do mostly this style of constructing cabinets and apply a 3/32" gap. I also use a hinge that mounts to the inside wall of the cabinet as opposed to the face frame.

Planning ahead is important. Figuring out what drawer slides first will influence your building. As others stated there are bottom/under mounts or side mounts. This is how it mounts to the drawer box, not the cabinet. Both types can either mount to the side of the cabinet (IF the side is flush with the front face of the cabinet), or to the rear of the cabinet if you get a rear bracket too.

Three major types of slides. First are what I call enamels, they are your cheap ($4-7 per set) white or almond colored coated runners. Easy and cheap, but a bit noisy and unless you get a certain type are only 3/4 extension. Next is ball bearing type side mounts, indestructible, they break in eventually, can be a little finicky to set just right (need to be very parallel and square), maybe $10-12 per pair. The last is undermounts. They are the excellent, I use Blum. I get them for about $25 per set, but I have seen them on the internet for upwards of $50. They have a great slow-close mechanism, really quiet. If you can find them relatively cheap, I would go with these, you only need a few. Two notes: you have to build the drawer boxes a certain way to accept the locking device underneath, second, the spacing of these undermounts is 3/16" on each side of the cabinet as opposed to 1/2" for sidemounts. If you go this route I can instruct you further.

Whichever way you go, it may be wise to size your drawer opening of the cabinet 1/16" wider than your drawer. You can always shim your drawer slide, kind of a pain to cut your drawer box down if too wide.

Last, prefinished material is out there, be it plywood or edgetape. But handling it, cutting, filing, etc can be a bit tricky if you are particular and a novice. Working with raw wood may be easier in the long run?

That's it for now. Let me know if you need any more info.
TMoney2007
How long do you want to ignore this user?
AG
Obviously, this guy has infinitely more experience than me.

My contribution is that you should be saving some money by building the vanity yourself. Given that, I would spend the extra money for solid wood face frames and door/drawer fronts and bottom mount slides.

For the drawers, I don't really have a problem with just using high quality plywood and leaving them as is. If that bothers you, you can edge band the top edge of the drawer boxes. I like to see dovetails on the corners, and that's going to give up that the drawers are plywood.
lurker76
How long do you want to ignore this user?
Here's a heartfelt thanks to all of the replies so far. This cabinet will be installed in a corner, it won't be painted and I am married to a face frame. It looks like the hardwood face frame is the way to go, and I really appreciate that feedback.

txag2008
I watched the linked video last night and this morning and it has a lot of good points; it's very helpful.

daniel00
We live in Sugar Land, so there is a Woodcraft on BW8 just east of 59, a Rockler in Greenway Plaza and a Dakota Hardwoods near 290 and BW8.

rayneag
My wife is partial to the maple, so that's why were going that way. The plan is to not use stain, just poly the completed assembly.
I have repeatedly heard that she doesn't want anything dark. I'm partial to cherry, but don't want to jump in that deep yet. As I stated earlier, this is the first of all the cabinets in the house to be replaced, if I don't totally botch it. I figure by the time the kitchen is on the schedule, there will be enough practice to get them right.

1988PA-Aggie
I have built a couple of frameless cabinets based on the Kreg plan here:
Kreg plan for garage cabinet
We basically want to replicate the design of the existing cabinet with better materials and a fresh look. We're somewhat constrained with the sink in the vanity top. As to the drawer mounts, in planning for these projects, I bought a drawer installation jig that clamps to the cabinet to hold the slide in place for installation on the cabinet, then clamps on the outside of the frame to support the drawer to mount the slide on the drawer side. If necessary, I'll install a support for the slide the depth of the cabinet to hold the slide.

TMoney2007
No dovetails for me; I don't have any practice with them and this isn't the project to start, but thanks for the input.

At this point, after looking at the Dakota site, I plan on getting 3/4" plywood for the sides and bottom of the carcass, 1/2" plywood for the drawer sides and front/back and door inserts, and 1/4" plywood for the cabinet back and drawer bottoms. Hardwood for the face frames, drawer faces, door frames and kick plate.


GrimesCoAg95
How long do you want to ignore this user?
AG
1988PA-Ag knows more than me, but I do want to talk about that false drawer front in the middle. I an not a fan of the look and it makes it harder to get to things under the sink. I just make the center doors taller. Here are some pictures.


1988PA-Aggie
How long do you want to ignore this user?
Grimes has a good point, leave that blank drawer front out and have the doors go all the way. It's actually less work too!

Also, a shelf under the sink is useful, but still a pain to get things in and out. Most vanities I do (yes, I am a career cabinetmaker) I make one, or two if possible, U-shaped drawer/pullouts behind the doors after the sink's plumbing is installed. And the U-shaped cutout for each pullout may vary depending on where the height or depth of your plumbing starts and ends.

Your significant other will LOVE you for it. That's whats important in life (well, Aggie sports victories and a good beer and bbq count too!)
lurker76
How long do you want to ignore this user?
Thanks for the great ideas. On this vanity, we're stuck with the false drawer front due to the drawer/door layout. Two very small drawers above doors that go from one side of the cabinet to the other. To install taller doors, the drawers would have to be eliminated, and that's a no-go. She and I had discussed the use of pull out drawers behind the doors to simplify access to the things inside. We have one in our pantry on one shelf and it's a hit.
For the vanity for our bathroom and the bar cabinet, as well as the kitchen sink cabinet I, can remove the false drawer fronts and make taller doors, which I had not thought of.

Also, after watching part 2 of the video link, using the undermount slides is the way to go. I need to go back to my drawings and revise a few things to incorporate the ideas and make corrections. So far the carcass top and front layouts and the face frame are finished. I need to work on the drawer and door design so I can make a bill of materials and start looking at lumber and hardware.
1988PA-Aggie
How long do you want to ignore this user?
lurker76 said:

Thanks for the great ideas. On this vanity, we're stuck with the false drawer front due to the drawer/door layout. Two very small drawers above doors that go from one side of the cabinet to the other. To install taller doors, the drawers would have to be eliminated, and that's a no-go. She and I had discussed the use of pull out drawers behind the doors to simplify access to the things inside. We have one in our pantry on one shelf and it's a hit.
For the vanity for our bathroom and the bar cabinet, as well as the kitchen sink cabinet I, can remove the false drawer fronts and make taller doors, which I had not thought of.

Also, after watching part 2 of the video link, using the undermount slides is the way to go. I need to go back to my drawings and revise a few things to incorporate the ideas and make corrections. So far the carcass top and front layouts and the face frame are finished. I need to work on the drawer and door design so I can make a bill of materials and start looking at lumber and hardware.
Blum makes their standard slide called Blumotion (the 563 series). I have tried others and find this is the best. The slow-close spring is built-in and works well. They come in 3" increments; 15", 18", 21", etc. But that doesn't explain much. If the drawer box is four-piece construction, and the drawer front/head is added to it, the drawer box needs to be the length of the slide 15", 18" or 21". Then you need an additional (minimum) 3/4" of interior space in the cabinet behind the drawer box for the slide rear pin to fit. The drawer box should have a bottom recess of 1/2" meaning the underside of the drawer box bottom needs to be 1/2'' above the drawer box sides. The locking devices, usually sold separately are left and right. These get screwed horizontally into the front corners of the box on the underside with #5 1/2" screws. The slide will eventually clip in with this device. There are adjustments on these devices for fine tuning. Blum's website has nice CAD drawings for all this.

Drawer box needs to be 3/8" less than opening, 3/16" each side. These will still work well if you are a bit shy (1/8" or so). But may get hung up a bit if opening is too big, just shim then. They also ride better when loaded up.

Now it gets tricky. All of these calculations are based on 5/8" thick drawer box construction. If your drawer box material is different, adjustments need to be made on how you attach the locking devices. Such as if your drawer box is 1/2" material, you need to shim your locking device attachment location 1/8" over to simulate a 5/8" side.

I know I am babbling. This is like anything, the first one you do is a nightmare. Every one after that will go faster. I just don't want you to get frustrated if at first they don't work well, one slip up and they will not work well or at all. Let me know if you need more info.
GrimesCoAg95
How long do you want to ignore this user?
AG
One last thing to add. If the cabinet goes in an alcove or a corner, give the face frame overhang on that side. You will not notice the small reduction in cabinet size, but it will make it easier to set. The corners are probably not a perfect 90. Once you come out 21 or 24 inches from the corner it matters.
lurker76
How long do you want to ignore this user?
1988
Thanks for all the great advice, help and support. I will get back to you for more help, if needed (undoubtedly I will).

Grimes
The plan does take into account a scribe line on the side of the cabinet that goes against the side wall. Norm Abrams drove that point home quite a few years ago.
1988PA-Aggie
How long do you want to ignore this user?
lurker76 said:

1988
Thanks for all the great advice, help and support. I will get back to you for more help, if needed (undoubtedly I will).

Grimes
The plan does take into account a scribe line on the side of the cabinet that goes against the side wall. Norm Abrams drove that point home quite a few years ago.
Ask questions. I only have 5-7 more years of doing this and have no one to pass any skill or info onto except here. Hardly anyone young wants to do this kind of work. Not until guys like you reach that age, and/or have the need, start to say, "I can do this, AND save a ****load of money?!"
Refresh
Page 1 of 1
 
×
subscribe Verify your student status
See Subscription Benefits
Trial only available to users who have never subscribed or participated in a previous trial.