Well my wife shot her first buck this season and I wanted to do some form or skull mount or antler plaque. She's not crazy about a bunch of shoulder mounts everywhere, so we both like this style of mount. If it was a true B&C buck, it would be a different story. This buck was a 5.5 year old 10 point that we have been watching for 3 years now. He measured right at 130". His nose and upper snout were injured about a year or two ago, so he became pretty dependent on feeders and his mass hadn't really changed in 3 years either. First, I removed the hair from the skull. Just a FYI, do this ASAP after cutting into the skull. The longer you wait, the harder the hide becomes. I got the bigger wooden plaque from hobby lobby for $5. The second piece of wood was cut free hand from plywood. It will be used to hold the antlers and the plaster of Paris. 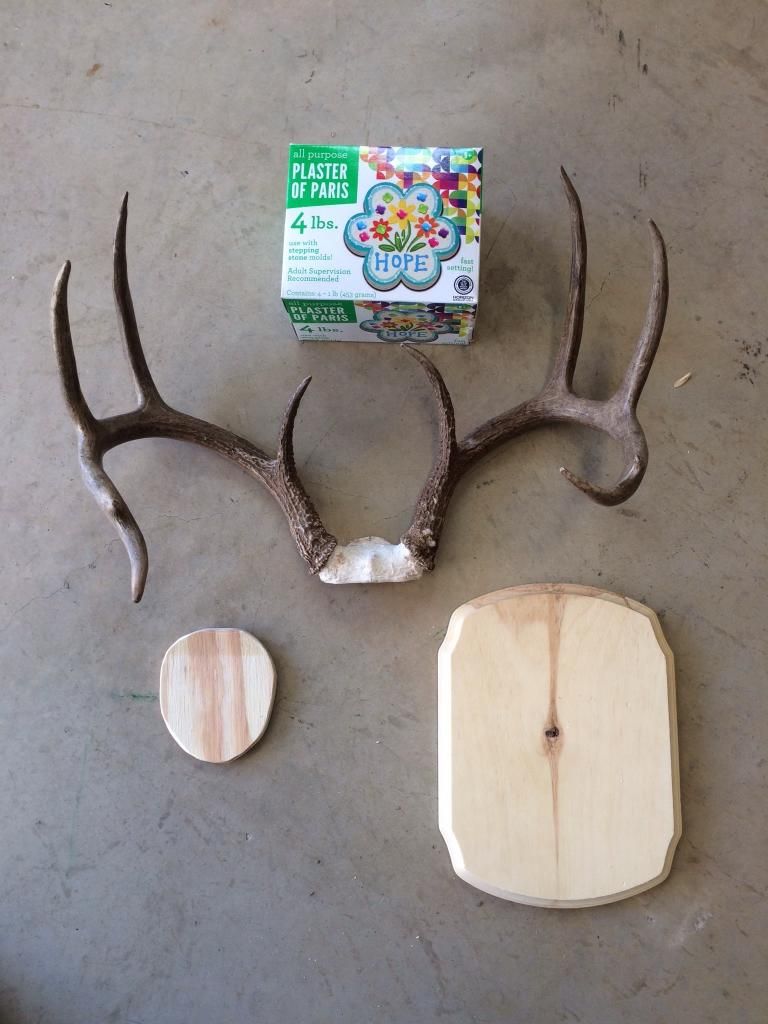 The plywood should be as wide as the antlers at the base. It should be more of an oval shape towards the bottom and more flat at the top. Also, make sure you use plywood and not particle board or mdf. The water in the plaster of paris has water in it and mdf probably isn't your best option. Make sure you make pilot hole first before you screw into the skull. You don't want it to crack
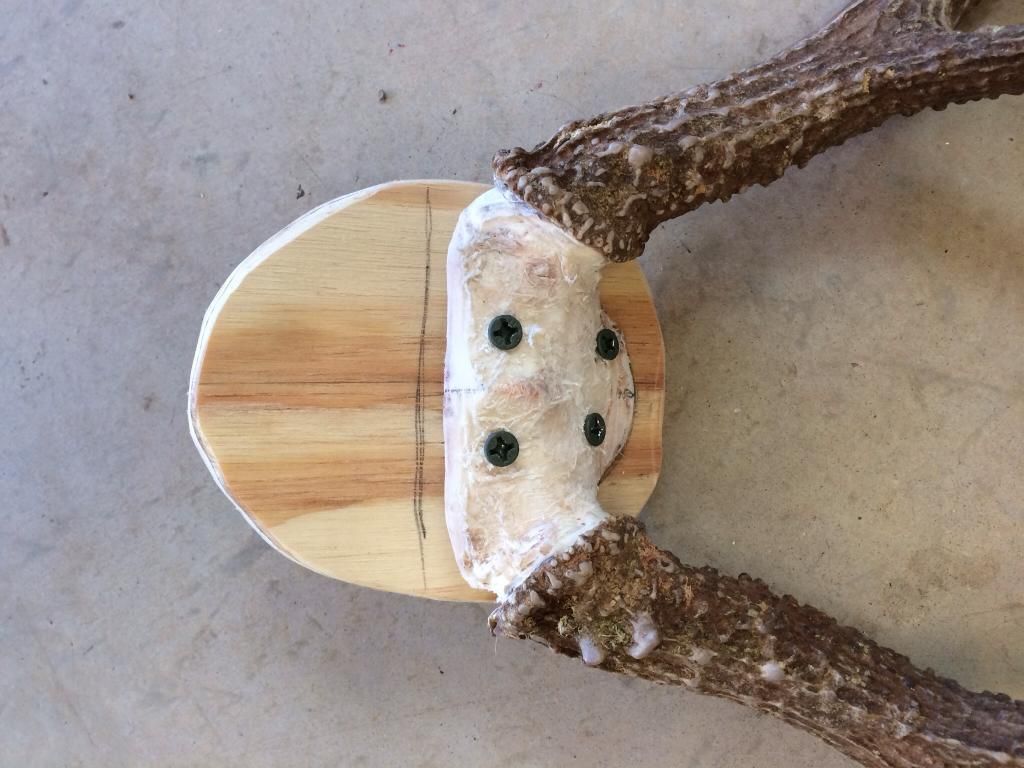
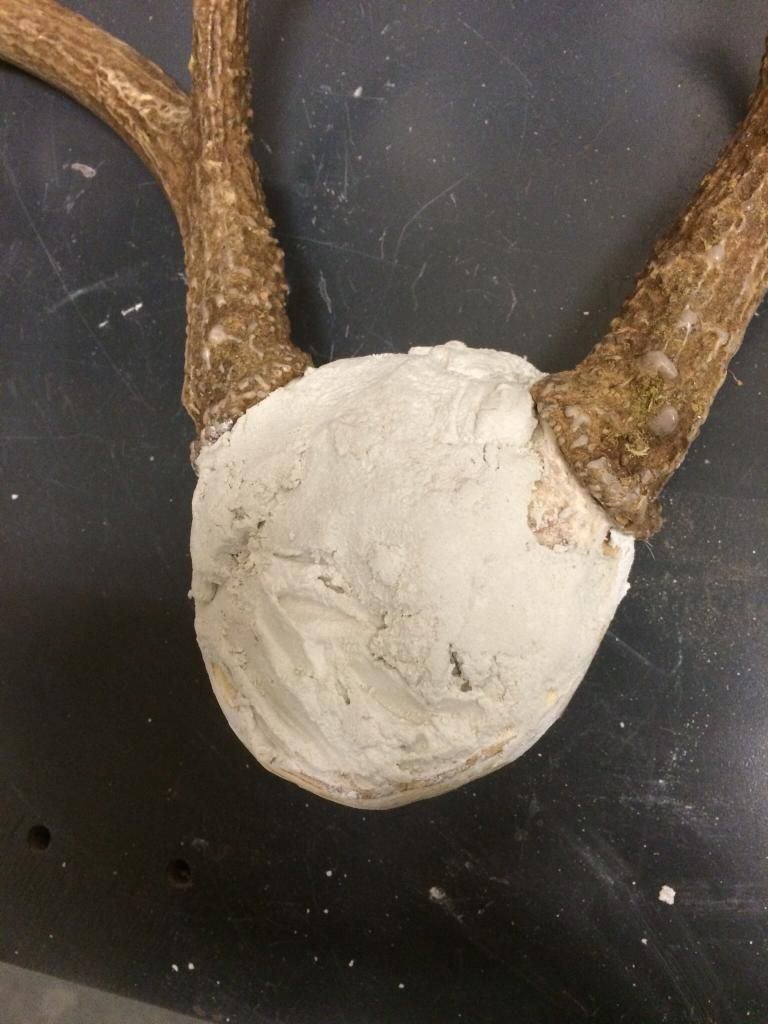
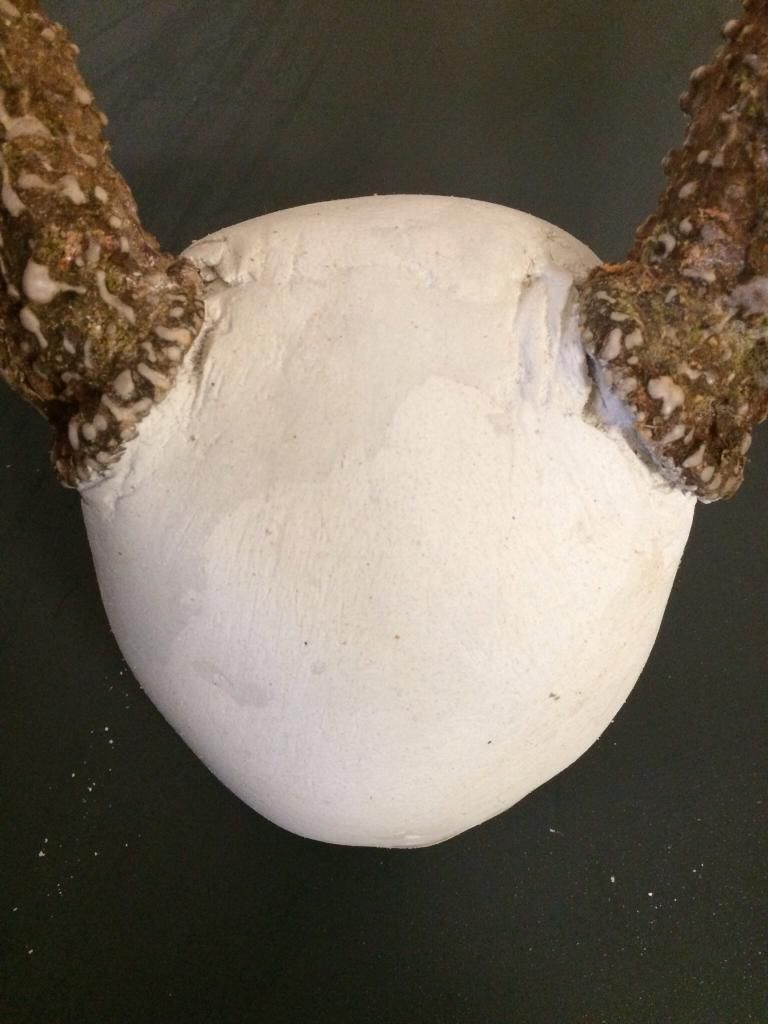
After I got the skull mounted to the wooden plate, I applied multiple coats of plaster of paris. The first coat was rather thick, but the 2nd and 3rd coat were thinner. One thing I should have done was apply more plaster where the antler met the skull. Once you stretch fabric over the plaster, you don't want any larger gaps and unfortunately I had one minor gap on the right antler. You can't really notice it, but I sure can! After the plaster dries, you need to sand it down to make it smooth. I had an old wire brush (hand held not electric) that helped me get the thicker plaster worked down first, then I followed up with sandpaper to smoothen everything out. You can see the area by the right antler than could have used more plaster. Here is what it looks liked after it was all sanded
 Next I got some fabric that my wife picked out from hobby lobby. $8 for a yard. I'd recommend not using a stiffer leather cause you need to be able to stretch it a little. I cut out about and 8"x8" area and dropped it over the plaster. I started stapling from the bottom and worked my way half way up. Once I made it half way up the skull, I started to cut the extra material around the antlers.
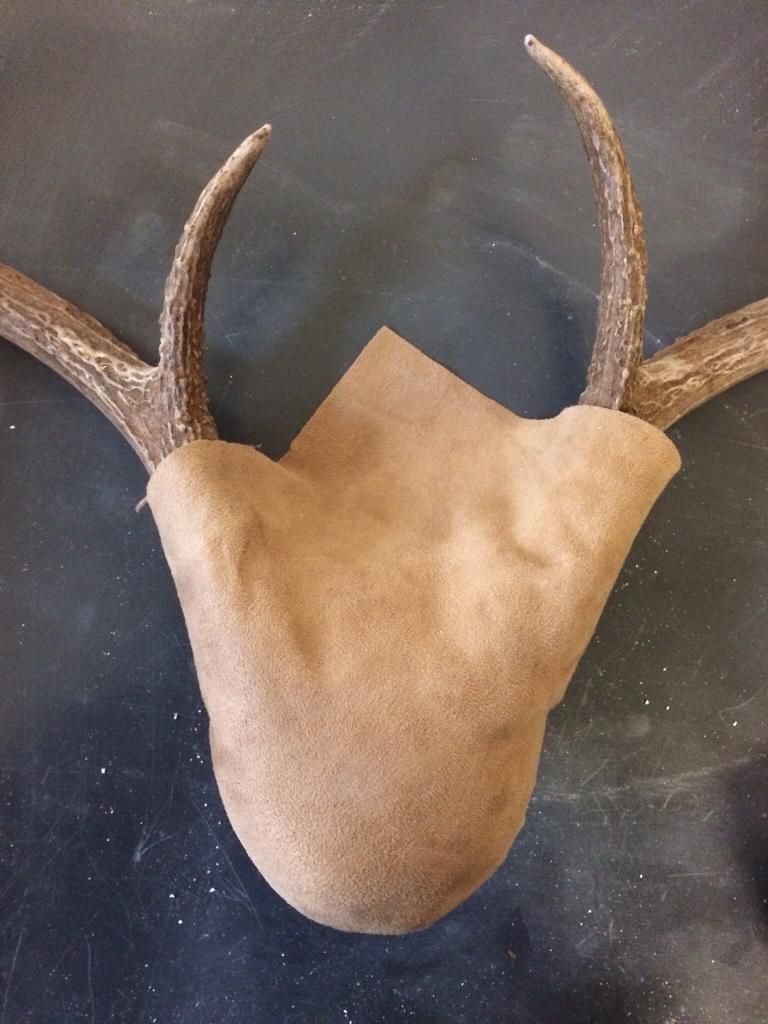
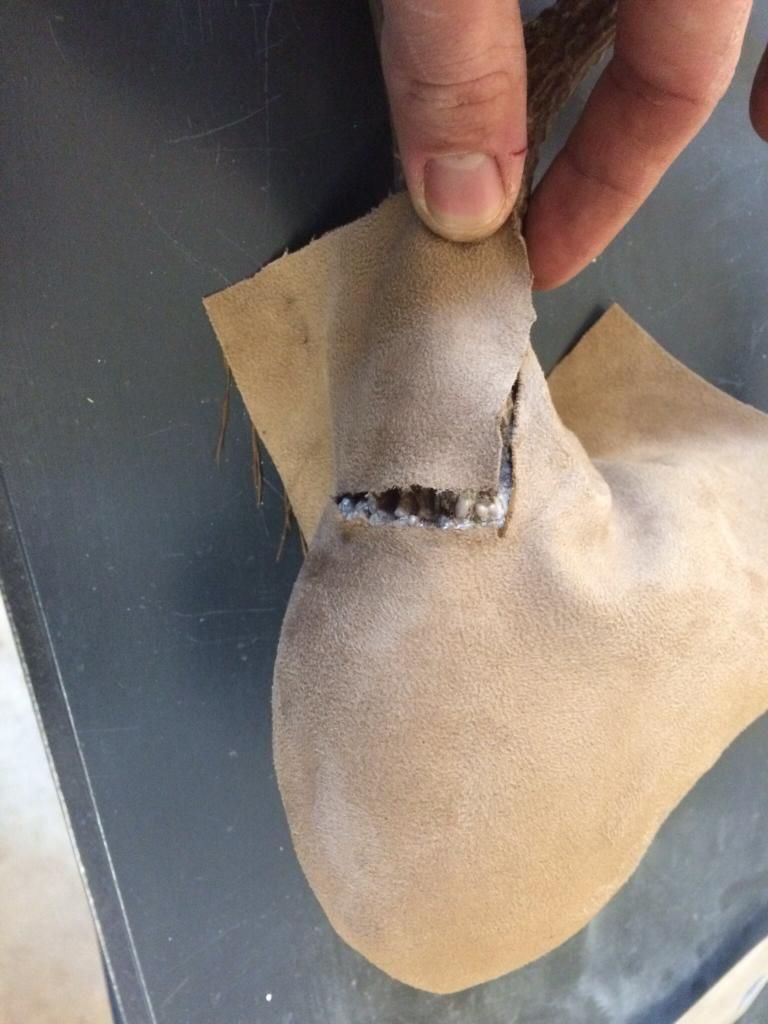 Once you start working around the base of the antlers, use a sharp knife so you can get more detailed. Remember, if you cut too much off, you can cover it up with rope or leather that is wrapped around the bases
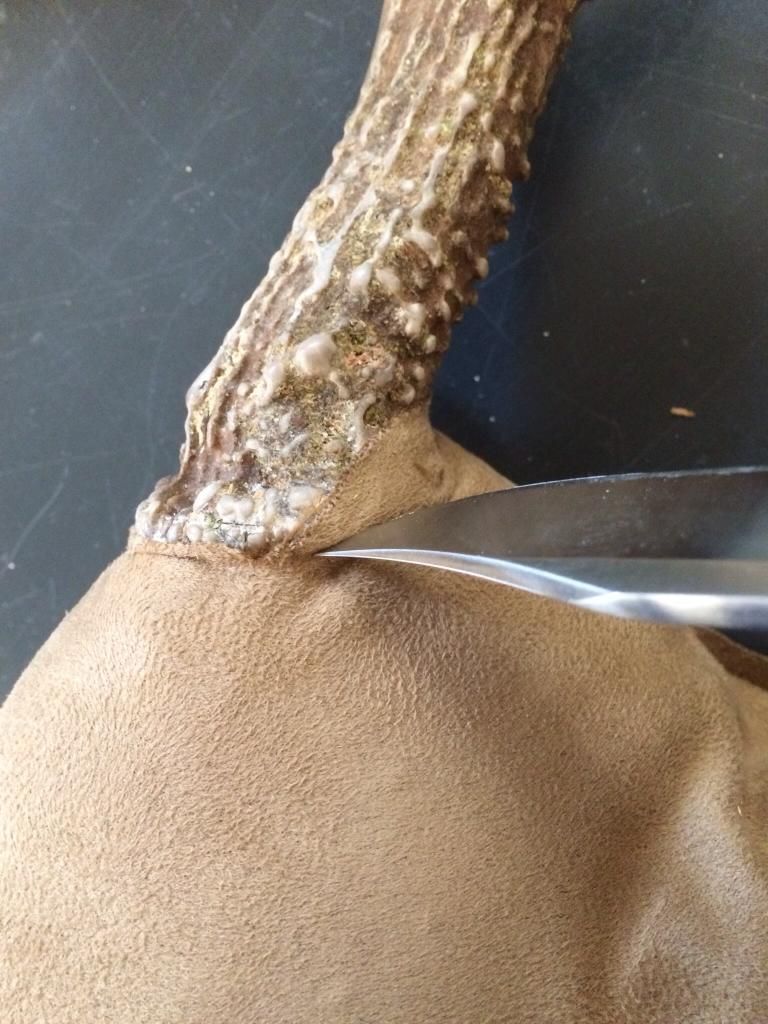 Here is the skull completely wrapped. The fabric was stapled to the back and once it was completed, I cut of all the extra fabric. The "joints" where the bottom fabric ends and meets the top portion of the fabric are hidden behind the antlers. You can see where there is kind of a gap below the right antler
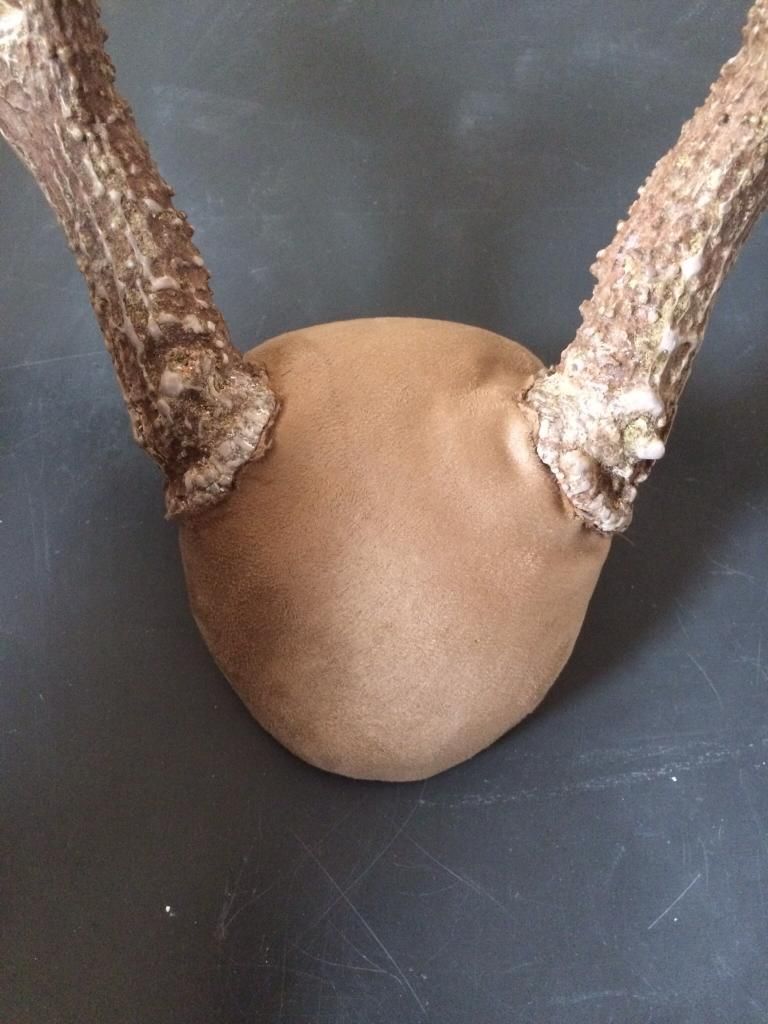 Next I stained the plaque with a dark walnut finish and mounted the antlers to the plaque
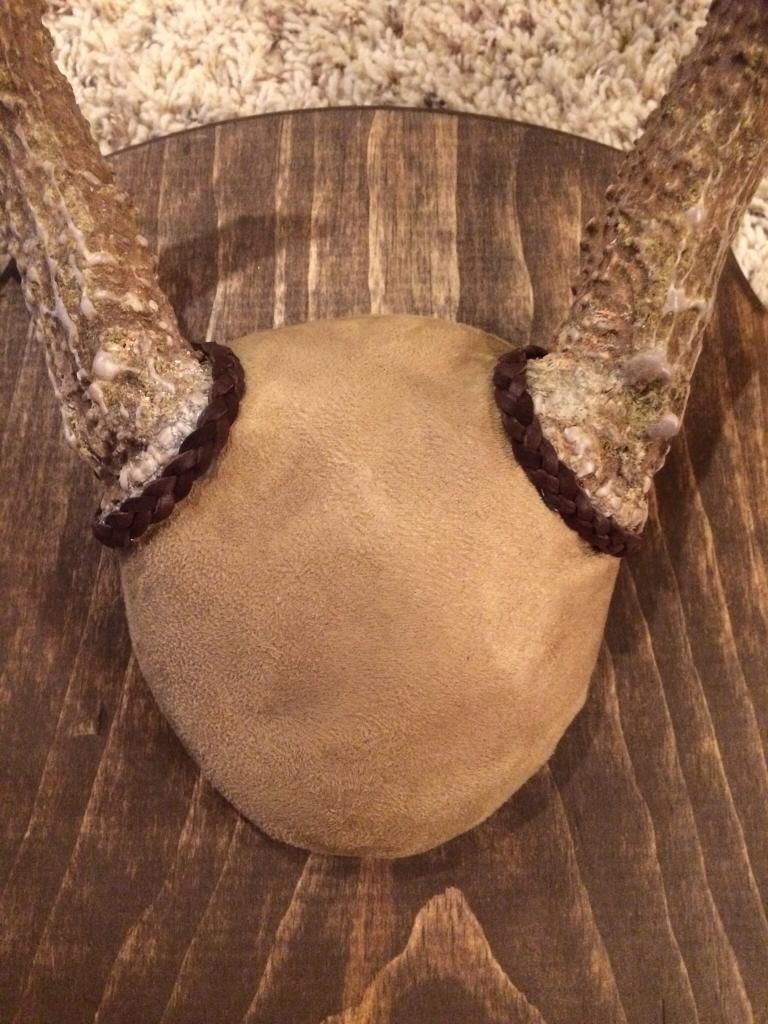
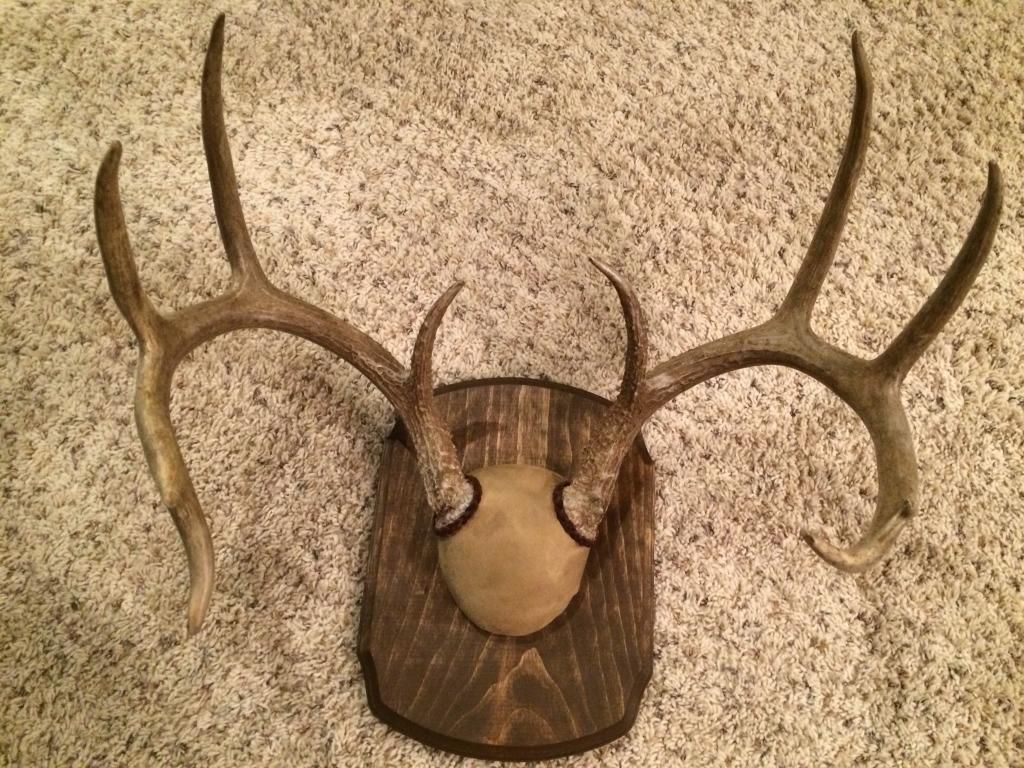
 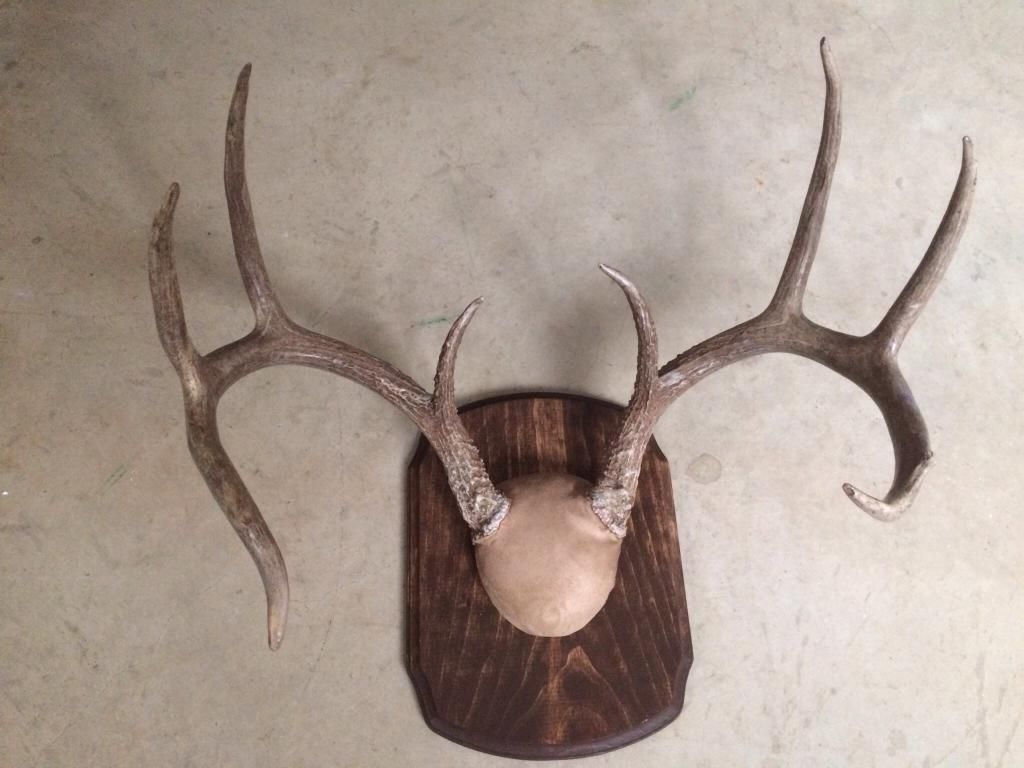 Then I had my wife braid some leather straps ($3 from hobby lobby). I then hot glued the leather around the bases or the antlers. Honestly, I could have done without the leather, but since the right antler gap bothered me, I wanted to disguise it a little! Here is the finished product. Probably cost $15-20 for all the materials (minus the wood stain I already had)
 The plywood should be as wide as the antlers at the base. It should be more of an oval shape towards the bottom and more flat at the top. Also, make sure you use plywood and not particle board or mdf. The water in the plaster of paris has water in it and mdf probably isn't your best option. Make sure you make pilot hole first before you screw into the skull. You don't want it to crack
After I got the skull mounted to the wooden plate, I applied multiple coats of plaster of paris. The first coat was rather thick, but the 2nd and 3rd coat were thinner. One thing I should have done was apply more plaster where the antler met the skull. Once you stretch fabric over the plaster, you don't want any larger gaps and unfortunately I had one minor gap on the right antler. You can't really notice it, but I sure can! After the plaster dries, you need to sand it down to make it smooth. I had an old wire brush (hand held not electric) that helped me get the thicker plaster worked down first, then I followed up with sandpaper to smoothen everything out. You can see the area by the right antler than could have used more plaster. Here is what it looks liked after it was all sanded

 Next I got some fabric that my wife picked out from hobby lobby. $8 for a yard. I'd recommend not using a stiffer leather cause you need to be able to stretch it a little. I cut out about and 8"x8" area and dropped it over the plaster. I started stapling from the bottom and worked my way half way up. Once I made it half way up the skull, I started to cut the extra material around the antlers.

 Once you start working around the base of the antlers, use a sharp knife so you can get more detailed. Remember, if you cut too much off, you can cover it up with rope or leather that is wrapped around the bases
 Here is the skull completely wrapped. The fabric was stapled to the back and once it was completed, I cut of all the extra fabric. The "joints" where the bottom fabric ends and meets the top portion of the fabric are hidden behind the antlers. You can see where there is kind of a gap below the right antler
 Next I stained the plaque with a dark walnut finish and mounted the antlers to the plaque
  Then I had my wife braid some leather straps ($3 from hobby lobby). I then hot glued the leather around the bases or the antlers. Honestly, I could have done without the leather, but since the right antler gap bothered me, I wanted to disguise it a little! Here is the finished product. Probably cost $15-20 for all the materials (minus the wood stain I already had)


